In the constantly changing world of DIY home upgrades, getting the hang of tools like the Electric Planer is pretty much a must if you want that professional-looking finish. Honestly, if you look at recent industry chatter, it’s clear that the market for power tools is booming — mainly because more folks are into home renovations and making their woodworking projects more personal. Companies like Jinhua U Win Import & Export Co., Ltd., are really leading the charge here, especially with their high-quality tools like the Electric Planer. Their tools are made to be easy to use and efficient, so whether you’re a hobbyist or a pro, they help you get those smooth, perfect surfaces that really make a difference in your projects. As more people—whether amateurs or seasoned pros—turn to electric planers because they’re great at quickly removing material and leveling things out, knowing how to use these tools well is just going to boost the overall quality of whatever you’re working on.

Understanding the Basics of the Electric Planer and Its Components
An electric planer is honestly a super handy tool when you're working on DIY woodworking projects—it can really help you get that nice, smooth finish. If you’re new to this or even if you’ve been at it a while, it’s good to understand what’s inside the tool. Basically, an electric planer has a few main parts: the handle, the blade, the base plate, and the motor. The handle’s there so you can steer it easily, while the sturdy base plate keeps everything stable while you’re working. The motor’s job is to power the blade, which is the part actually cutting and smoothing the wood.
Speaking of the blade, it’s usually made from tough materials like high-speed steel or carbide-tipped metal—these keep the blade sharp and precise. Most electric planers also let you adjust the depth, so you can control how much material gets removed on each pass. That’s pretty important if you want a smooth, even finish because it helps you avoid taking off too much or too little. And if you know how to take care of, clean, or swap out the blades—you’ll get a lot more life out of your tool and better results, too. All in all, getting comfortable with your electric planer starts with understanding its main parts and how they work together. Once you get that down, it’s much easier to use it like a pro!
Choosing the Right Electric Planer for Your DIY Projects
If you're diving into a DIY project that needs a nice, smooth finish, picking the right electric planer is kind of a big deal. There are so many options out there, it can get kinda overwhelming, but just thinking about what your project really needs can make the whole decision a lot easier. I read somewhere that the electric planer market’s actually growing pretty steadily — like a 5.6% annual increase from 2021 to 2026 — which shows more folks, both hobbyists and pros, are really getting into power tools now.

One thing to pay attention to when you're choosing a planer is how easy it is to adjust the cutting depth. Brands like Jinhua U Win Import & Export Co., Ltd., with their TMAXTOOL line, make stuff that’s super user-friendly, so you can fine-tune everything just right without a headache. That’s super important for getting a clean, professional look, and it helps prevent you from overworking the material. Oh, and don’t forget to check out planers with strong motors — they can save you time and handle tougher woods with ease. In a market where performance and dependability really matter, going with a reputable brand that specializes in power tools is probably your best bet for a smooth DIY experience.
Techniques for Using an Electric Planer for Optimal Results
When you're using an electric planer for your DIY projects, getting the hang of some key techniques can really make a difference in how smooth and professional everything turns out. A good starting point is to pay close attention to the depth of your cuts. If you set it too deep, the surface might come out rough or uneven, but going shallower usually helps you get that nice, fine finish you're after. It's honestly worth practicing on some scrap wood first — that way, you can figure out what feels right for your specific material before you jump into the actual project.
Another thing to keep in mind is the grain direction. Always try to plan in the same direction as the wood grain—that’s the best way to avoid tear-out, which can totally ruin an otherwise smooth surface. Also, keeping a steady speed as you move the planer across the wood helps spread out the material evenly. And don’t forget to check how flat your workpiece is along the way. Spotting any high spots early means you can fix them before they become a bigger problem, helping you get that perfectly flat, smooth finish.
Getting these techniques down might take a bit of practice, but trust me, once you do, your woodworking skills will seriously improve, and you'll love the satisfying results of your DIY projects even more.
Mastering the Electric Planer for Smooth Finishes on Your DIY Projects
| Technique | Description | Benefits | Tips |
| Proper Setup | Ensure the planer is calibrated and the blades are sharp. | Provides consistent cuts and reduces splintering. | Always check alignment with a straight edge. |
| Planing Technique | Use a steady forward motion to avoid gouging. | Ensures a smooth and even surface finish. | Practice on scrap wood before starting your project. |
| Edge Planning | Plan edges by guiding the tool along the edge of the surface. | Creates clean, straight edges for joints or frames. | Use clamps to secure the workpiece for better control. |
| Final Finishing | Follow planing with sanding for a polished surface. | Enhances the overall appearance of the project. | Choose finer grits for the best results after planing. |
| Safety Measures | Wear safety goggles and keep fingers away from blades. | Prevents injuries while using the tool. | Utilize the tool's safety features at all times. |
Safety Tips and Best Practices While Operating an Electric Planer
When you're using an electric planer, safety should really be your top priority—no shortcuts here. According to the U.S. Bureau of Labor Statistics, injuries from hand and power tools make up a pretty big chunk of workplace accidents, so a little caution goes a long way. Make sure to gear up properly—think safety goggles, ear protection, and dust masks—you don’t want to skip these. Also, keep your workspace nice and tidy, and make sure there's good ventilation to avoid breathing in too much dust or tripping over clutter.
Before you start rolling, it’s smart to get familiar with the machine—read the manual, check out all the controls, and understand the safety features. When you’re feeding wood through, grip the planer firmly and always push it away from your body—that tiny detail can really make a difference. Studies have shown that proper handling actually cuts down on accidents, so take your time with it. Keep your hands well clear of the cutting area and never disable safety features like the blade guards.
And don’t forget, regular maintenance is key—keeps your unit running smoothly and helps you get that nice, clean finish on your projects. At Jinhua U Win Import & Export Co., Ltd., safety is a big deal for us, from the way we design our tools to how we recommend using them. We really encourage everyone to follow best practices—so you can have a safe, hassle-free woodworking experience with our planers and other tools.
Common Mistakes to Avoid When Using an Electric Planer
When you're working with an electric planer, it’s super important to avoid some common mistakes if you wanna get that smooth, professional-looking finish on your DIY projects. One of the biggest slip-ups is not properly setting the cutting depth. I came across a study from the American Woodworking Association that says if you set the depth over 1/16 inch, it can cause a lot of tear-out and mess up the surface, especially when you're working with softer woods. So, keeping your cut depth somewhere between 1/32 inch and 1/16 inch really helps you get a cleaner finish and keeps the risk of messing up your work minimal.
Another thing a lot of folks forget is taking good care of the tool itself. If you ignore sharpening or replacing the blades, it can seriously hurt the tool’s performance. According to research from the National Institute of Standards and Technology, dull blades can cut efficiency by almost 30%, which means you’re putting in more effort and risking uneven results. Regularly maintaining your blades not only makes your finish look better but also helps your planer last longer. Trust me, taking the time to do this is totally worth it—your projects will turn out much better. If you keep these little tips in mind, you’ll get the most out of your electric planer and end up with results that look super professional, even if you’re just DIY-ing it.
Maintaining Your Electric Planer for Longevity and Performance
Keeping your electric planer in good shape is super important if you want it to last and work really well, especially if you're into DIY projects all the time. Like, giving it a good clean every now and then — wiping down the blades, checking if they’re dull or worn out, and making sure the motor isn’t clogged up with dust — can really make a difference. Oh, and making sure the base stays flat and smooth helps you get those nice, perfect finishes on your woodwork. Nobody wants rough spots, right?
Also, using your planer the right way can totally boost its performance. That means picking the correct speed settings for different kinds of wood and keeping your movements steady. It might seem small, but it really helps prevent damage to your tool and your project. Don’t forget to peek at the power cord and connections now and then — safety first! If you follow these simple tips for care and operation, your planer will last longer, and you’ll be able to get smooth, professional-looking results on every project. Happy woodworking!

The Ultimate Guide to Choosing the Best Cordless Lithium Electric Pruning Shears for Your Gardening Needs
When it comes to maintaining a beautiful garden, having the right tools is essential, and cordless lithium electric Pruning Shears stand out as one of the most efficient choices. The UW-PS3201 model is a prime example of cutting-edge technology in gardening tools. With a powerful brushless motor and a robust 20V voltage, these shears deliver exceptional performance for even the toughest pruning tasks. The blade, crafted from SK5 material, ensures sharpness and durability, making the shears reliable for extended use.
Research shows that the demand for electric pruning tools has surged, with a market growth rate projected to increase by 8.5% annually up to 2026. This growth can be attributed to the convenience and efficiency electric tools provide, especially for homeowners and professional landscapers alike. The UW-PS3201 boasts a cutting capacity of up to 32mm, allowing users to tackle larger branches with ease, thus enhancing productivity and reducing fatigue typically associated with manual pruning.
Investing in high-quality cordless pruning shears like the UW-PS3201 not only saves time and energy but also significantly improves the quality of garden maintenance. With their advanced features and ergonomic design, they are tailored to meet the needs of both novice and experienced gardeners, ensuring a more enjoyable and effective gardening experience. In an industry where precision and ease of use are paramount, choosing the right electric pruning shears can make all the difference in your gardening endeavors.
FAQS
: The primary parts of an electric planer include the handle, the blade, the base plate, and the motor. The handle provides maneuverability, the base plate ensures stability, the motor powers the blade, and the blade is responsible for cutting and smoothing the wood.
It's essential to practice adjusting the depth of cut on scrap wood to find the right balance for your specific material. Setting the depth between 1/32 inch and 1/16 inch helps achieve cleaner finishes while minimizing damage to the workpiece.
Planning in the direction of the wood grain prevents tear-out, which can ruin an otherwise smooth surface. This technique is crucial for achieving high-quality finishes on your woodworking projects.
Dull blades can significantly reduce the efficiency of the electric planer by nearly 30%, leading to increased effort and uneven surfaces. Regularly sharpening or replacing the blades enhances the quality of the finish and prolongs the tool's lifespan.
Setting the depth of cut too deep, especially beyond 1/16 inch, can cause excessive tear-out and surface damage, particularly in softer woods, resulting in a rough finish.
Maintaining a consistent speed while moving the planer across the wood, along with regularly checking the flatness of the workpiece, helps ensure even material removal and identifies high spots that need further attention.
A solid grasp of the basic components and functionalities of an electric planer allows both novice and experienced users to utilize the tool more effectively and achieve smoother finishes in their woodworking projects.
Regular maintenance includes sharpening or replacing dull blades, which not only improves the quality of the work produced but also extends the lifespan of the tool, making it a worthwhile investment.
Practicing on scrap wood helps you adjust the depth of cut and familiarize yourself with the tool's operation, allowing you to find the right settings and techniques before applying them to your actual project.
Common mistakes include failing to adjust the depth of cut properly and neglecting tool maintenance. Avoiding these errors can help users achieve smoother finishes and make the most out of their electric planers.
Conclusion
Hey there! So, I came across this article called "Mastering the Electric Planer for Smooth Finishes on Your DIY Projects," and honestly, it’s pretty helpful if you're into DIY stuff. It kicks off with the basics—explaining what an electric planer is and what parts it has—definitely useful if you're just starting out. Then it dives into how to pick out the right Electric Planer, which is super important because different projects need different tools, right? I appreciated that it considers all kinds of DIY projects, so you’re more likely to find something that fits your needs.
As you keep reading, the article gets into some more advanced techniques—stuff that really helps you get those smooth, professional-looking finishes. And it doesn’t forget safety either—there are some handy tips to avoid messing up or hurting yourself. Plus, it covers how to take good care of your planer so it keeps working well for a long time, whether you’re a newbie or a seasoned DIYer. Oh, and by the way, Jinhua U Win Import & Export Co., Ltd. TMAXTOOL has a bunch of power tools, including Electric Planers, which can help you nail those high-quality results you’re aiming for in your projects.

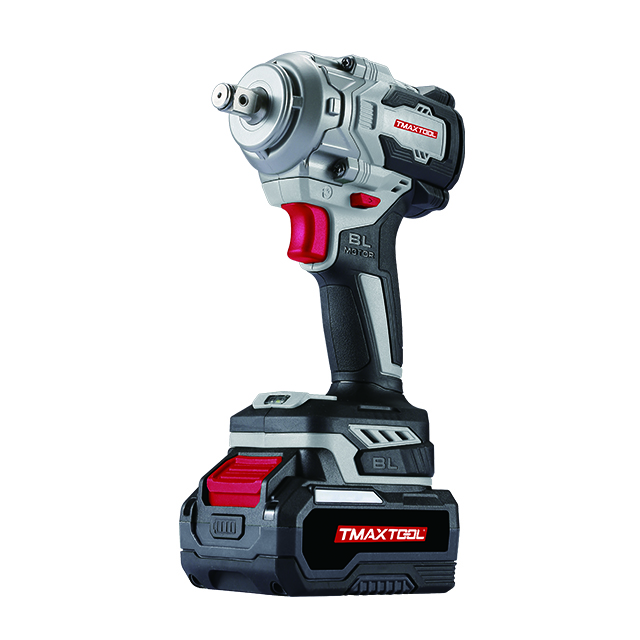 Impact Wrench
 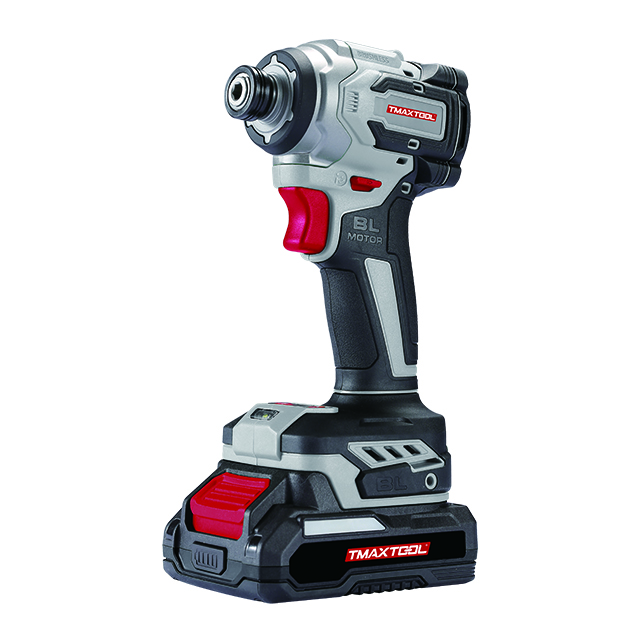 Screwdriver
 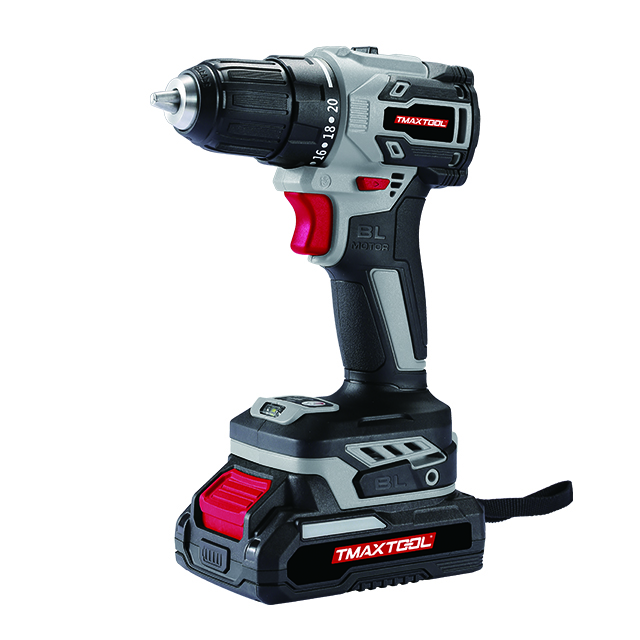 Cordless Drill
 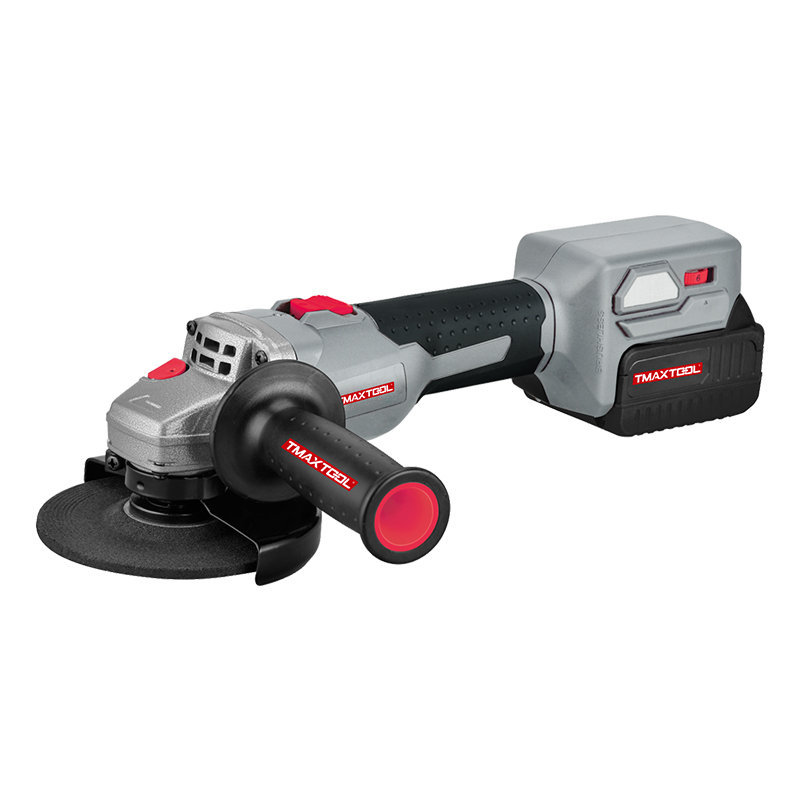 Angle Grinder
 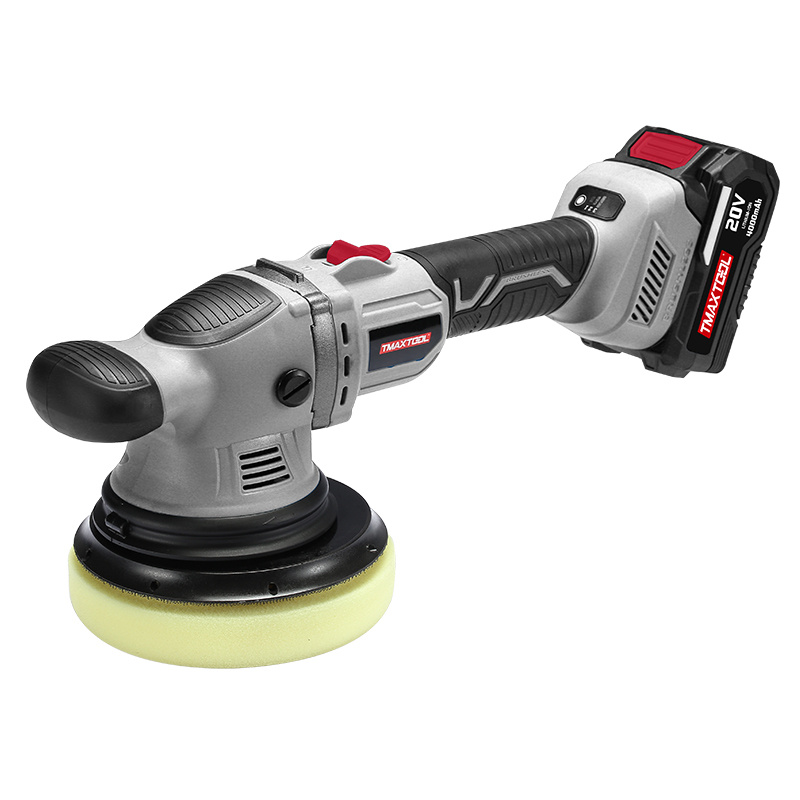 Polisher
 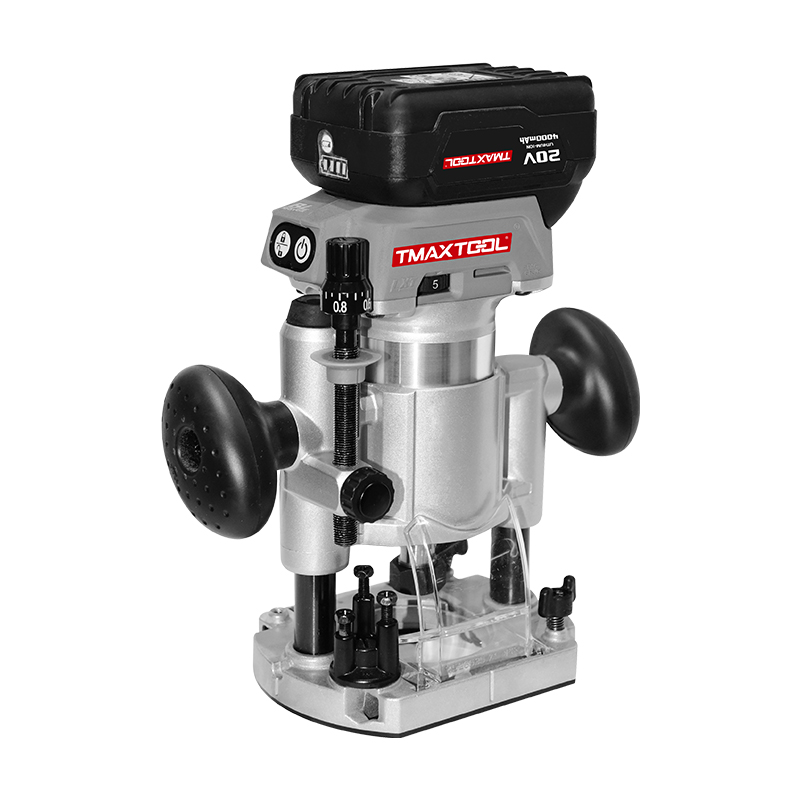 Wood Router
 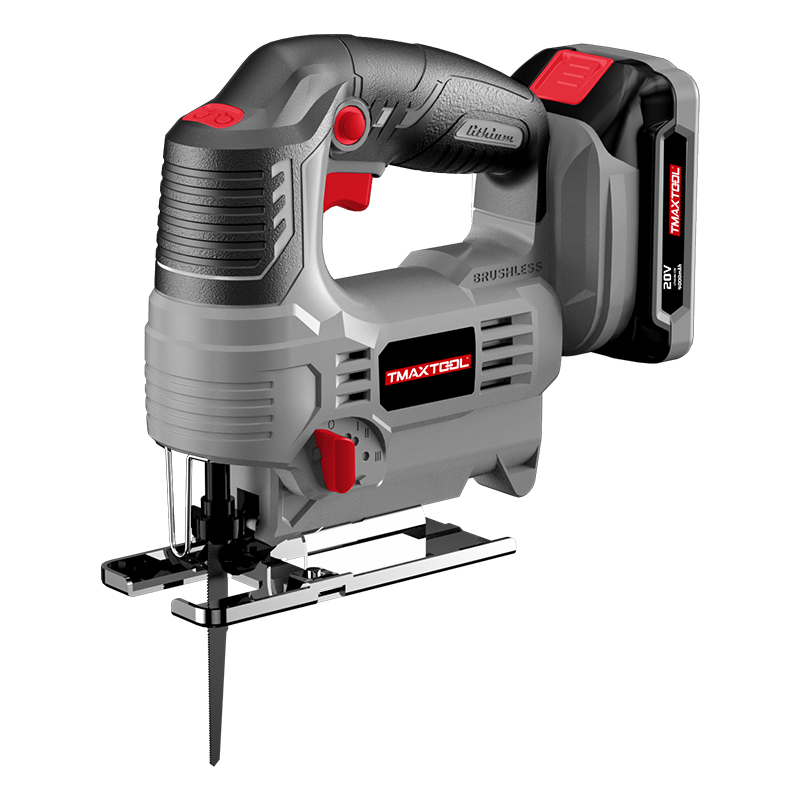 Jig Saw
 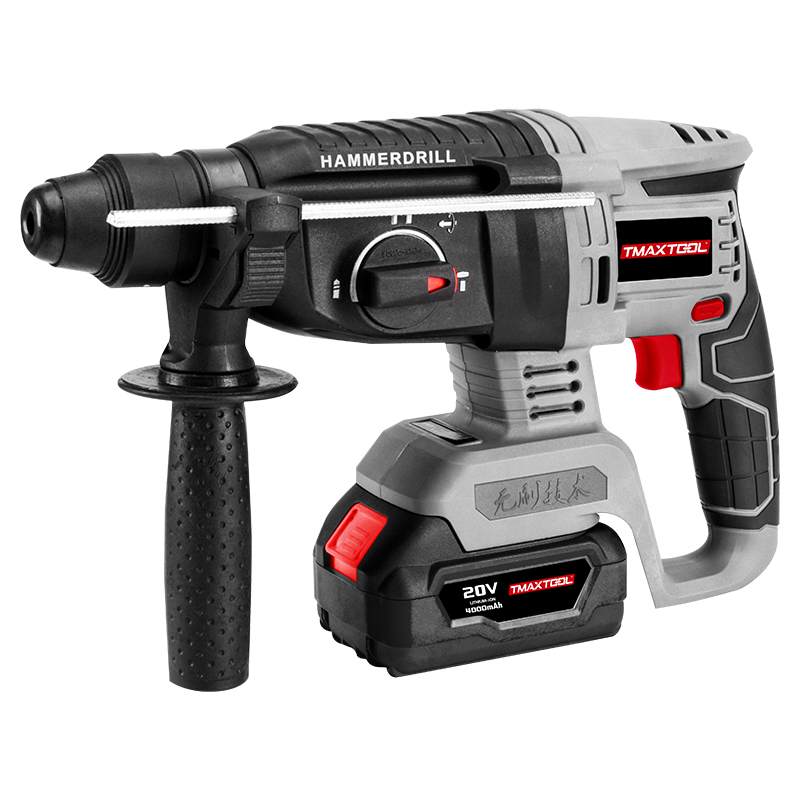 Hammer Drill
 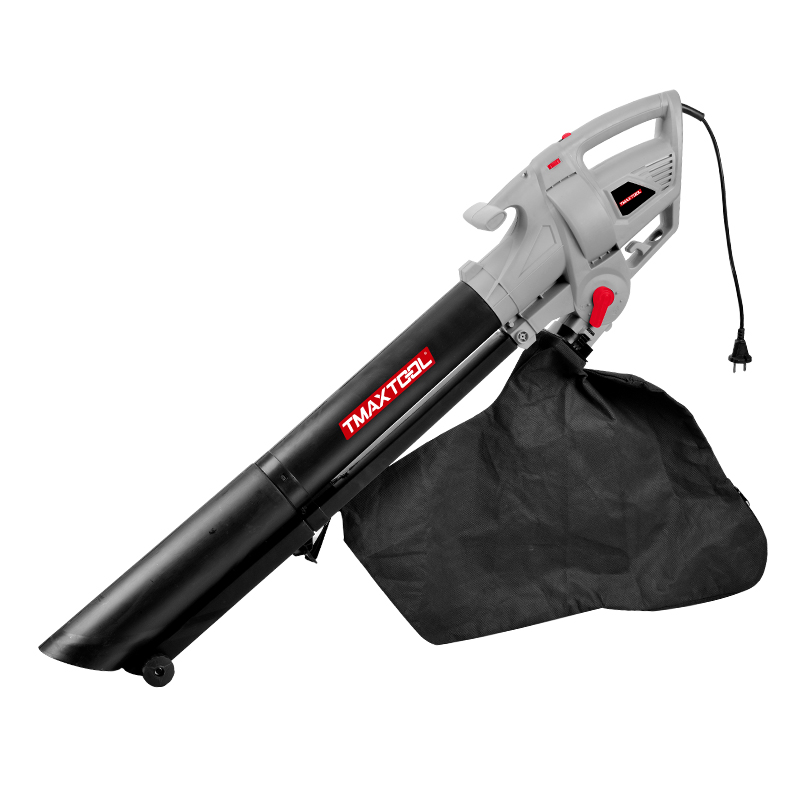 Portable Blower
 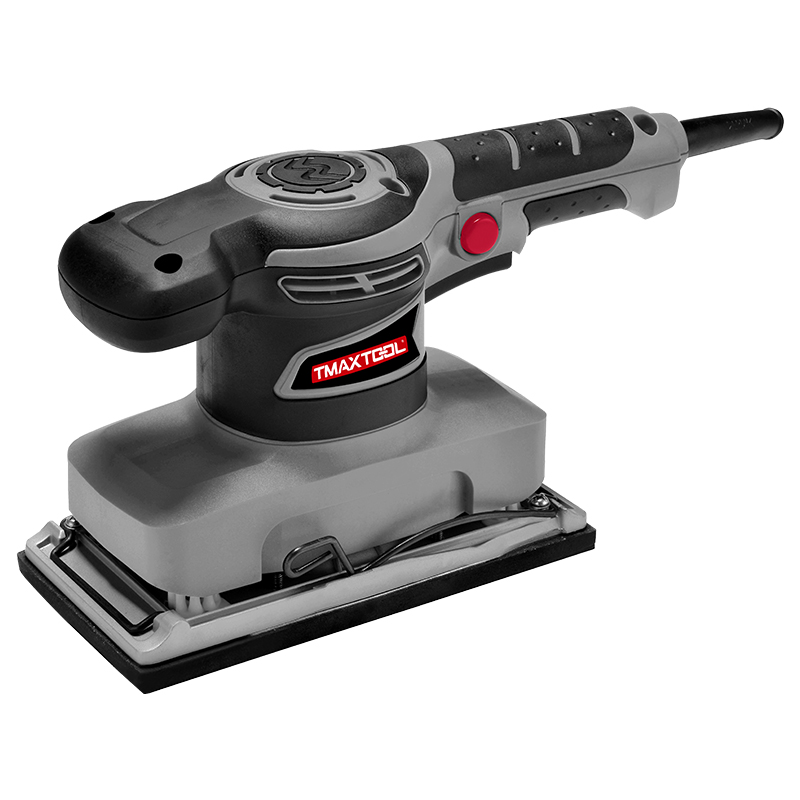 Orbital Sander
 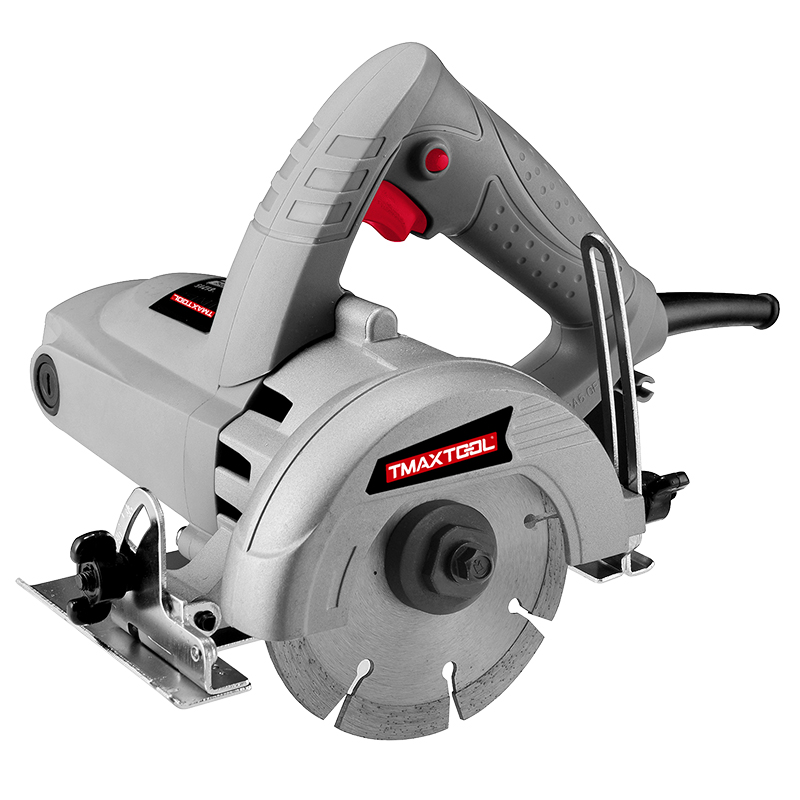 Marble Cutter
  GARDEN TOOLS
 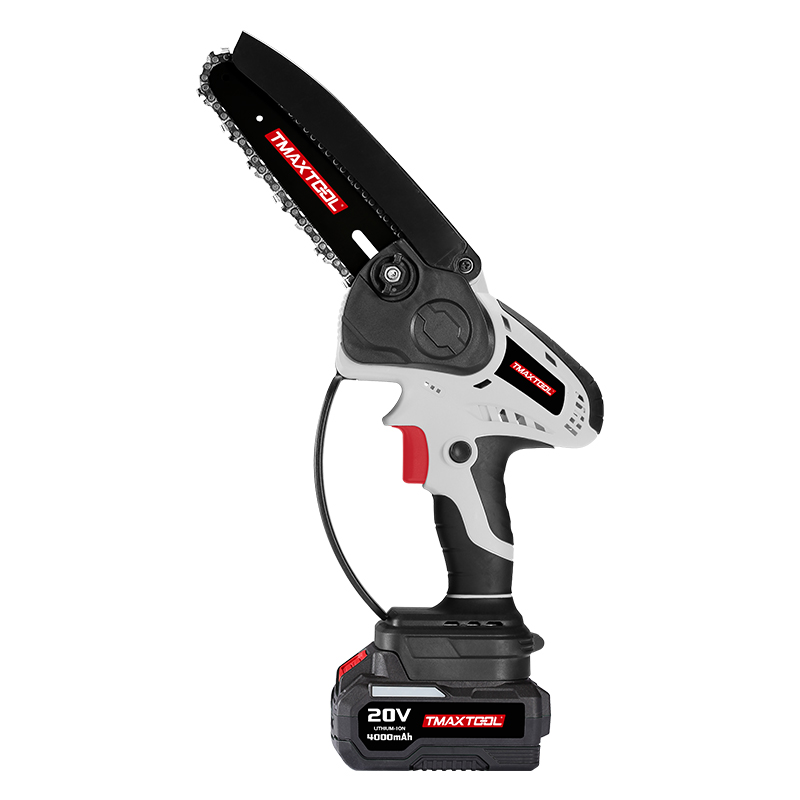 Battery Chain Saw
 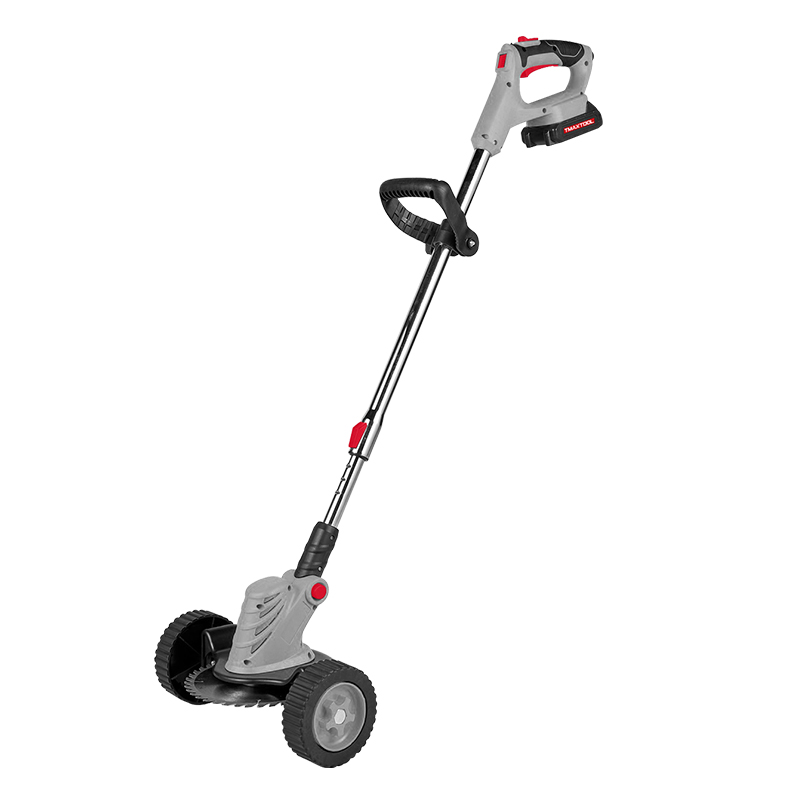 Battery Brush Cutter
 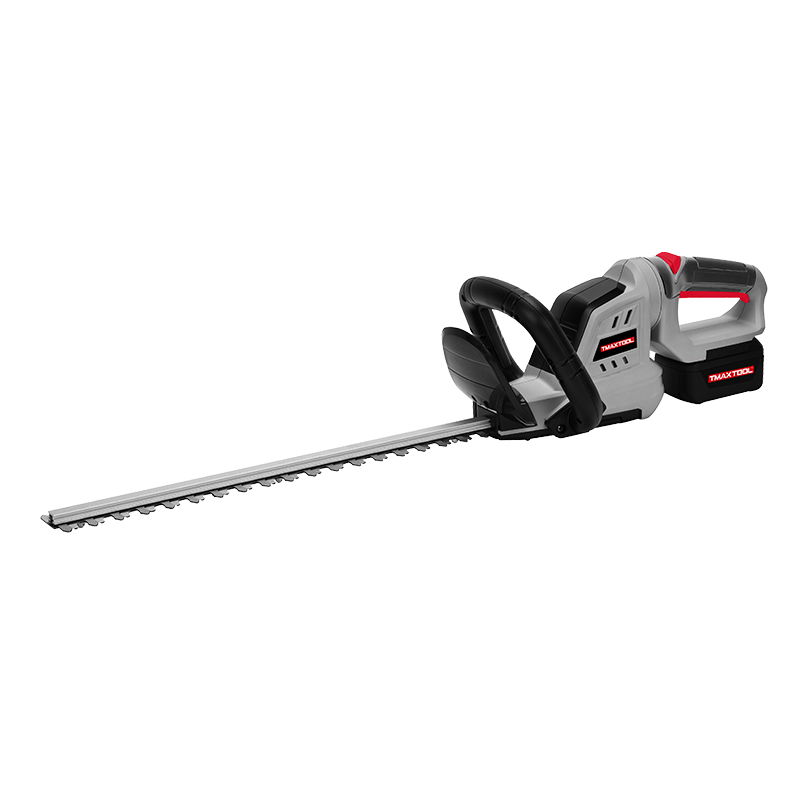 Battery Hedge Trimmer
 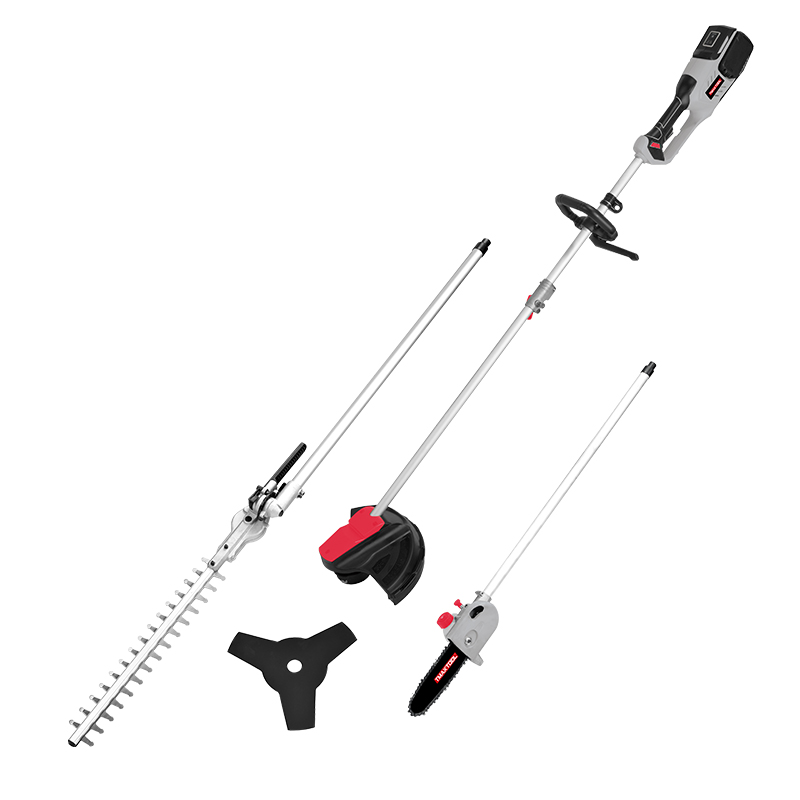 Battery Multi Tool
 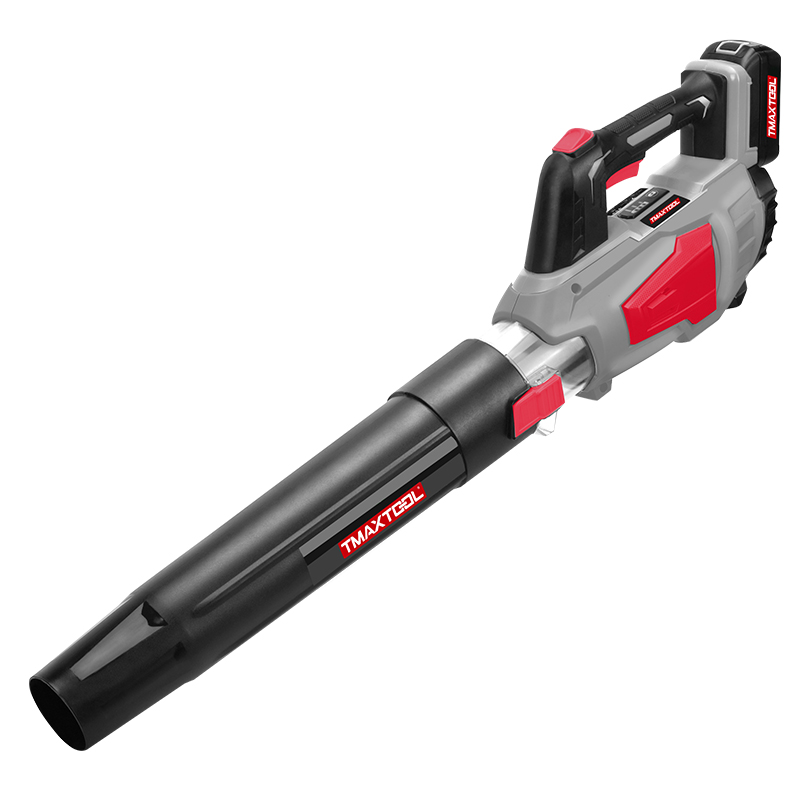 Battery Blower
 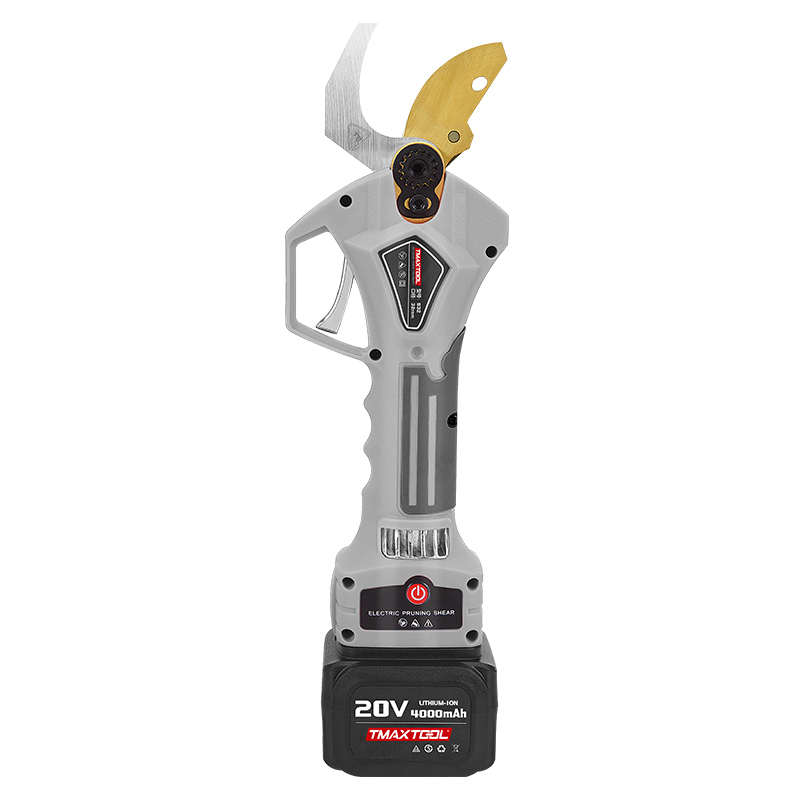 Batter Pruning Shears
 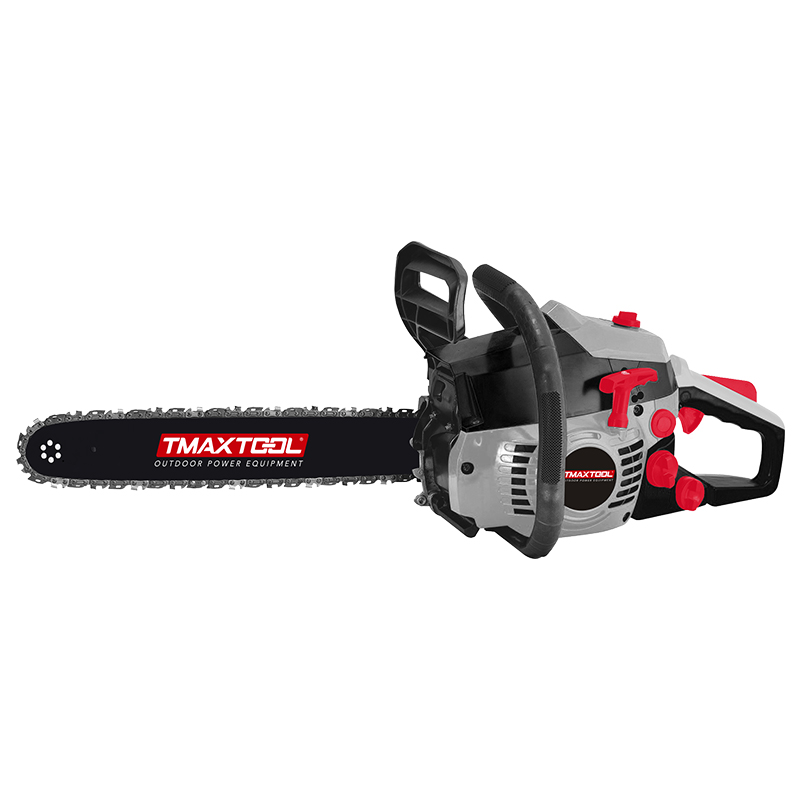 Chain Saw
 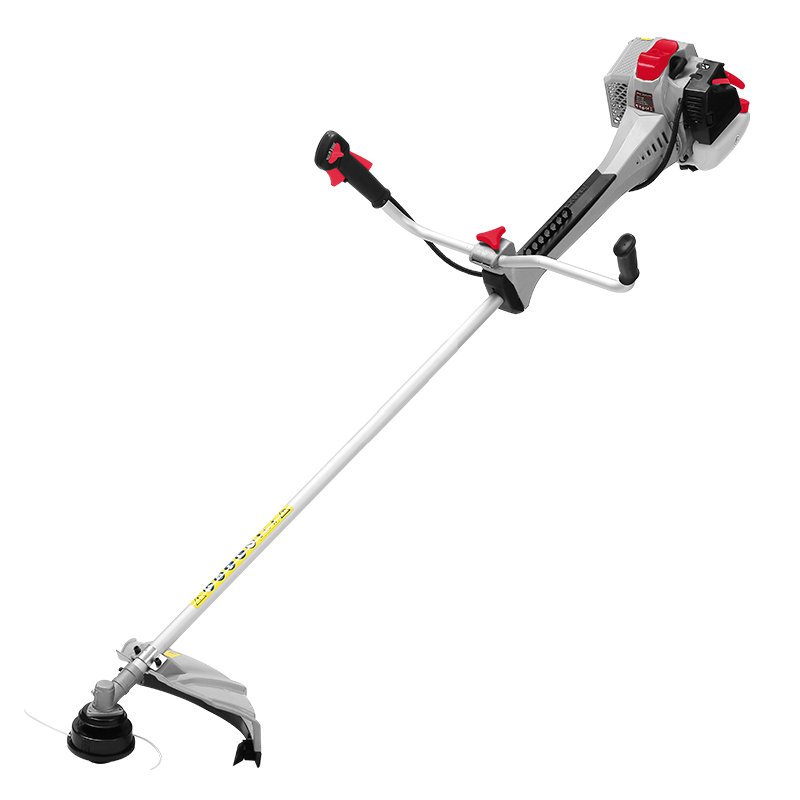 Brush Cutter
 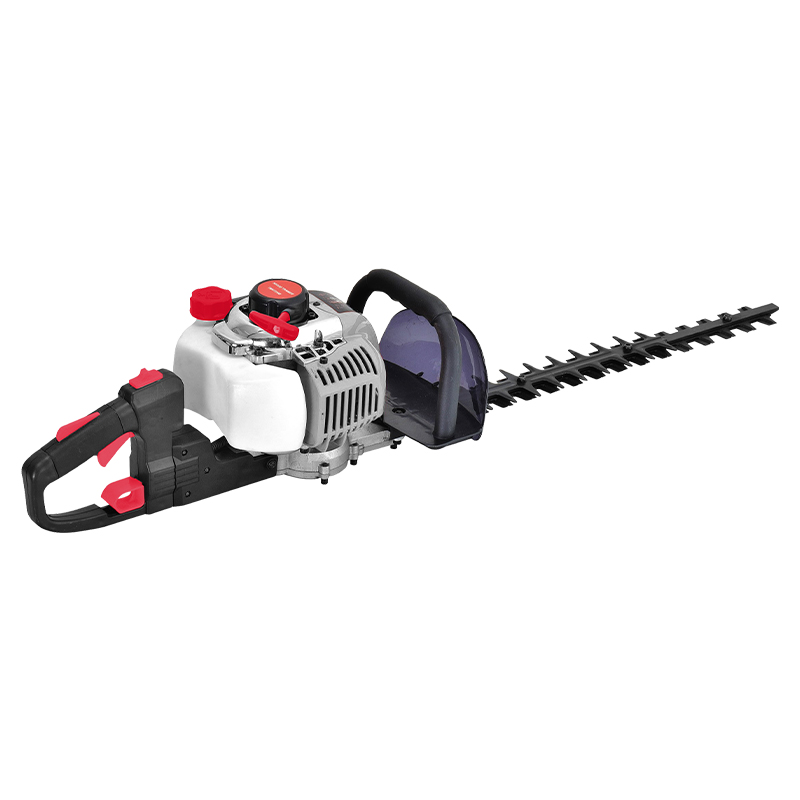 Hedge Trimmer
 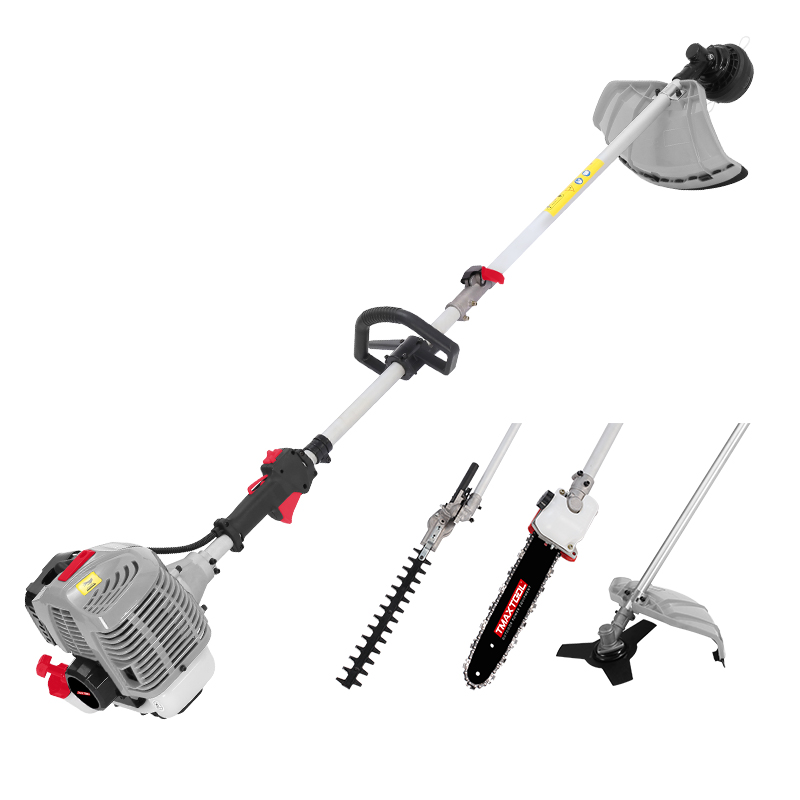 Multi Tool
 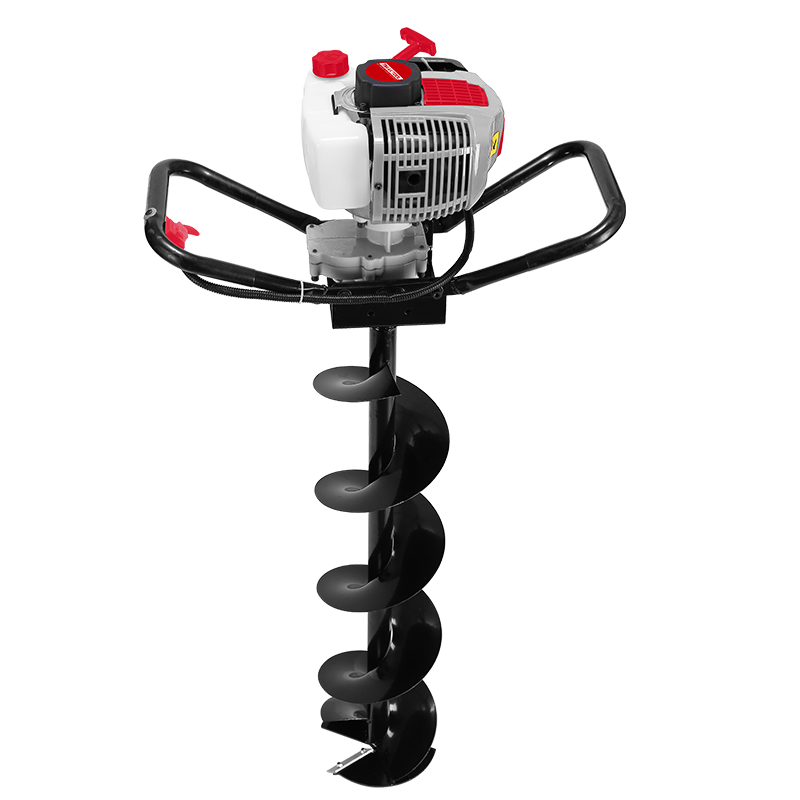 Earth Auger
 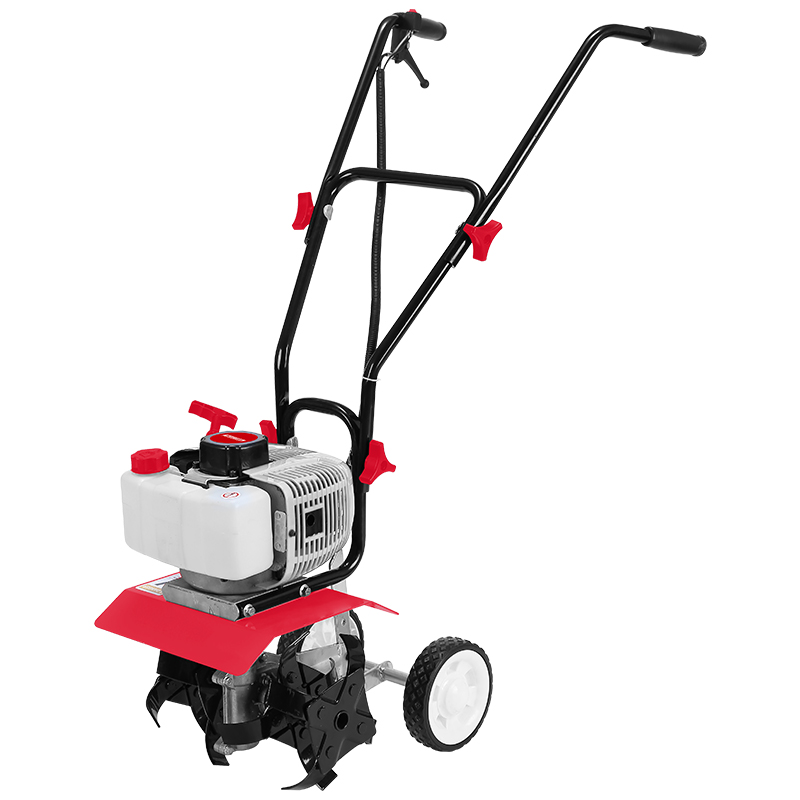 Tiller
  Blower
  4 Stroke Gasoline Engine
  Generator
  Water Pump
 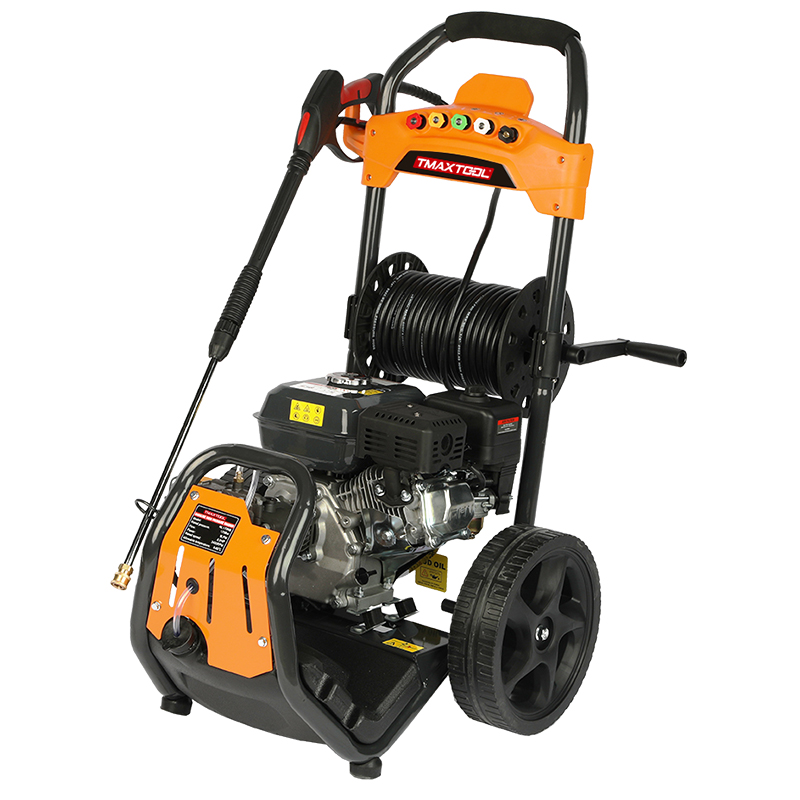 High Pressure Washer
 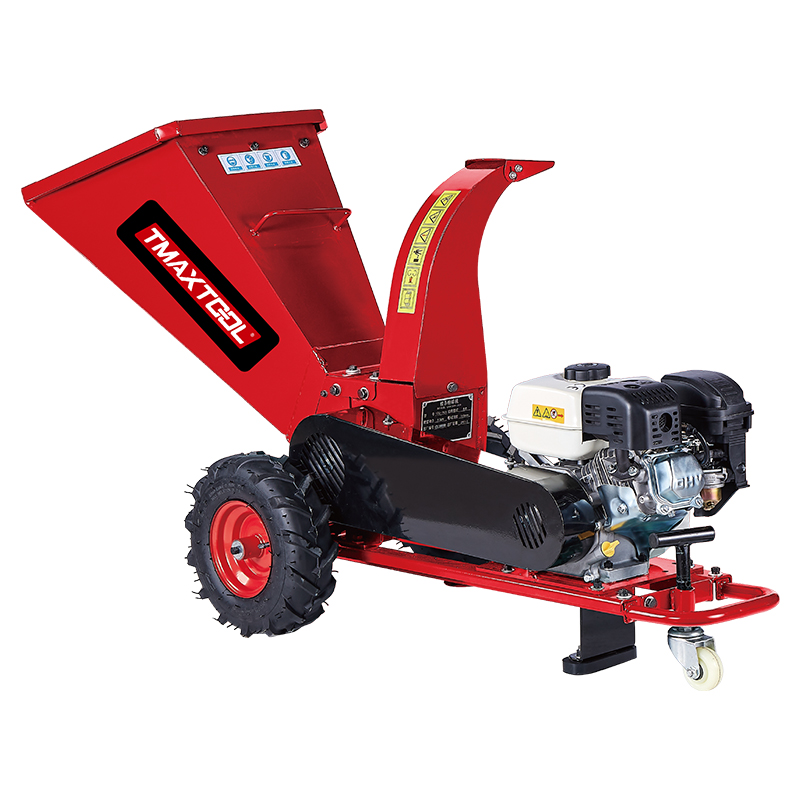 Wood Cutter
 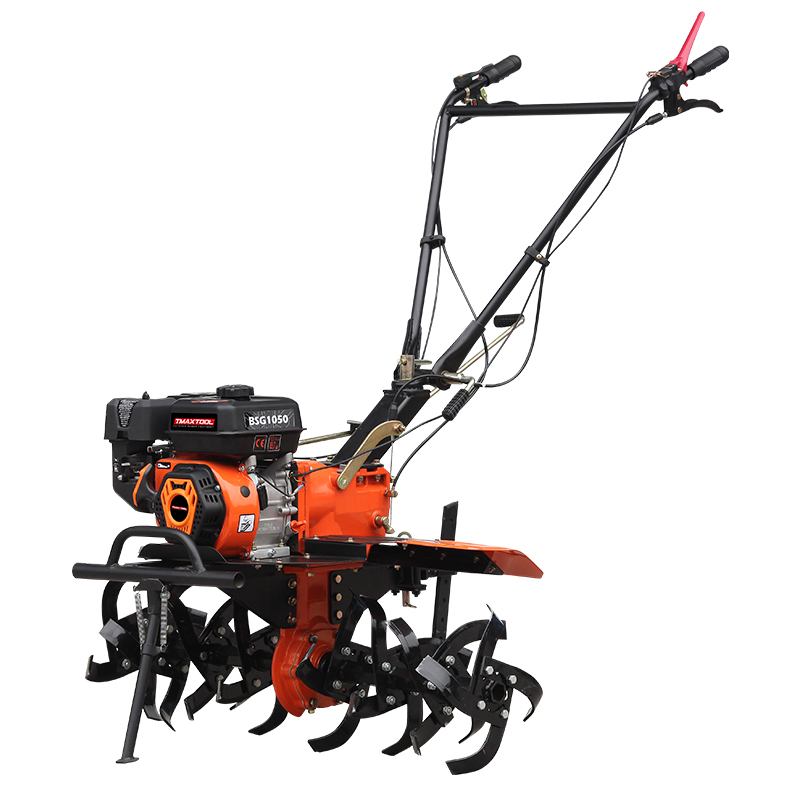 4 Stroke Tiller
 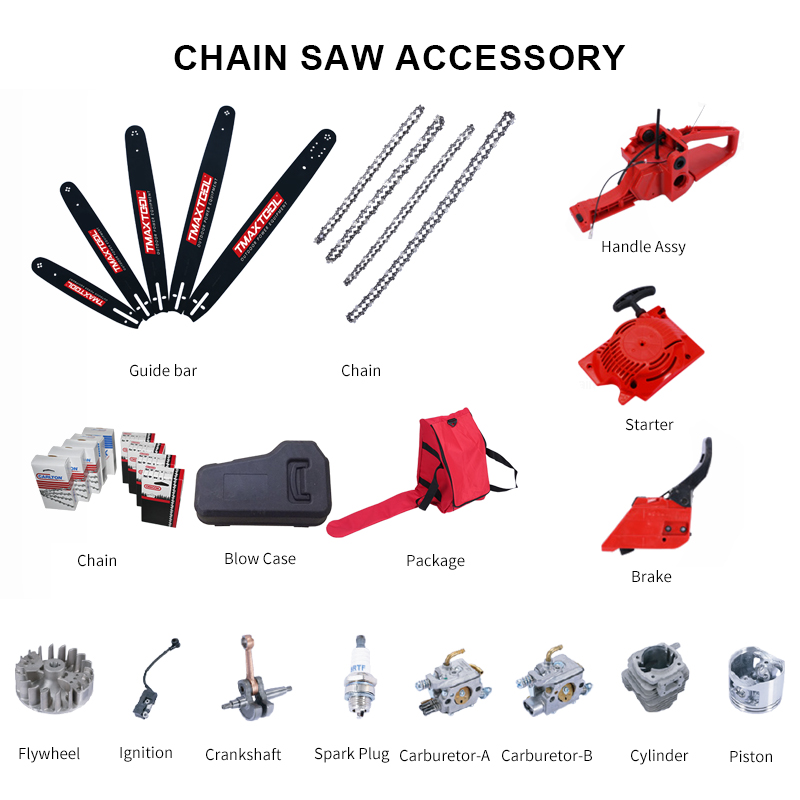 Chain Saw Accessory
 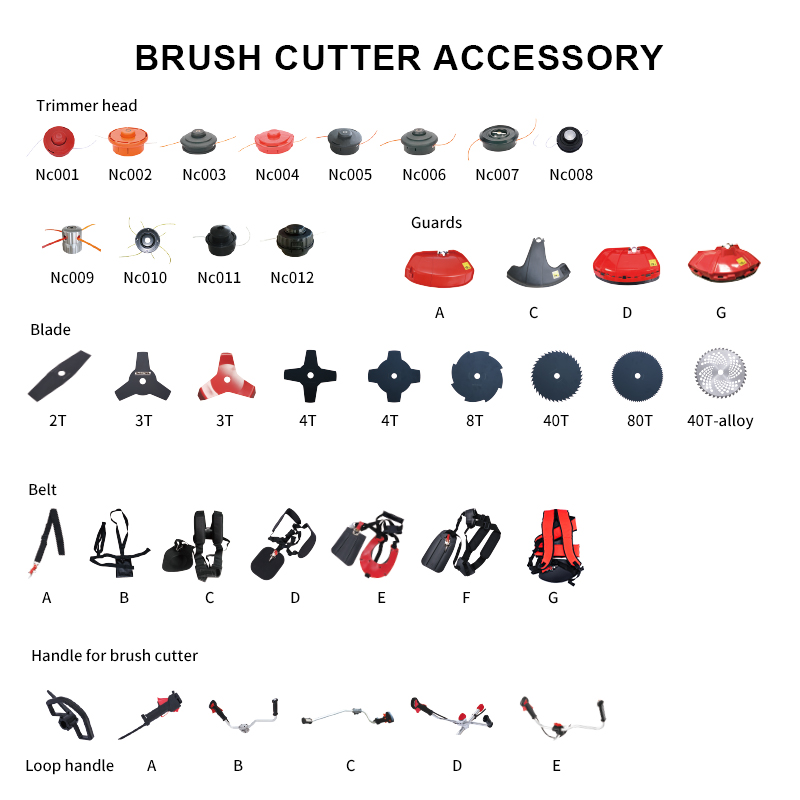 Brush Cutter Accessory
 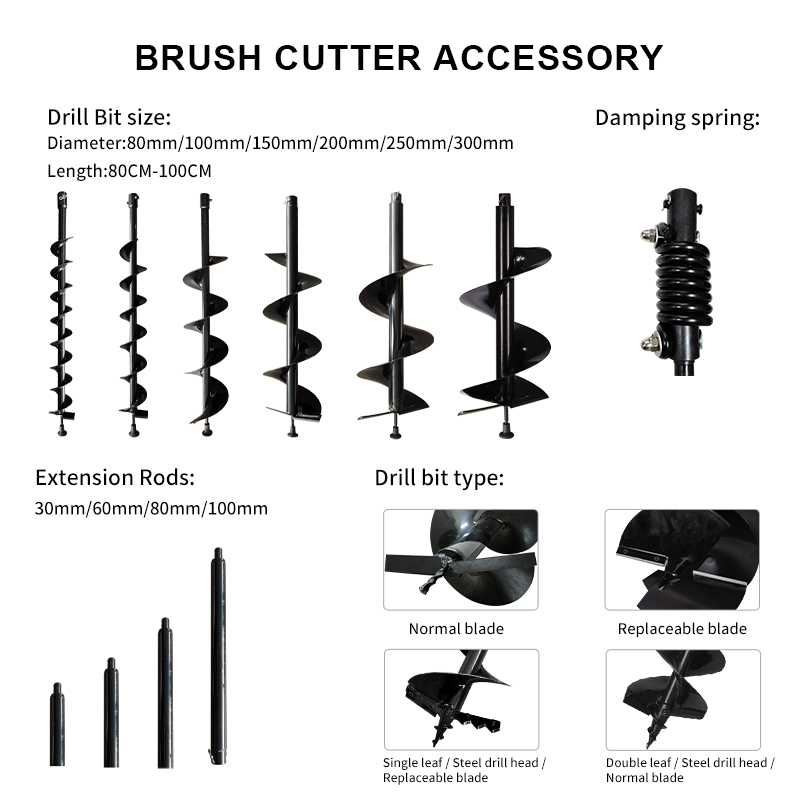 Earth Auger Accessory
  Protective Equipment Accessories


