
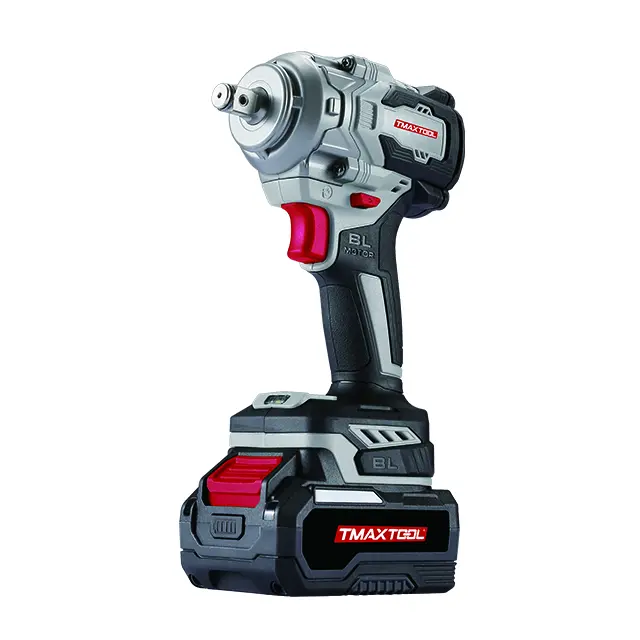
 Impact Wrench
 Screwdriver
 Cordless Drill
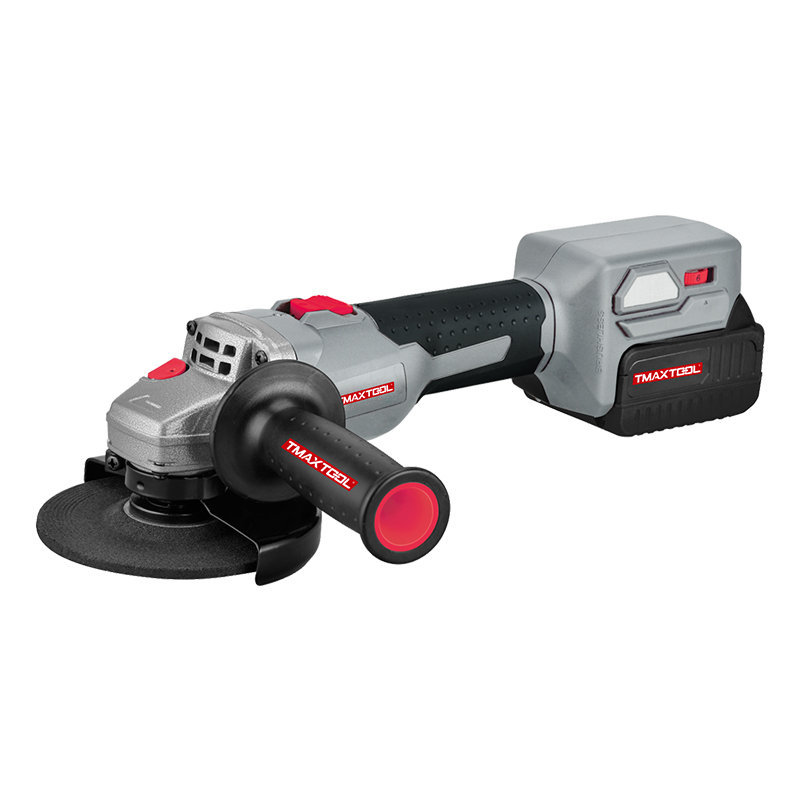 Angle Grinder
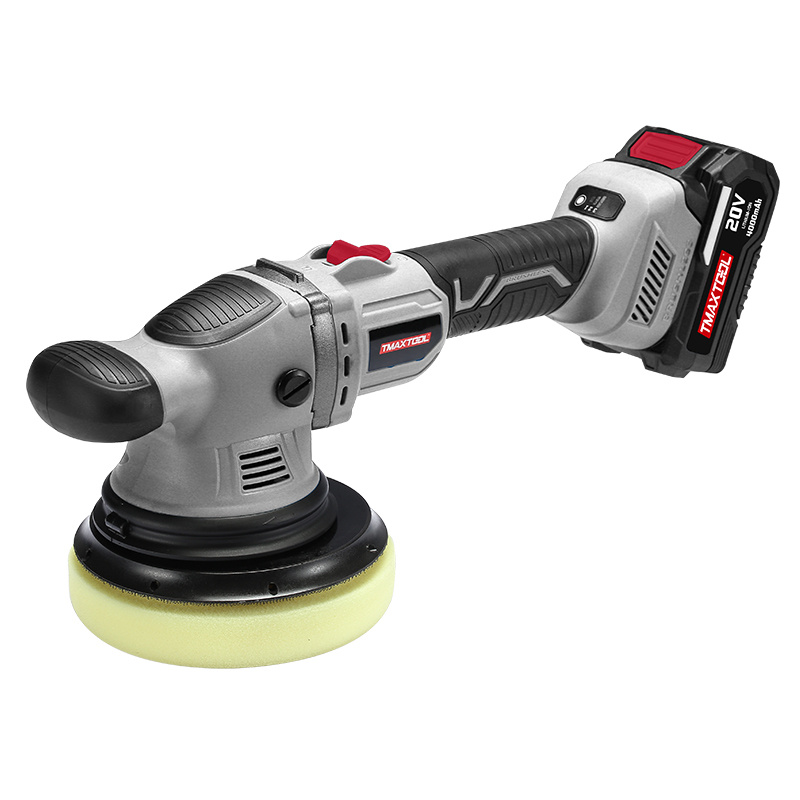 Polisher
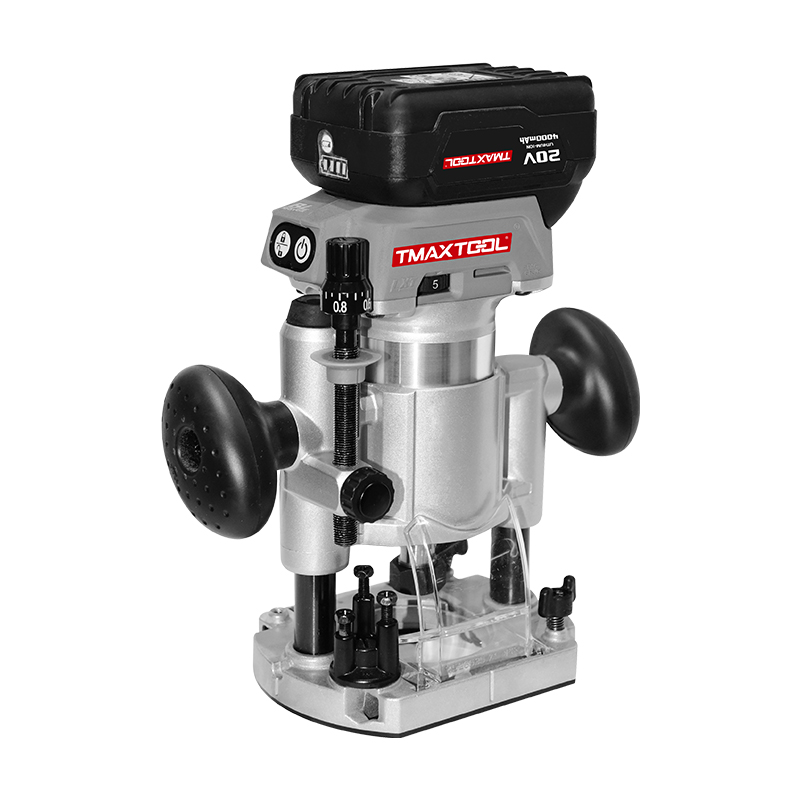 Wood Router
 Jig Saw
 Hammer Drill
 Portable Blower
 Orbital Sander
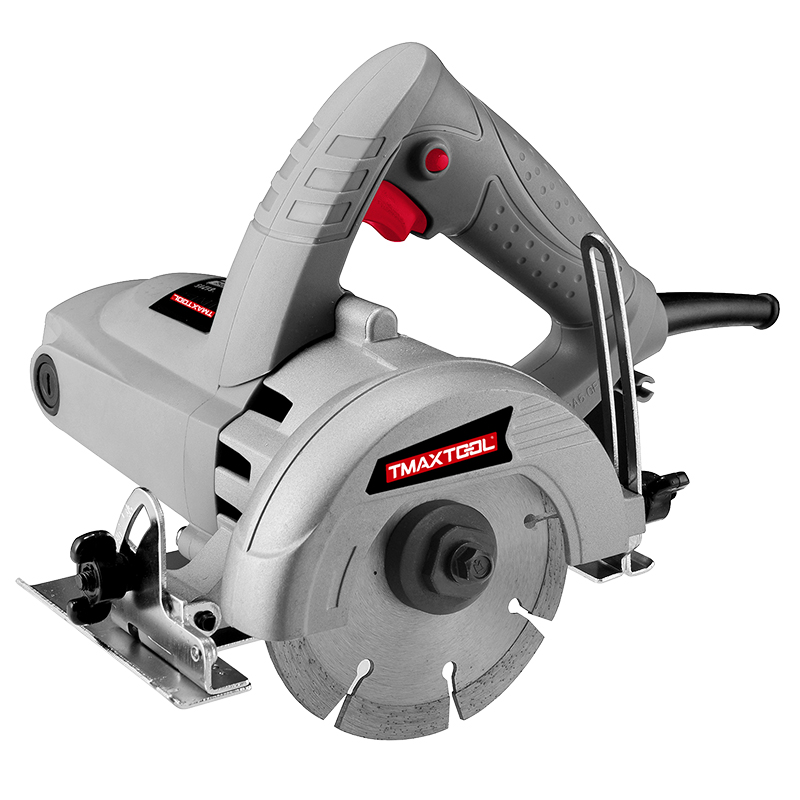 Marble Cutter
 GARDEN TOOLS
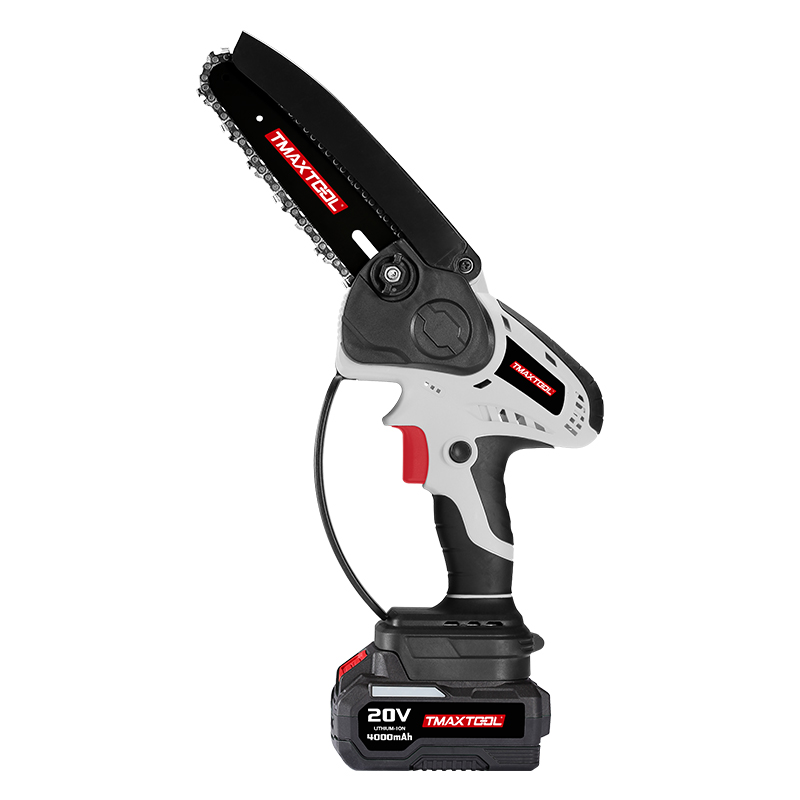 Battery Chain Saw
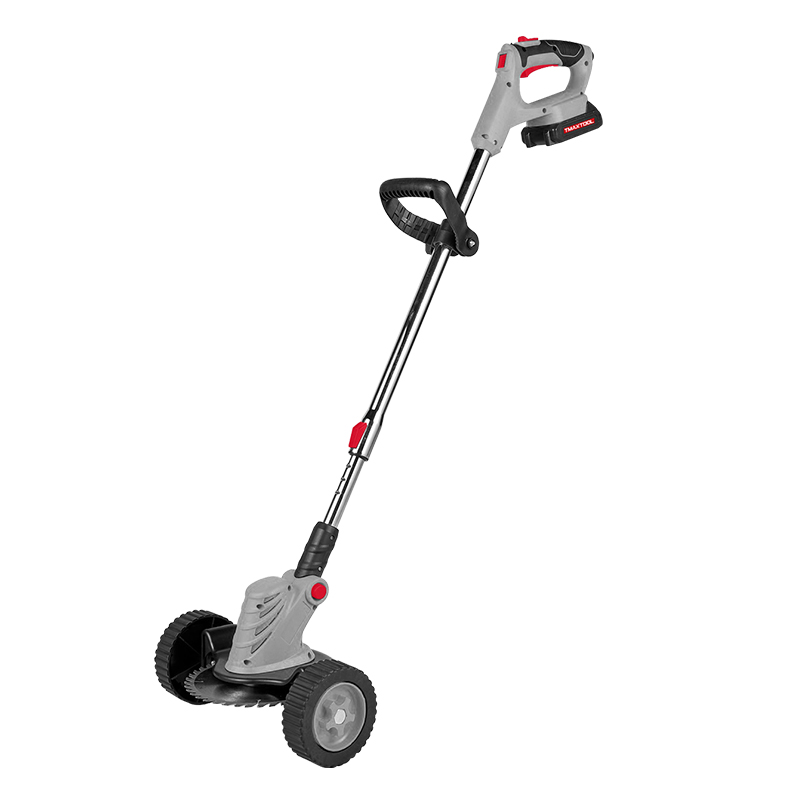 Battery Brush Cutter
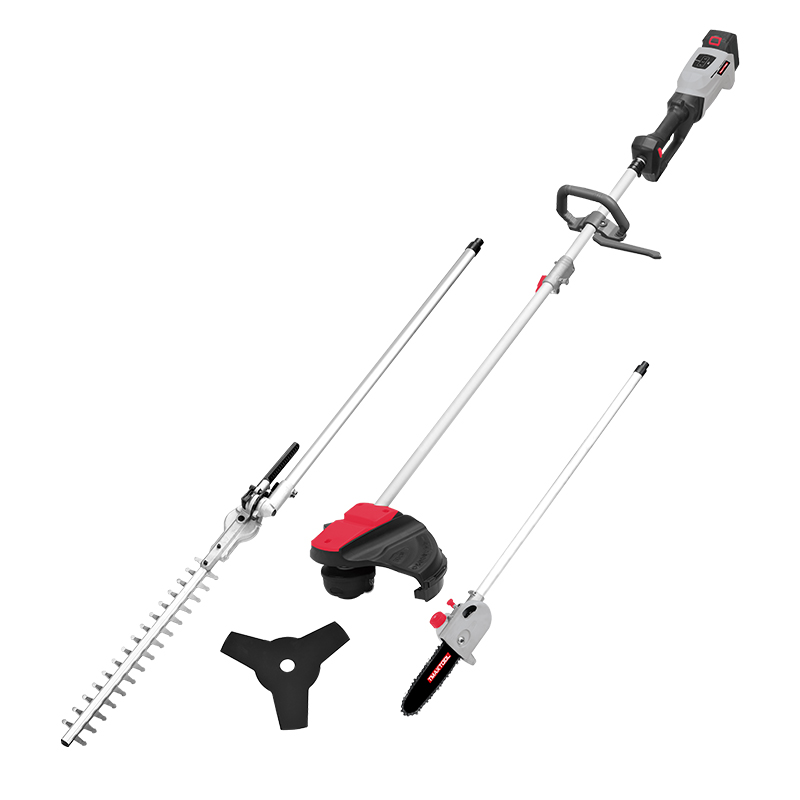
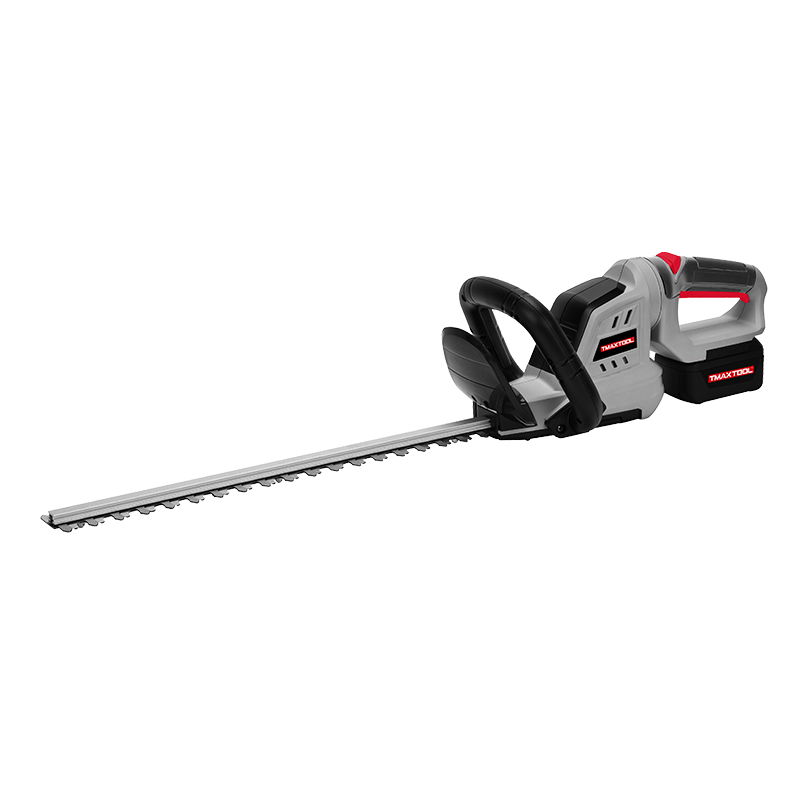 Battery Hedge Trimmer
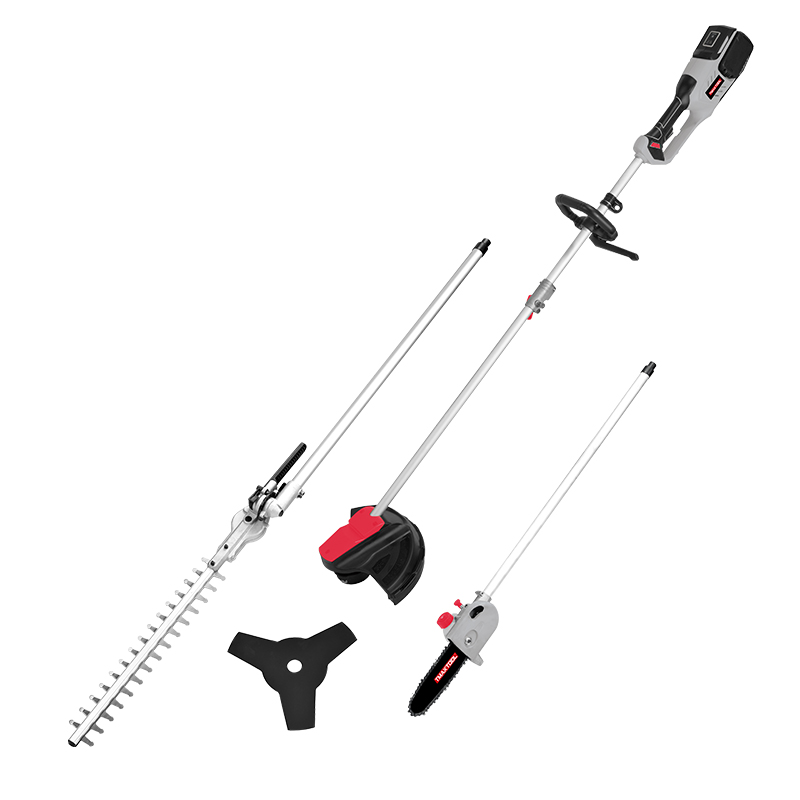
 Battery Multi Tool
 Battery Blower
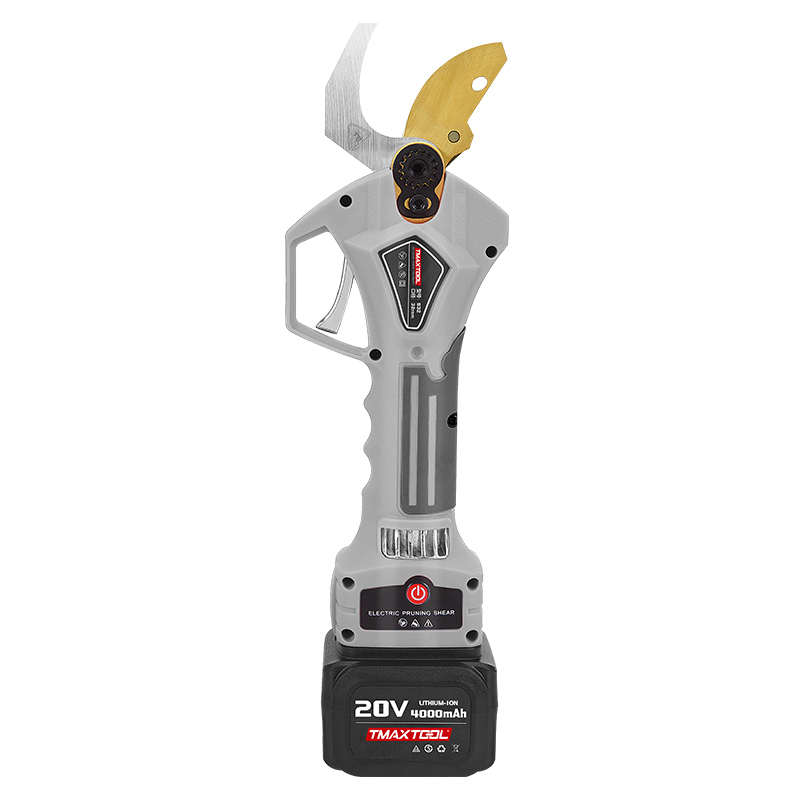 Batter Pruning Shears
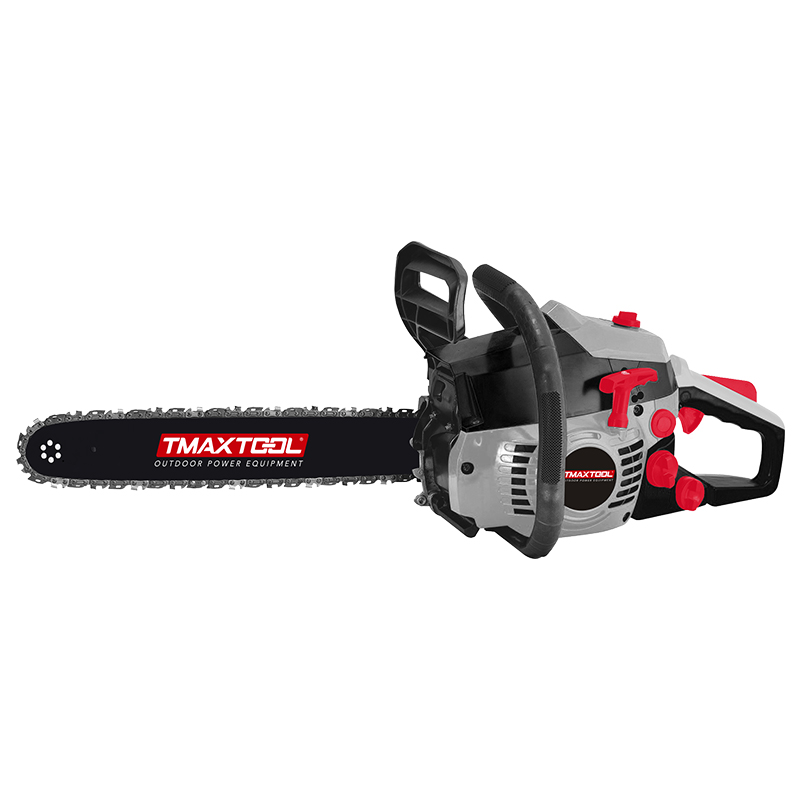 Chain Saw
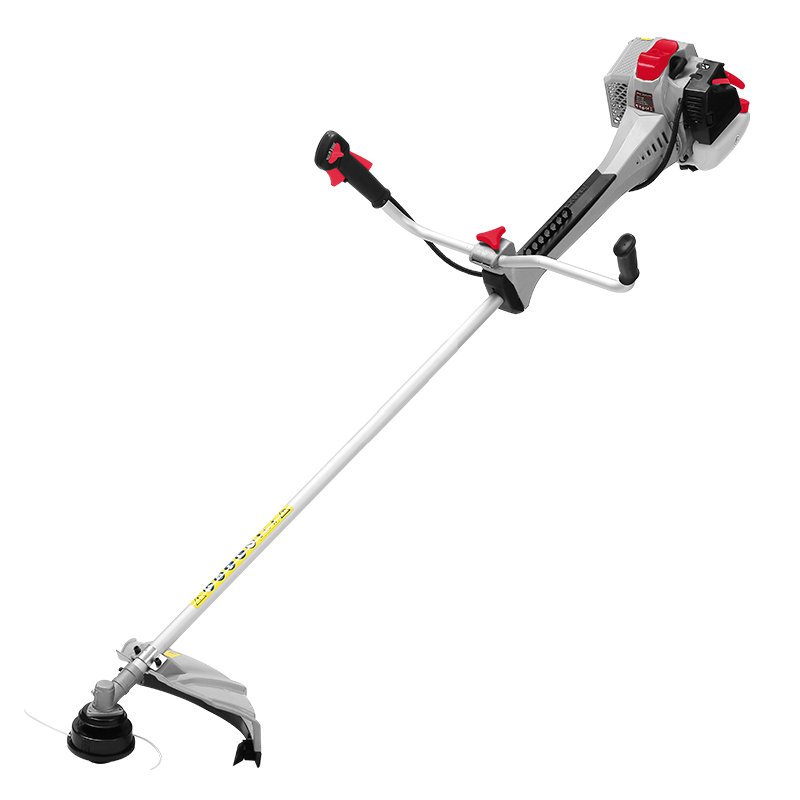 Brush Cutter
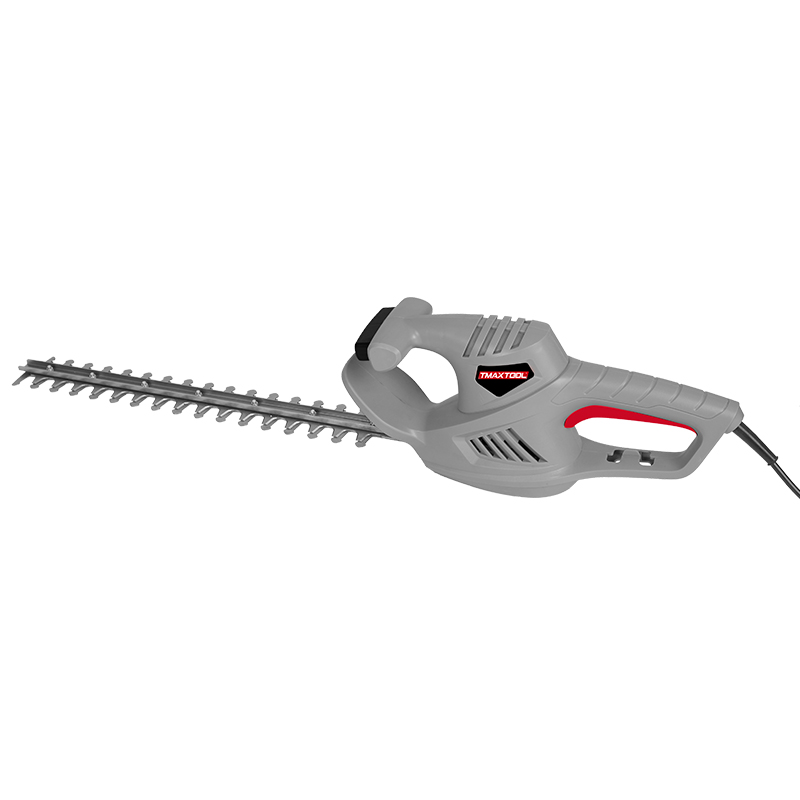
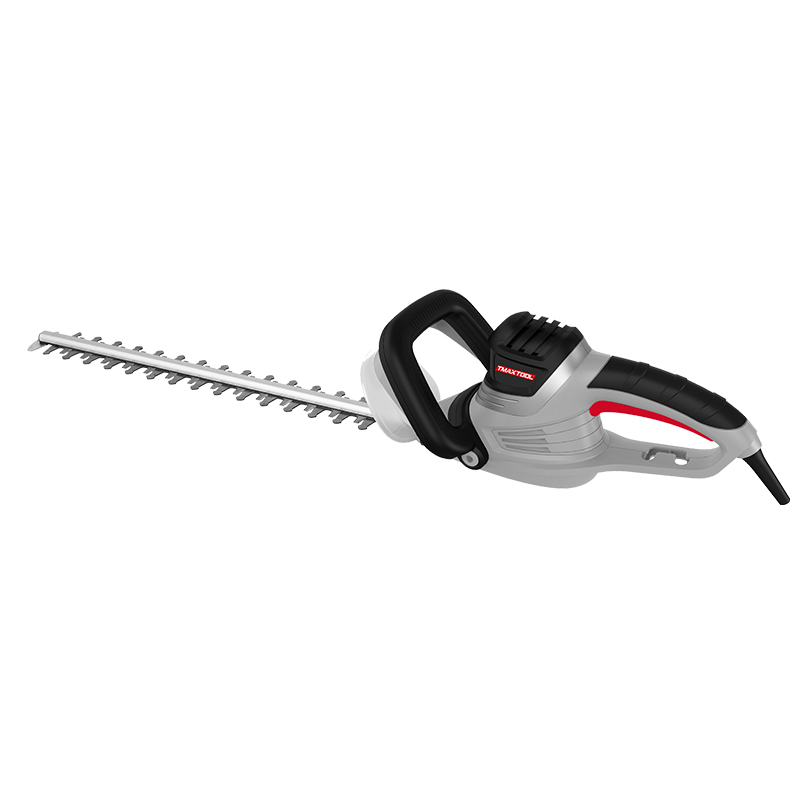
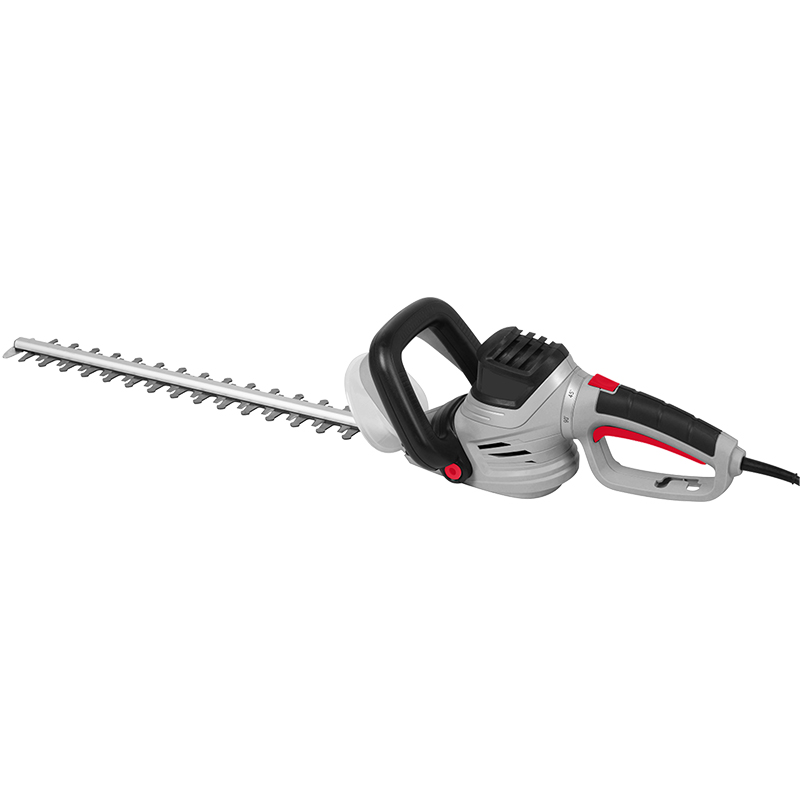
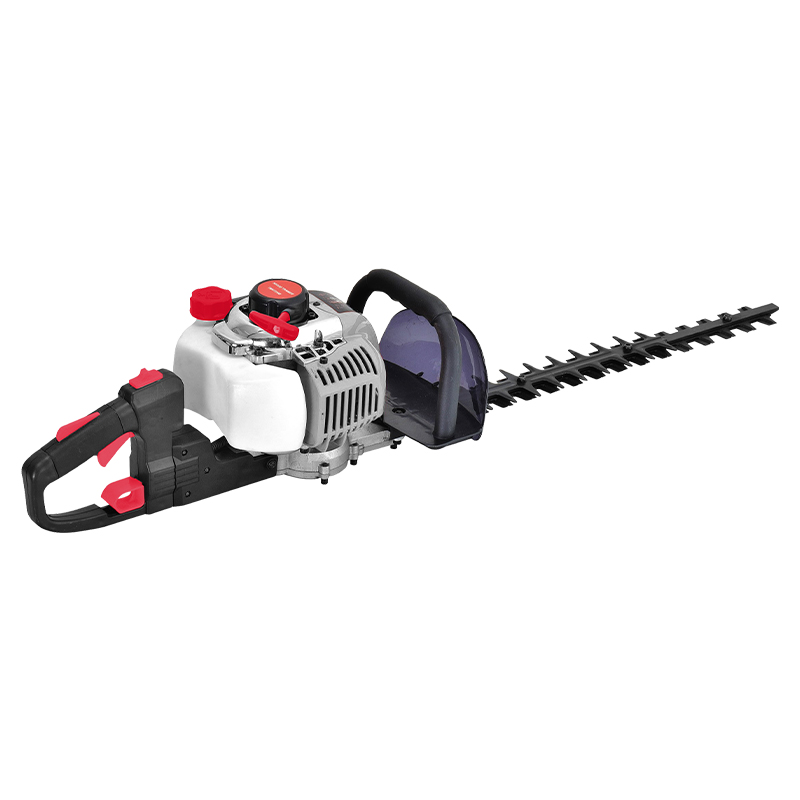 Hedge Trimmer
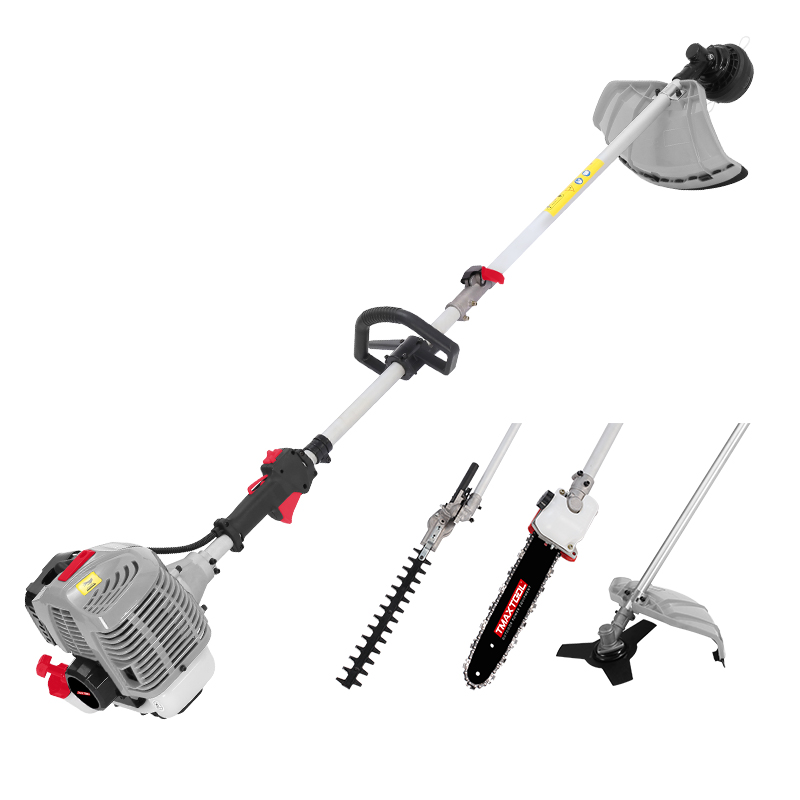 Multi Tool
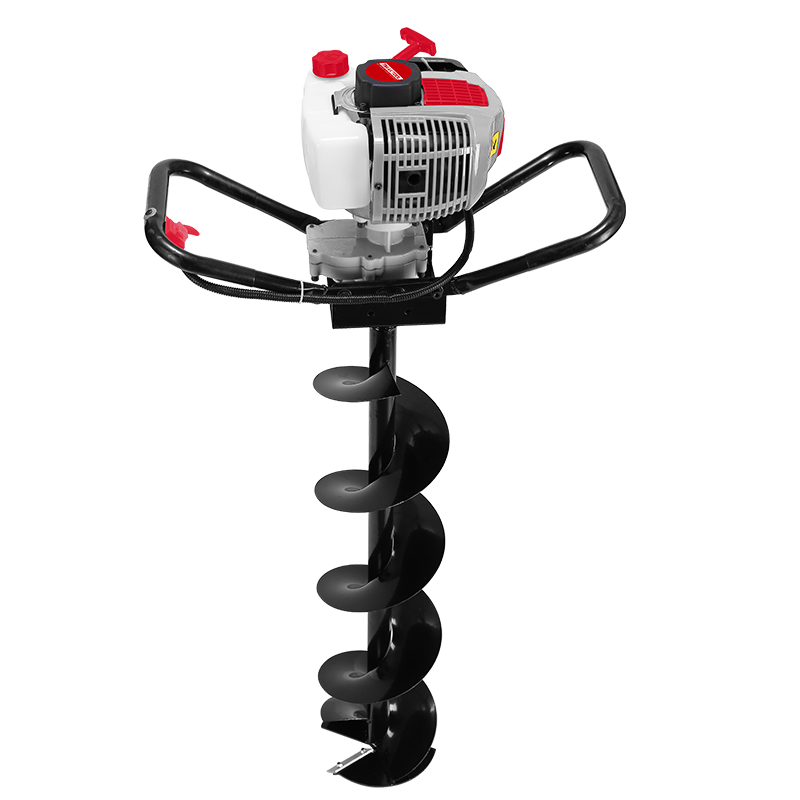 Earth Auger
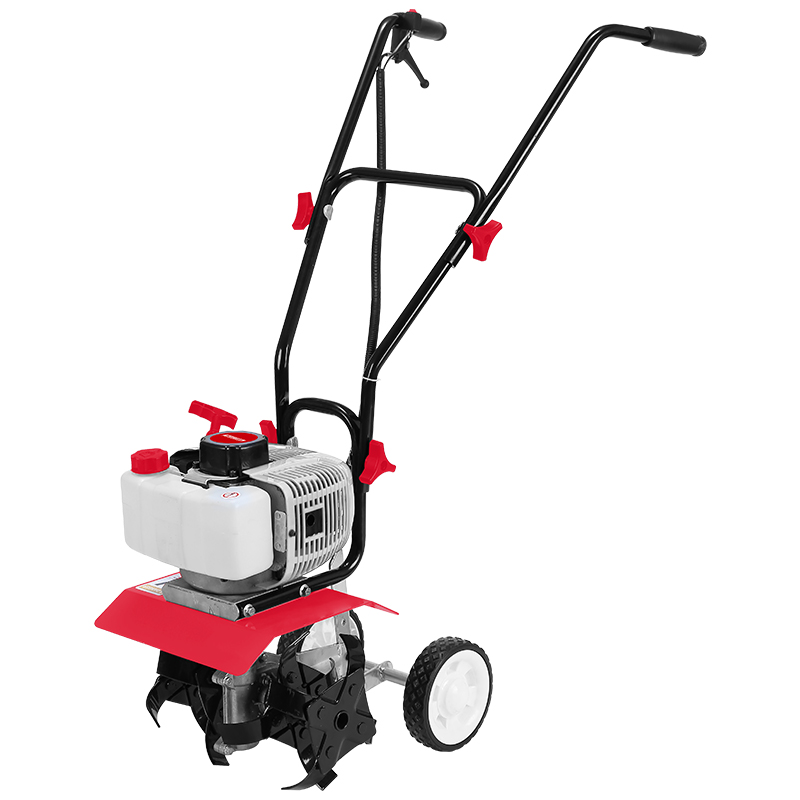 Tiller
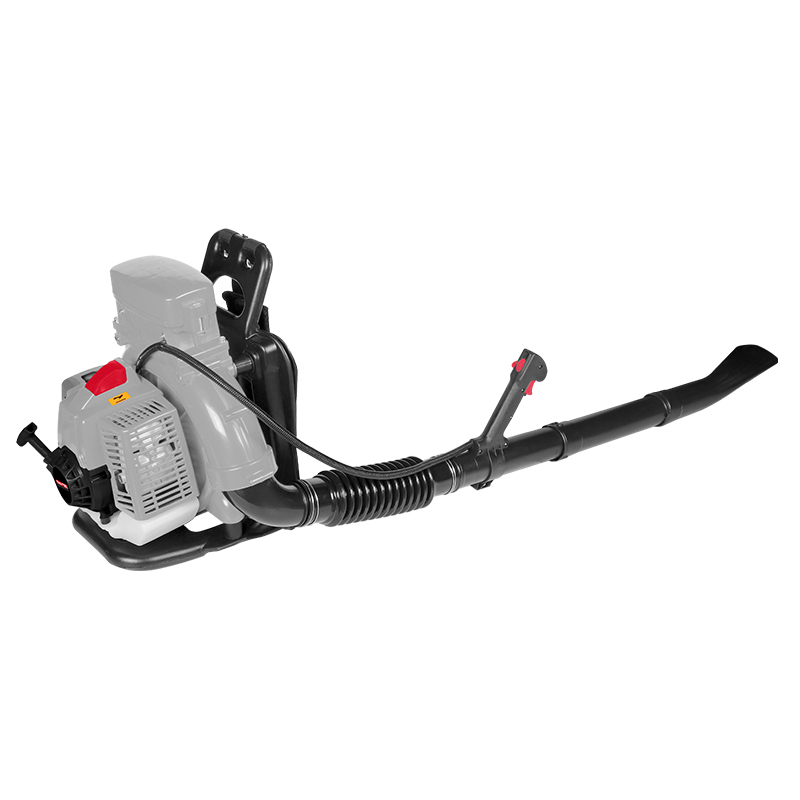 Blower
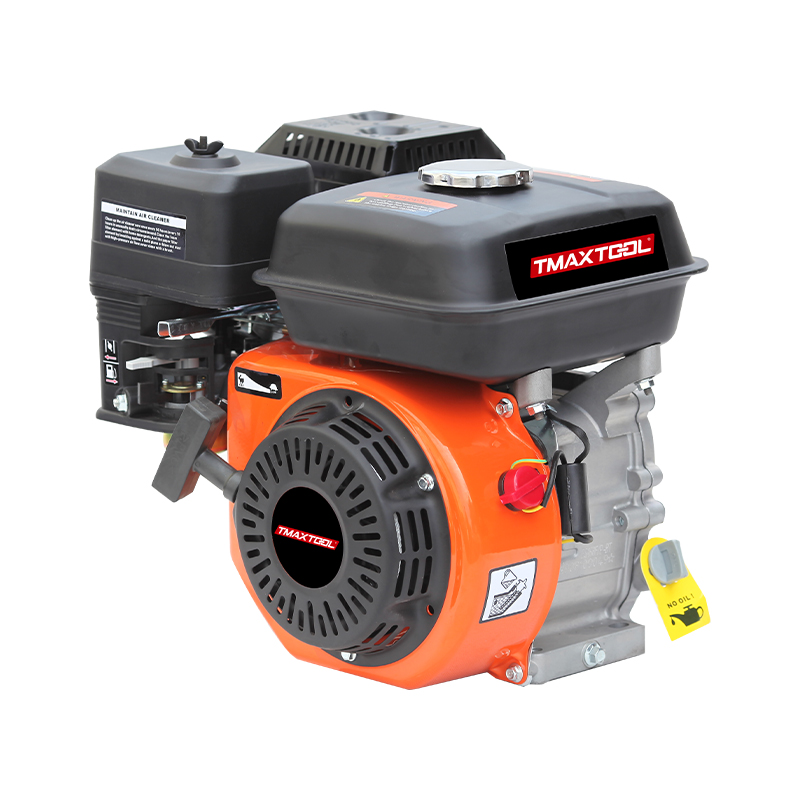 4 Stroke Gasoline Engine
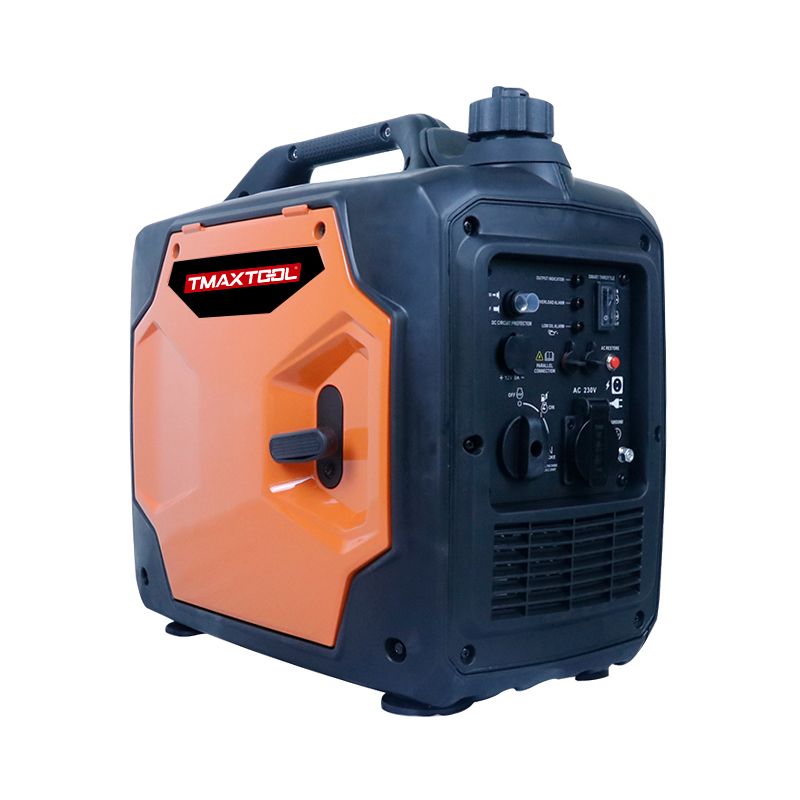 Generator
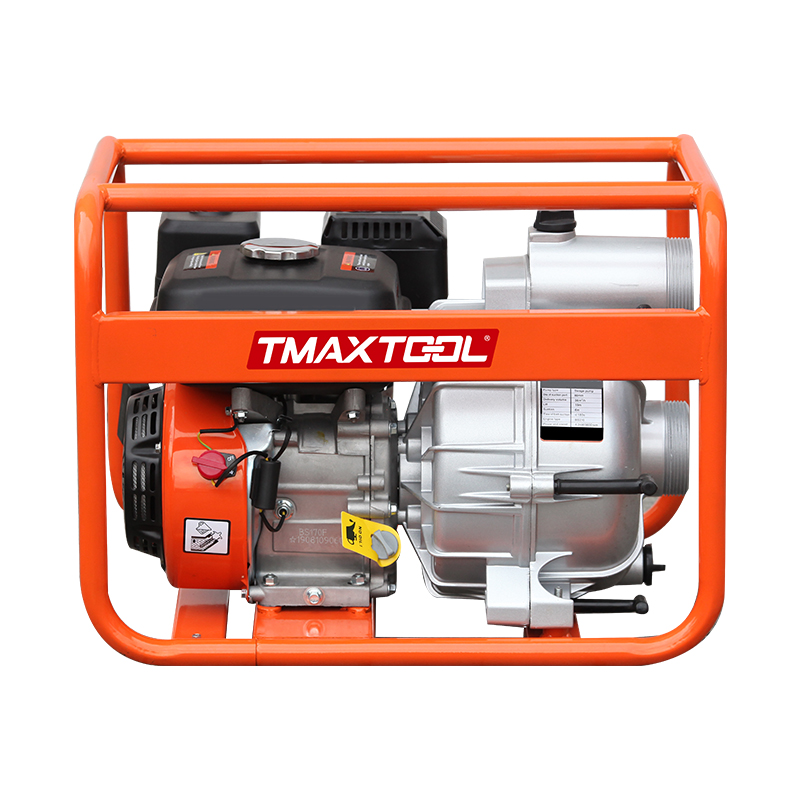 Water Pump
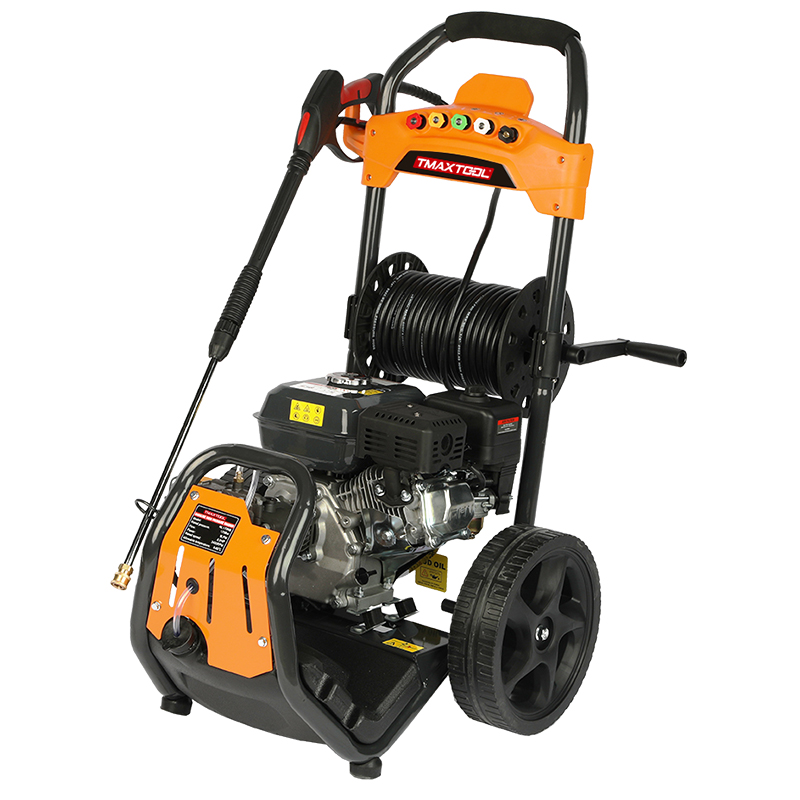 High Pressure Washer
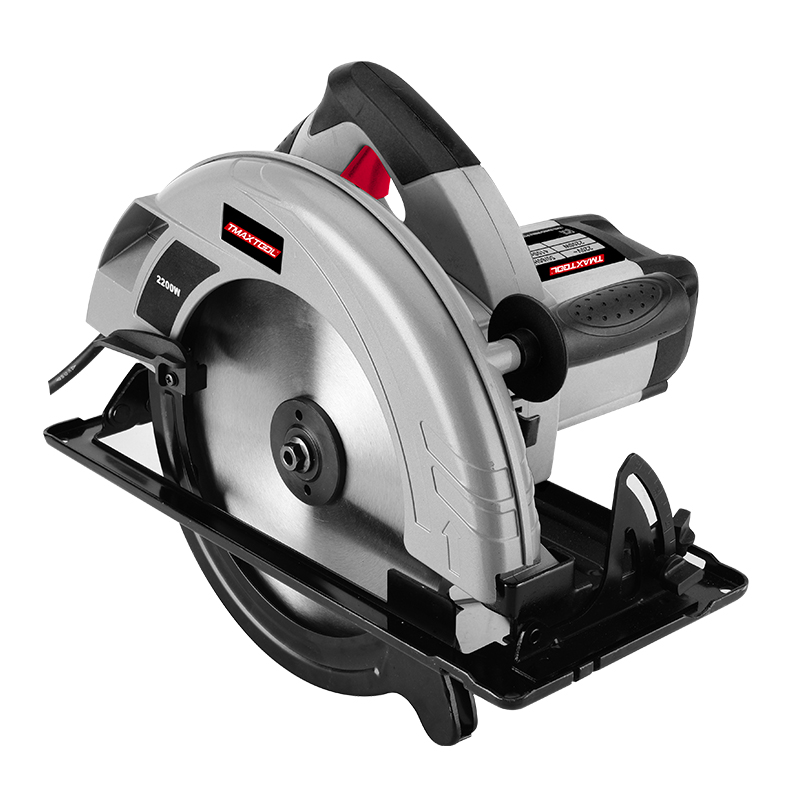
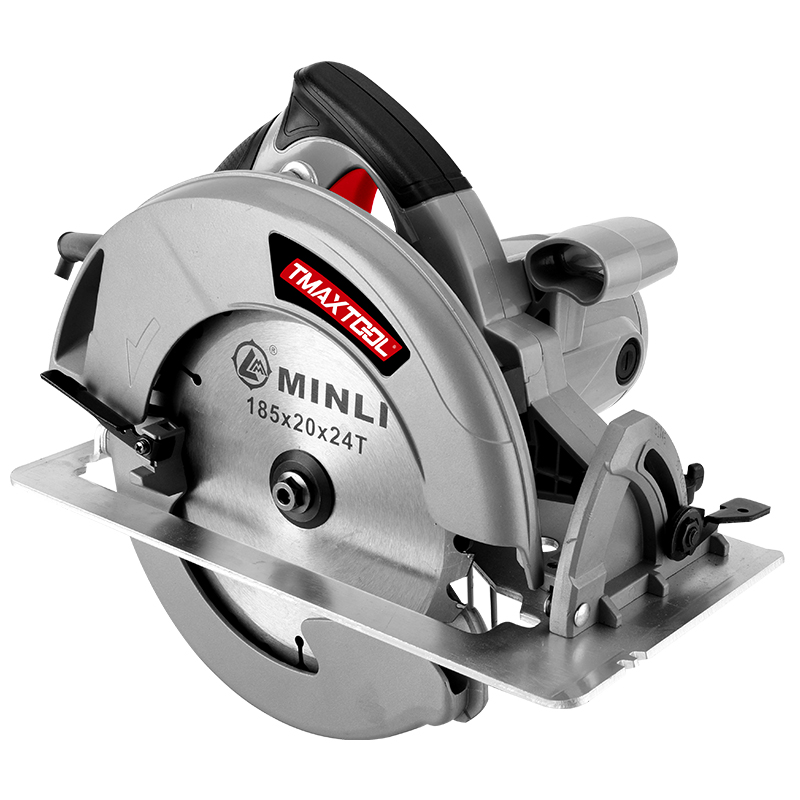
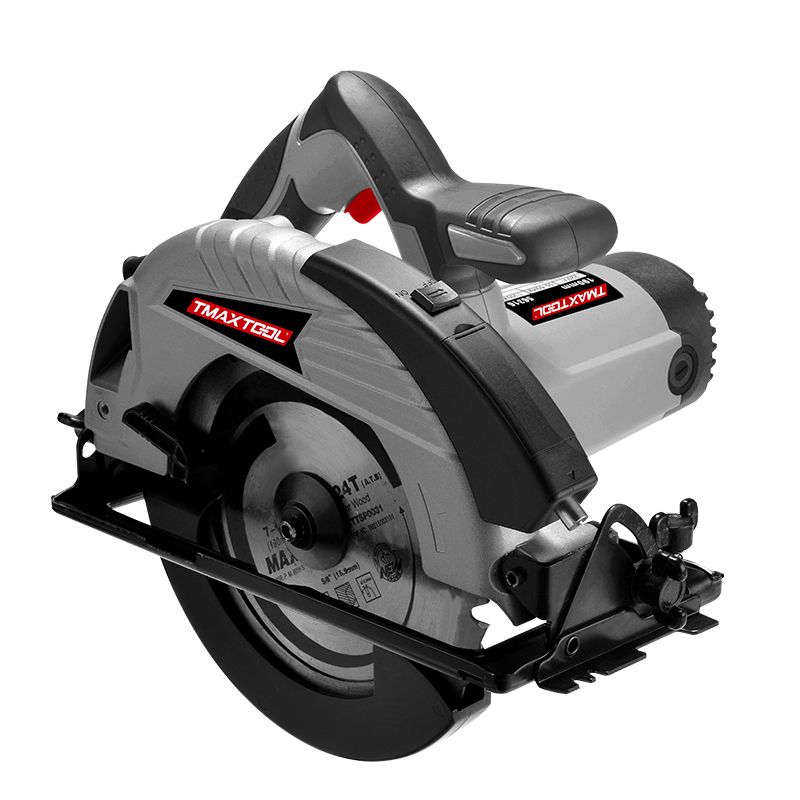
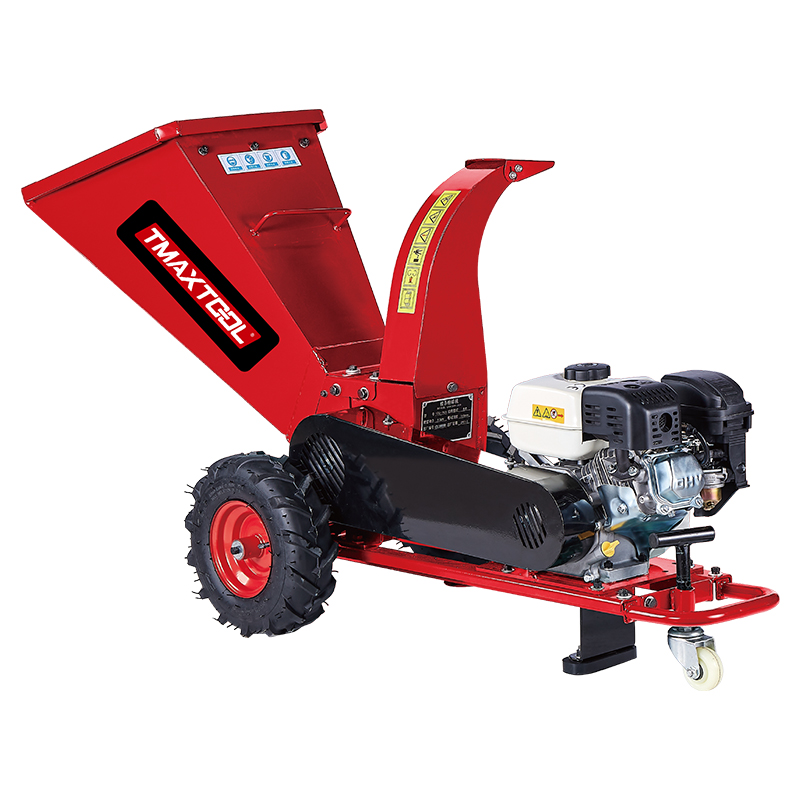 Wood Cutter
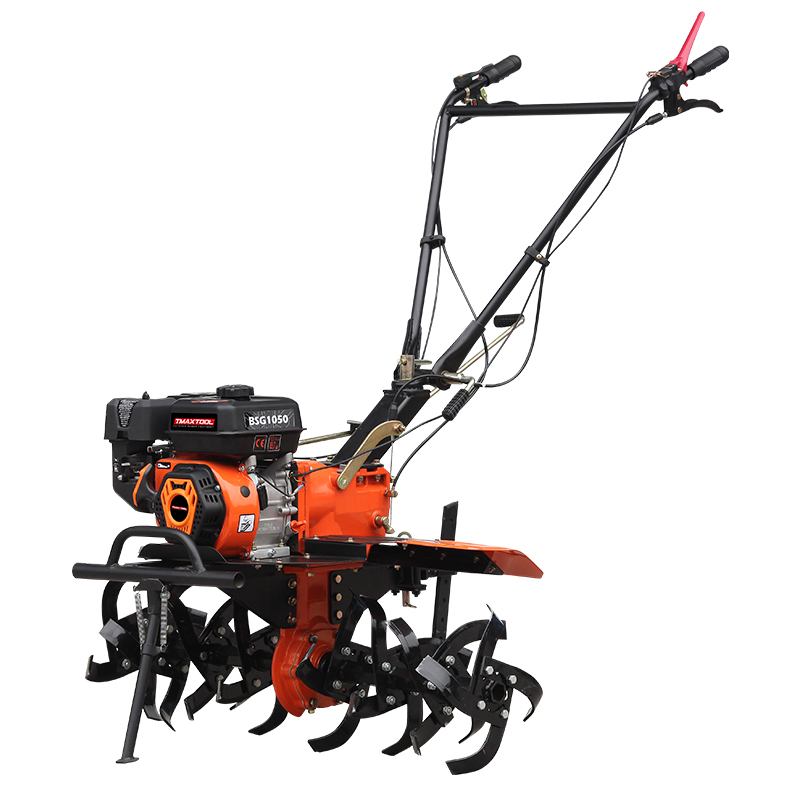 4 Stroke Tiller
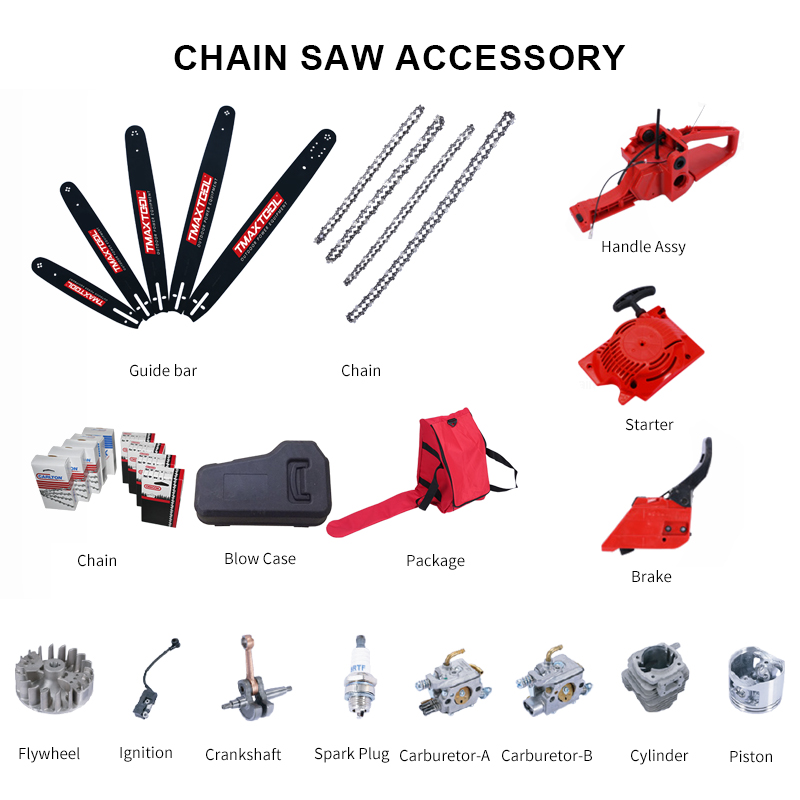 Chain Saw Accessory
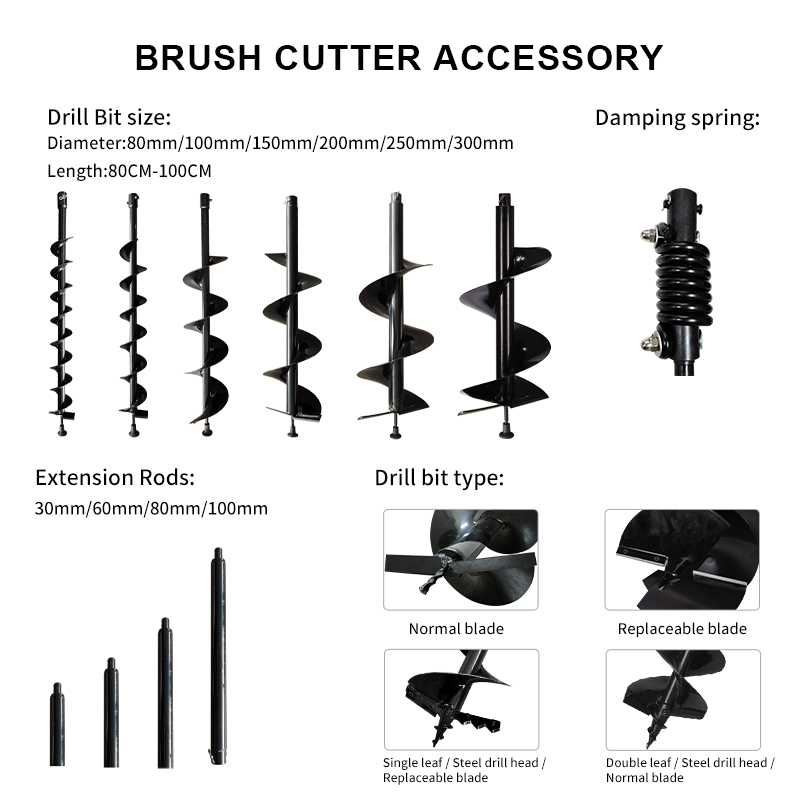
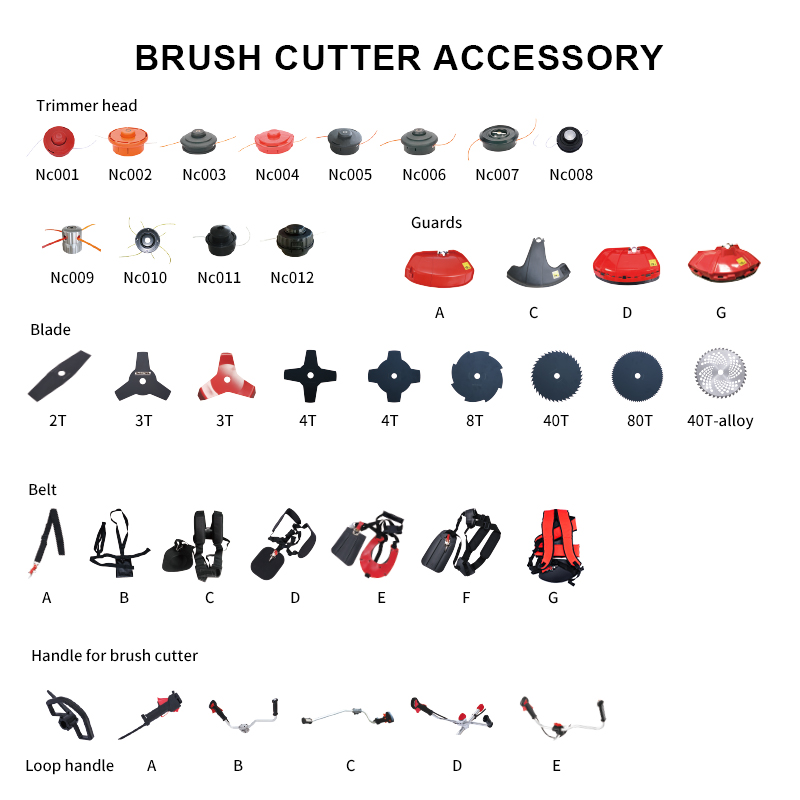 Brush Cutter Accessory
 Earth Auger Accessory
 Protective Equipment Accessories
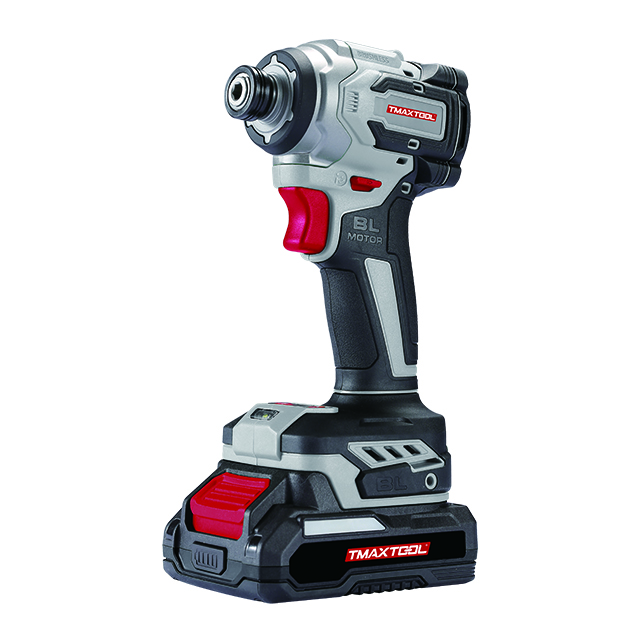
Screwdriver
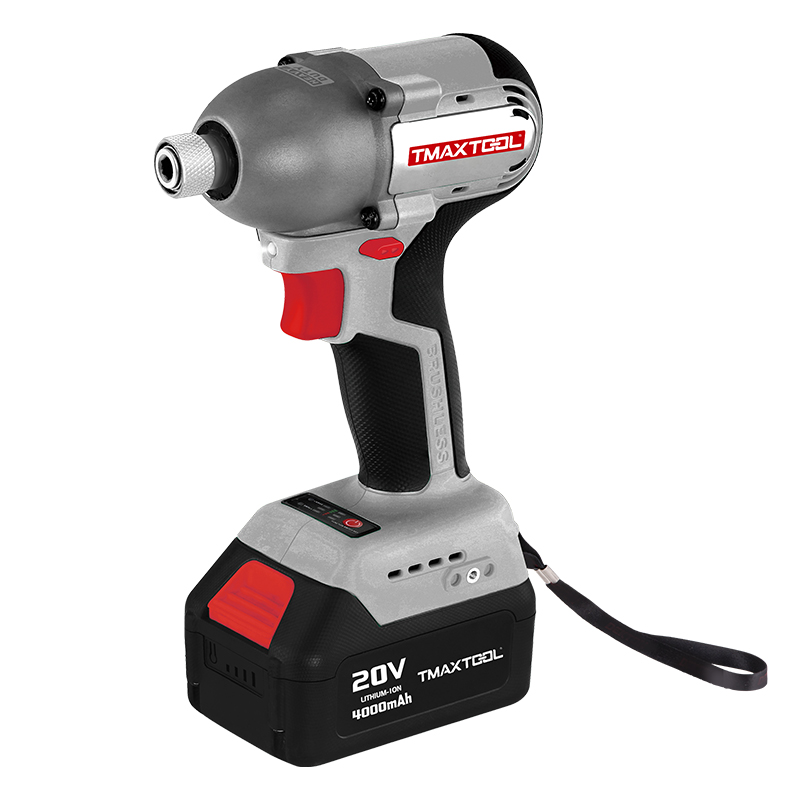


20V Lithium battery brushless screwdriver
product DETAILS
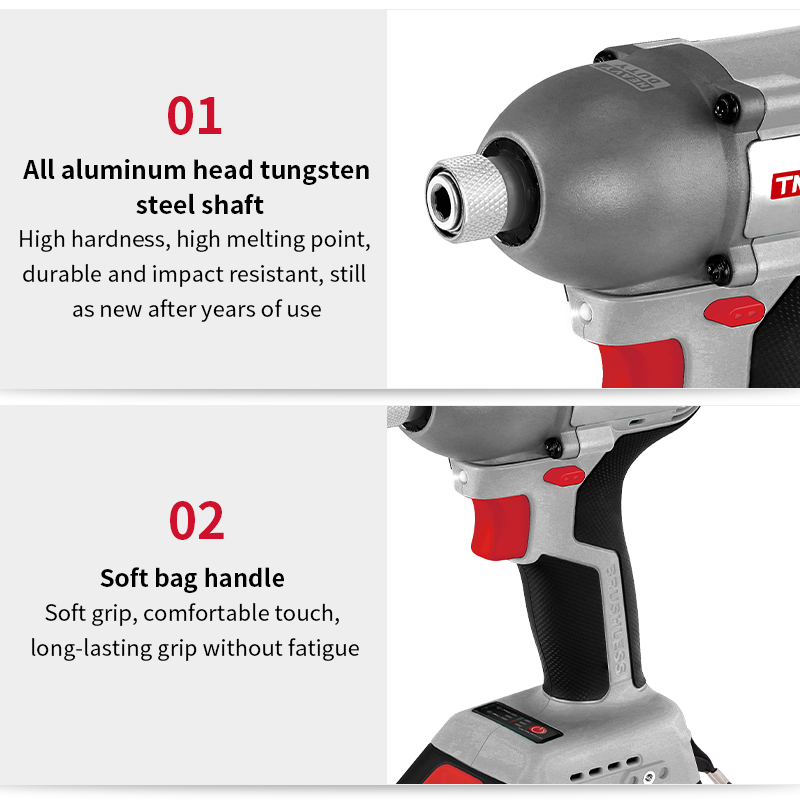
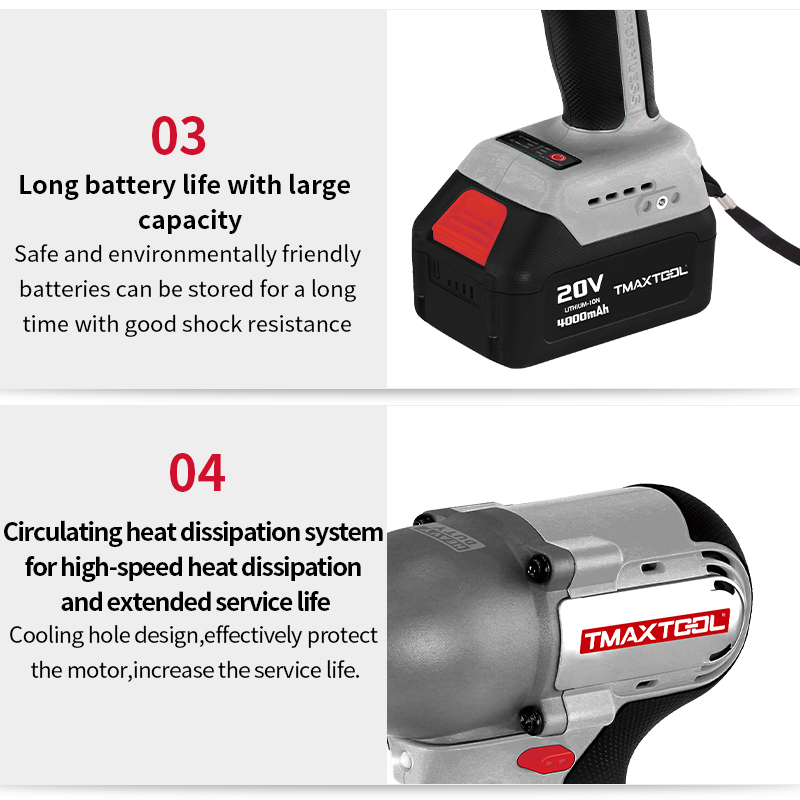
product description
Small Mini electric screwdriver Change the chuck type
To change the chuck type on a mini electric screwdriver, follow these general steps:
Power Off: Ensure the screwdriver is turned off and unplugged from any power source for safety.
Locate Chuck: Identify the chuck, which is the part of the screwdriver that holds the bits. It's usually at the tip of the screwdriver.
Release Mechanism: There are various mechanisms to release the chuck depending on the screwdriver model. Common ones include:
Keyless Chuck: If it's a keyless chuck, you may need to hold the chuck with one hand and rotate the outer sleeve counterclockwise to loosen it.
Keyed Chuck: For a keyed chuck, you'll typically need a chuck key. Insert the key into the holes on the side of the chuck and turn it counterclockwise to loosen the chuck.
Magnetic Chuck: Some mini electric screwdrivers have a magnetic chuck. In this case, you might need to pull or twist the chuck to release it.
Remove Bit: Once the chuck is loosened or released, remove the current bit from the chuck.
Insert New Bit: Insert the desired bit into the chuck. Make sure it's securely in place.
Tighten Chuck: Depending on the type of chuck, tighten it back into place using the appropriate method:
For keyless chucks, rotate the outer sleeve clockwise to tighten.
For keyed chucks, use the chuck key to turn it clockwise and tighten.
For magnetic chucks, ensure the chuck is securely in place.
Test: After changing the chuck type and inserting a new bit, turn on the screwdriver and test it to ensure everything is working correctly.
Always refer to the user manual provided with your mini electric screwdriver for specific instructions tailored to your model, as there may be variations in the process depending on the manufacturer.