In the world of woodworking, there’s just no getting around the fact that precision matters. If you really want to take your projects up a notch, getting the hang of an Electric Planer can make all the difference. Did you know that, according to the American National Standards Institute (ANSI), the need for power tools like Electric Planers is actually expected to grow at about 5.1% each year through 2026? That really shows just how popular these tools are becoming—and how important it is to use them properly if you’re aiming for that smooth, professional look.

At Jinhua U Win Import & Export Co., Ltd., TMAXTOOL, we totally get how vital high-quality power tools are for creating top-notch woodworking pieces. We offer a wide range of gear—think power drills, polishers, and more—to help craftsmen refine their skills and get outstanding results. So, if you follow our easy-to-understand guide to mastering the Electric Planer, you'll discover new techniques and tricks that can totally change the way you approach your projects. Trust me, it’ll help you work smarter and more accurately every time.
Understanding the Basics of Electric Planers: Tools and Terminology for Woodworkers
Diving into woodworking? One thing that’s super important to get the hang of early on is how electric planers work. Think of them as the modern, powered-up cousins of hand planers—basically, they use a spinning blade to shave off wood and smooth out surfaces. Funny enough, a recent report from the Wood Manufacturing Council mentioned that interest in power tools, especially electric planers, has gone up by around 15% over the last year. It’s pretty clear that more folks are getting into woodworking, whether just for fun or as a serious hobby or career.
If you want to get good results, you’ll want to learn some key terms like depth of cut, blade types, and feed rate. For example, the depth of cut tells you how much material you’re removing each pass. And choosing between straight or spiral blades can really change how nice and smooth your finish looks. For softwoods, a feed rate of about 20–25 feet per minute is generally a good sweet spot—it helps cut down tear-out but still keeps things moving efficiently.
**Pro tip:** Keep that blade sharp! Dull blades can make your surface rough and make you work harder than you need to. Also, it’s a good idea to check and adjust the blade height every now and then. That way, you’ll get consistent results across all your projects—making woodworking not just more precise, but also a lot more fun.
Electric Planer Usage Comparison
This bar chart illustrates key metrics related to electric planer usage, including planing speed, planing depth, material types handled, and user satisfaction ratings. These data points provide insight into the performance and effectiveness of electric planers in woodworking projects.
Choosing the Right Electric Planer: Key Features and Specifications to Consider
When you're on the hunt for the perfect electric planer for your woodworking projects, there's a few things you really should keep in mind. First off, the motor power is a big deal—having a strong motor means things run smoothly and you won’t get stuck when working with tougher woods. Usually, aiming for something with at least 6 amps does the trick—it's a sweet spot for decent speed and performance.

Then, take a look at the cutting width and how easy it is to adjust the depth. Bigger cuts can save you time, but being able to fine-tune the depth gives you that much more control. Also, pay attention to the blades—while high-speed steel (HSS) blades are pretty common, carbide blades can handle longer use and stay sharper longer. Last but not least, think about how comfortable the planer feels in your hand. A lightweight, ergonomic design means less fatigue, so you can work longer and stay precise without getting worn out. If you focus on these things, you'll be making smarter choices, and your woodworking game will just keep getting better.
Techniques for Achieving Precision Cuts: How to Properly Set Up Your Electric Planer
When it comes to getting those perfect, precise cuts in woodworking, an electric planer can really be your go-to tool. But honestly, the secret to making the most of it is knowing how to set it up just right. First things first, make sure your blades are sharp—blunt blades can cause uneven cuts and might even tear up the wood. Also, pay attention to the depth of cut; depending on the type of wood you're working with, a shallower pass can give you better control and help you avoid chipping, especially with softer woods.

If you're working with sleepers or similar pieces, there's a handful of techniques that can seriously boost the look and feel of your projects. These tips aren’t just about cutting or joining; they really help add those finishing touches that make your work stand out. When you're using the planer on sleepers, make sure the piece is clamped down securely—nothing worse than it shifting mid-cut. And, whenever possible, plan your cuts in the grain's direction—that way, you’ll get a smoother surface and a nicer finish.
Once you get the hang of these setup tips, you’ll notice your projects start looking more professional. It’s all about mastering that control and understanding your tools—trust me, it makes a huge difference in the final result.
Safety Best Practices: Ensuring a Safe Woodworking Environment While Using Electric Planers
When you're working with electric planers, safety really needs to be your top priority—it's all about creating a safe woodworking space. Did you know that, according to the National Institute for Occupational Safety and Health (NIOSH), around 67,000 woodworking injuries happen every year in the U.S.? Crazy, right? The good news is, most of these accidents can be avoided if you follow some simple safety tips. Always gear up with personal protective equipment—think safety glasses to keep those flying chips out of your eyes, and ear protection because those machines can get pretty loud. Also, make sure your workspace isn’t cluttered; a clean, well-ventilated area can make a big difference, especially when it comes to avoiding inhaling wood dust, which isn’t great for your lungs.
Before you even fire up that planer, take a moment to read the manual and get familiar with how it works. Trust me, it pays to know your tools! Check that the blades are sharp and properly mounted—dull blades not only make your job harder but can also be dangerous. And don’t forget to keep your workspace tidy—nip obstacles in the bud so you don’t trip or get distracted mid-work.
One more thing: always give your electric planer a quick inspection before each use. Look for any signs of damage, especially in the cord and switches. Frayed wires are a common cause of electrical mishaps, and no one wants that. Stick to these safety habits, and you’ll create an environment where you can really enjoy woodworking without stressing about accidents. Happy woodworking!
Maintenance Tips for Longevity: Keeping Your Electric Planer in Top Condition for Future Projects
Taking good care of your electric planer is super important if you want it to last and perform well on your woodworking projects. I read somewhere that, according to the Woodworking Machinery Manufacturers Association, sticking to a proper maintenance routine can actually extend the life of your tools by up to 30%. It’s a good idea to regularly check your planer for dull blades, worn-out base plates, and any dust or debris that might have settled in. Doing this can really boost its efficiency and help you get more precise cuts. Sharpen the blades every few uses, or swap them out when they get too dull—that way, your cuts stay smooth, and your motor doesn’t have to work so hard, which means it’ll last longer.
Cleaning is also a must. The National Association of Home Builders did a study showing that tools cleaned regularly can perform up to 40% better than the ones you neglect. After you finish working, take a minute to clear out sawdust and debris, especially around the blades and ventilation holes. Lubricating the moving parts as per the manufacturer’s instructions will also stop rust and keep everything running smoothly. Sticking to these simple tips not only gives you a nicer finish on your projects but also helps keep your electric planer in good shape for many more woodworking adventures to come.
Mastering the Electric Planer: A Step-by-Step Guide
| Step | Description | Tools Needed | Maintenance Tips |
| 1 | Determine the desired thickness and set planer depth accordingly. | Electric Planer, Measuring Tape | Clean the blades regularly for optimal performance. |
| 2 | Secure the wood piece firmly to avoid movement during planing. | Clamps, Workbench | Store the planer in a dry place to prevent rust. |
| 3 | Start the planer and slowly guide it along the wood grain. | Safety Goggles, Dust Mask | Inspect the cord and plug for wear before each use. |
| 4 | Check the surface for smoothness and repeat if necessary. | Electric Planer | Lubricate moving parts as advised in manual. |
| 5 | Finish by cleaning up shavings and dust for a tidy workspace. | Broom, Vacuum | Keep the planer blades sharp for precise cuts. |
Common Project Applications: How Electric Planers Enhance Various Woodworking Tasks
If you're into woodworking, you've probably realized pretty quickly that a good electric planer is a total game-changer. It’s one of those tools that really makes your life easier when you want those surfaces to be nice and smooth — not just for looks, but also for making sure everything fits and functions like it’s supposed to. Whether you’re leveling out rough lumber, slicing thin veneers, or trying to get consistent thickness across your boards, an electric planer is super handy. It can quickly take off material and leave you with a professional-looking finish, saving you time and effort. Honestly, it’s a must-have whether you're just a hobbyist or a seasoned pro.
And with more folks paying attention to sustainability these days, it’s pretty cool to see electric planers fitting into eco-friendly woodworking projects. Using eco-conscious materials that hold up well even after you machine them means you can craft durable pieces without stressing the planet too much. Thanks to tech improvements and smarter production methods for sustainable woods, artisans are pushing creative boundaries while still going green. It’s kind of awesome how traditional craftsmanship is blending with modern tech — not only does it boost the quality of what we make, but it also helps ensure a greener future where performance and sustainability go hand in hand.
FAQS
: Sharp blades are crucial for achieving even cuts and preventing wood tear-out; dull blades can lead to uneven results.
The depth of cut should be adjusted based on the type of wood you are working with; shallower cuts provide more control and help prevent chipping, especially with softer woods.
Always fasten your workpiece securely to prevent movement during the planing process.
Planning in the direction of the grain helps achieve a smoother surface on the wood and reduces the risk of chipping.
You should wear safety glasses to protect against flying debris and ear protection to guard against excessive noise.
Ensure your workspace is well-ventilated to minimize inhalation of wood dust, which is a significant health hazard.
Familiarize yourself with the tool's manual, check that the blades are sharp and installed correctly, and inspect the planer for any signs of wear or damage.
A clean workspace reduces the risk of tripping or losing focus while operating the tool, allowing for safer and more effective work.
Frayed wires and damaged electrical cords are common causes of electrical accidents, so it's important to inspect these components before use.
By following proper safety practices, wearing PPE, maintaining a clean workspace, and inspecting the tool before each use, you can create a safer woodworking environment.
Conclusion
Hey there! if you're into woodworking, then you probably already know how important it is to get the hang of your Electric Planer. Seriously, mastering this tool can make a huge difference in how precise and efficient your projects turn out. In this guide, I’ll walk you through the basics—like understanding the key tools and jargon—that way, you're not left wondering what all those terms mean. Picking the right Electric Planer isn’t just about brand names; it’s about checking out the features and specs that really match what you need. We’ll also go over some tips and tricks for making clean, accurate cuts—so your setup is spot on every time. Safety’s a big deal, so I’ll stress some best practices to keep your workspace safe and sound. And don’t forget about maintenance—keeping your Electric Planer in good shape means it’ll serve you well for a long time. Plus, I’ll highlight some common projects where these tools really shine, making them a must-have in your woodworking kit.
At Jinhua U Win Import & Export Co., Ltd. TMAXTOOL, we’re all about offering top-notch power tools—including Electric Planers—that help you step up your woodworking game with confidence and ease.

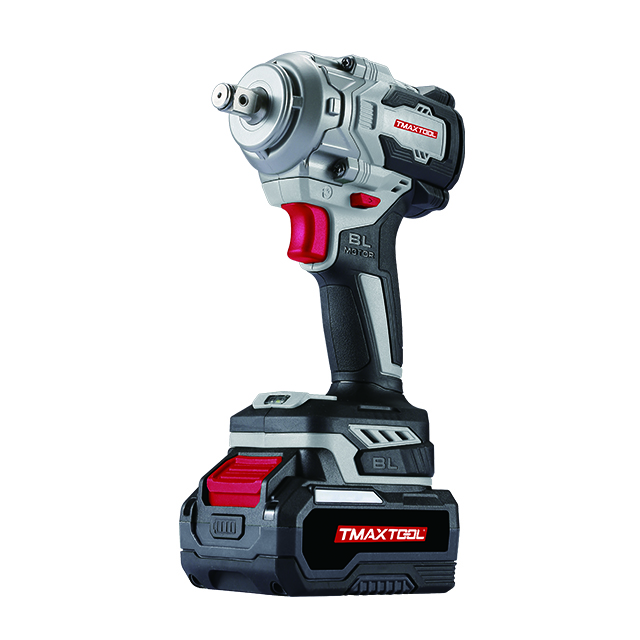 Impact Wrench
 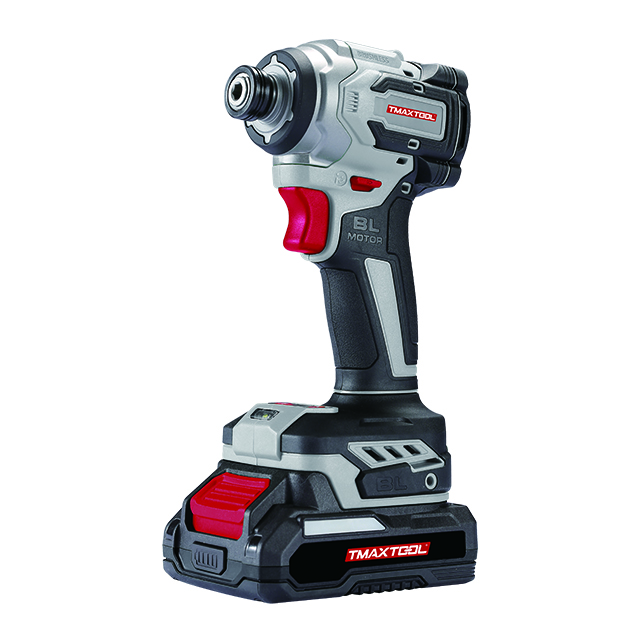 Screwdriver
 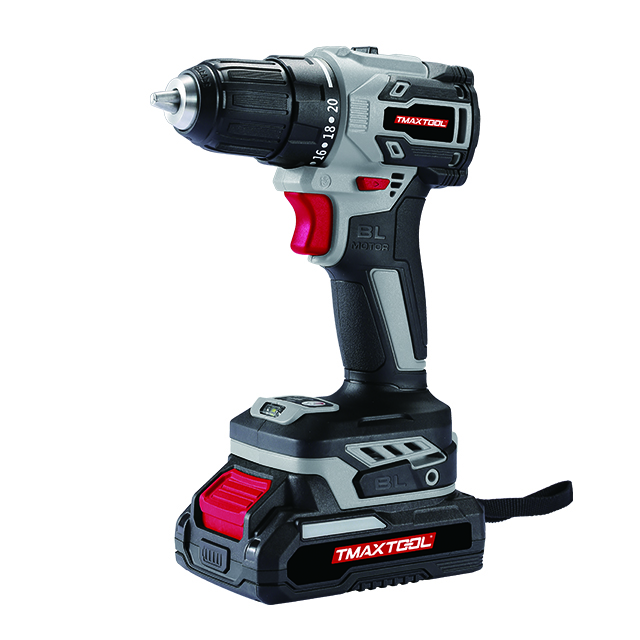 Cordless Drill
 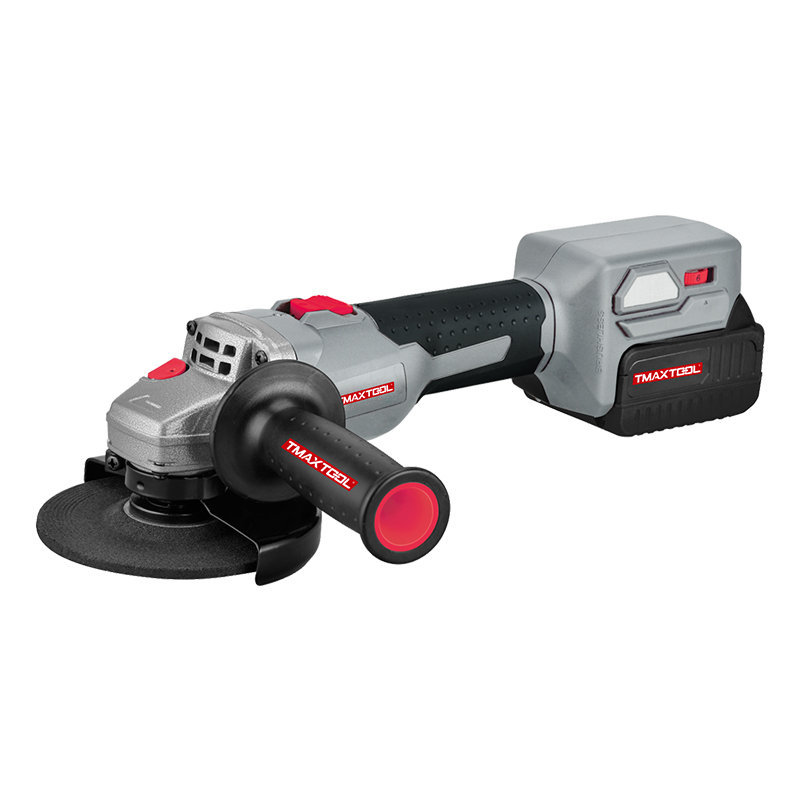 Angle Grinder
 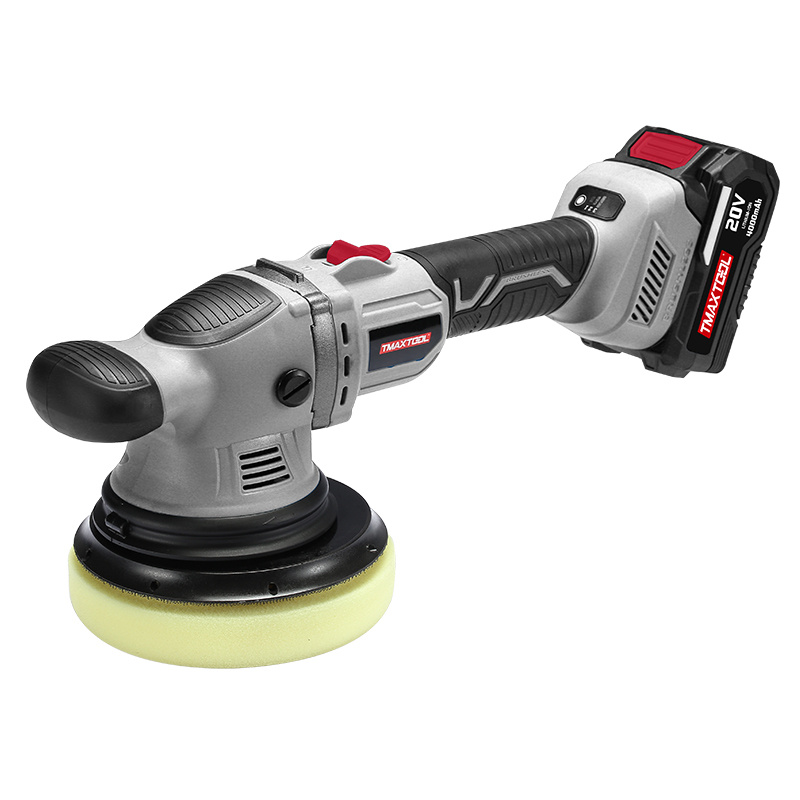 Polisher
 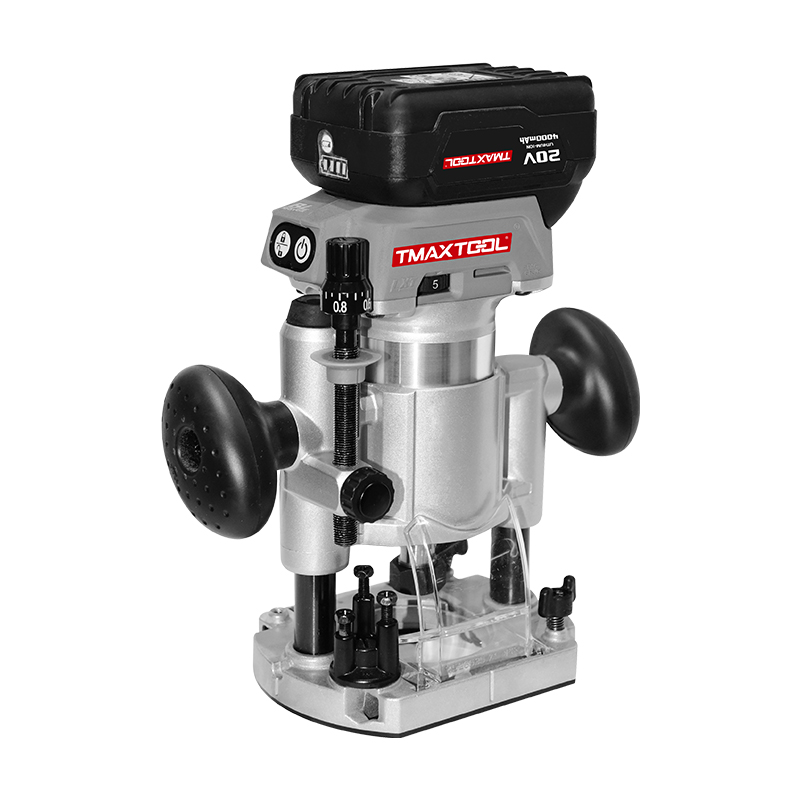 Wood Router
 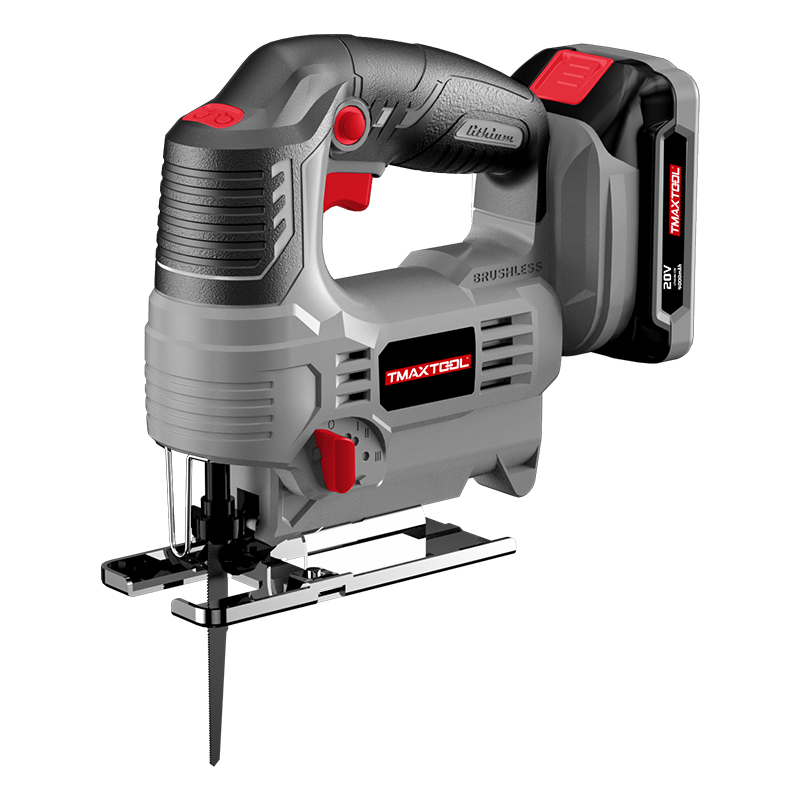 Jig Saw
 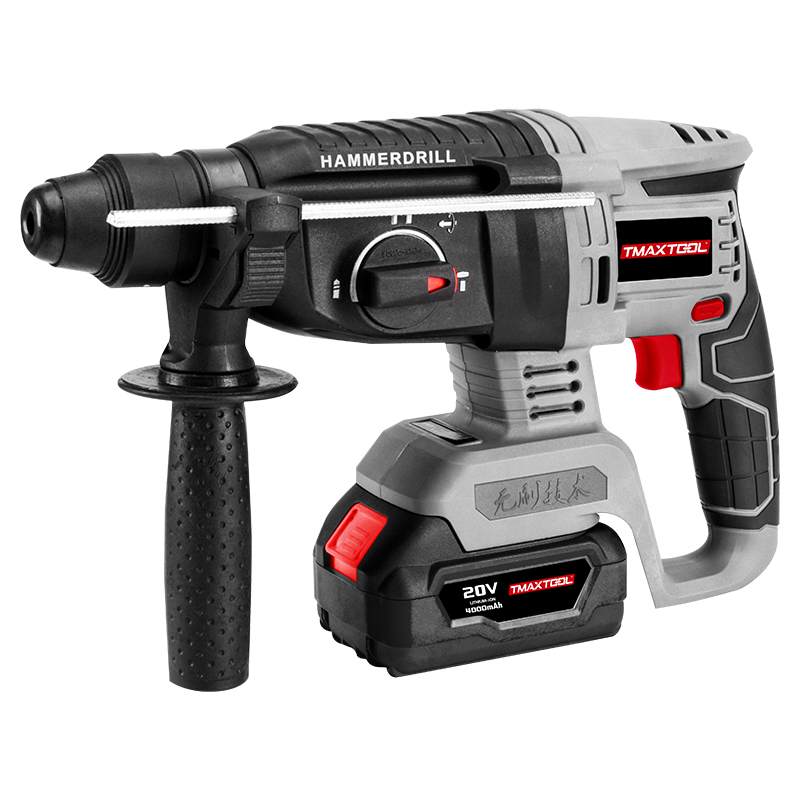 Hammer Drill
 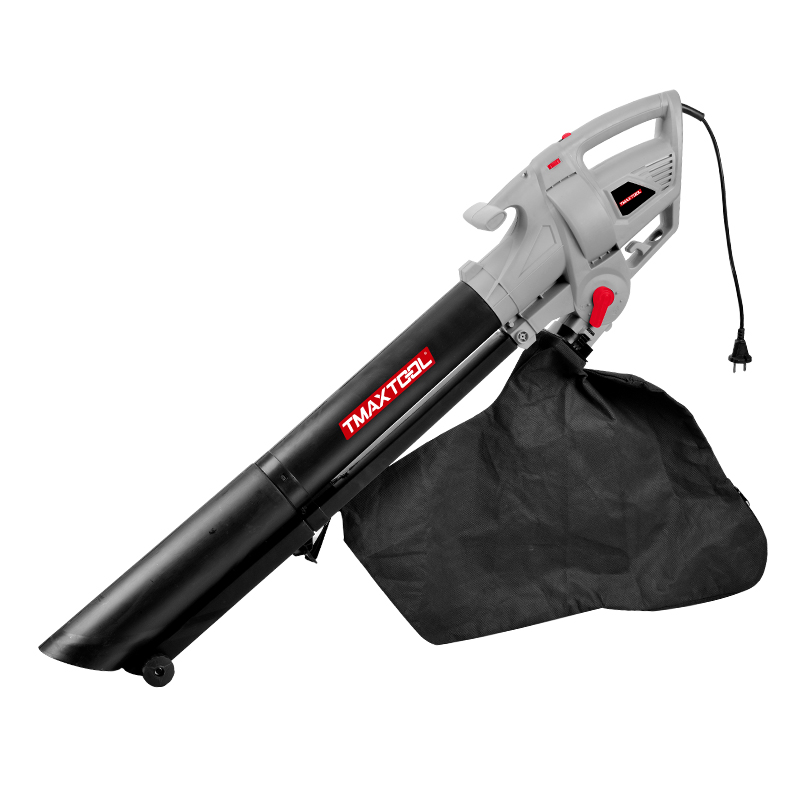 Portable Blower
 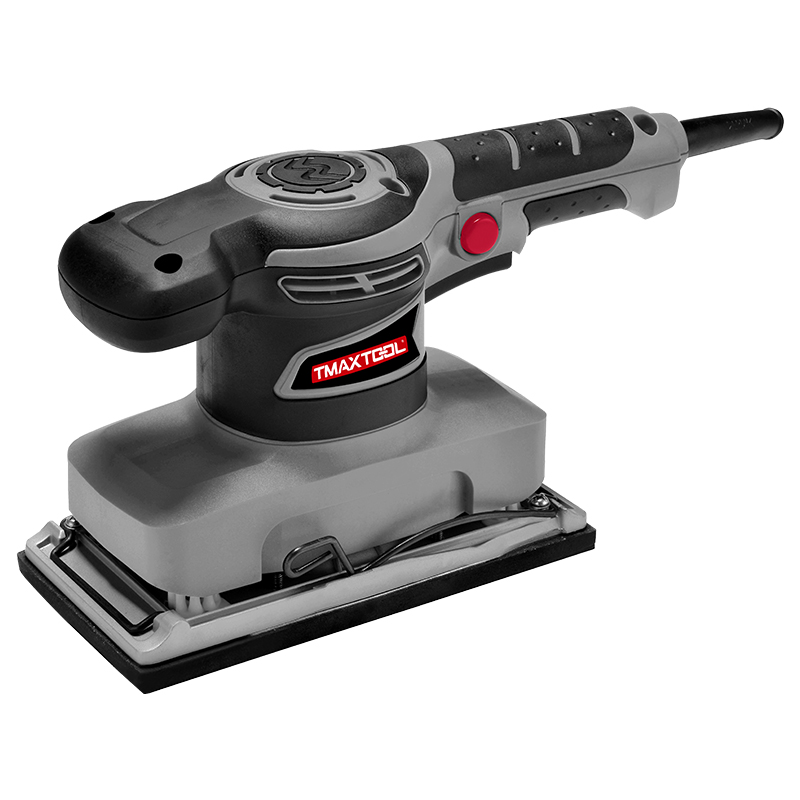 Orbital Sander
 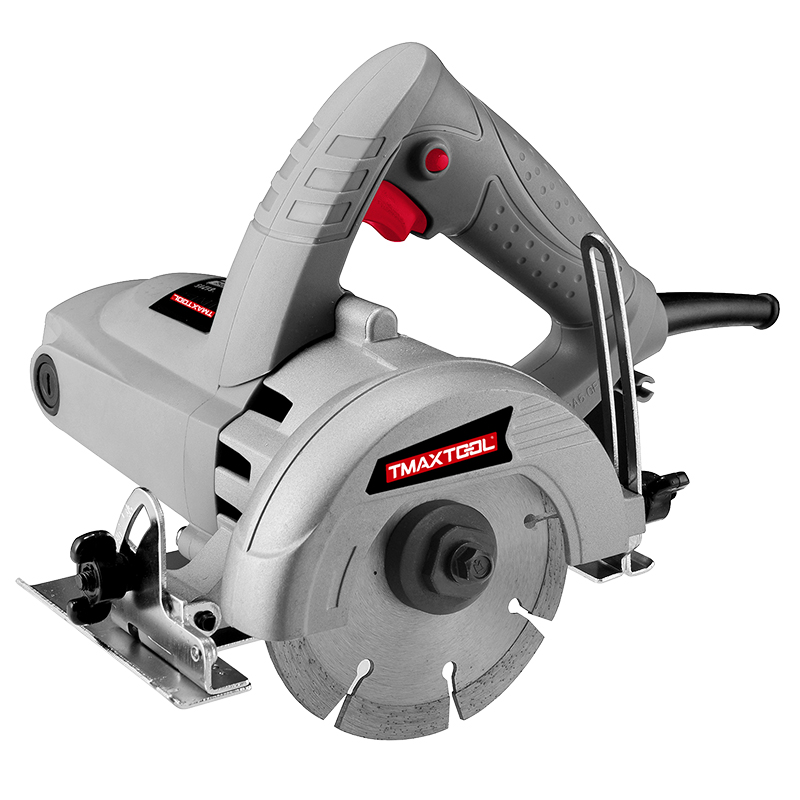 Marble Cutter
  GARDEN TOOLS
 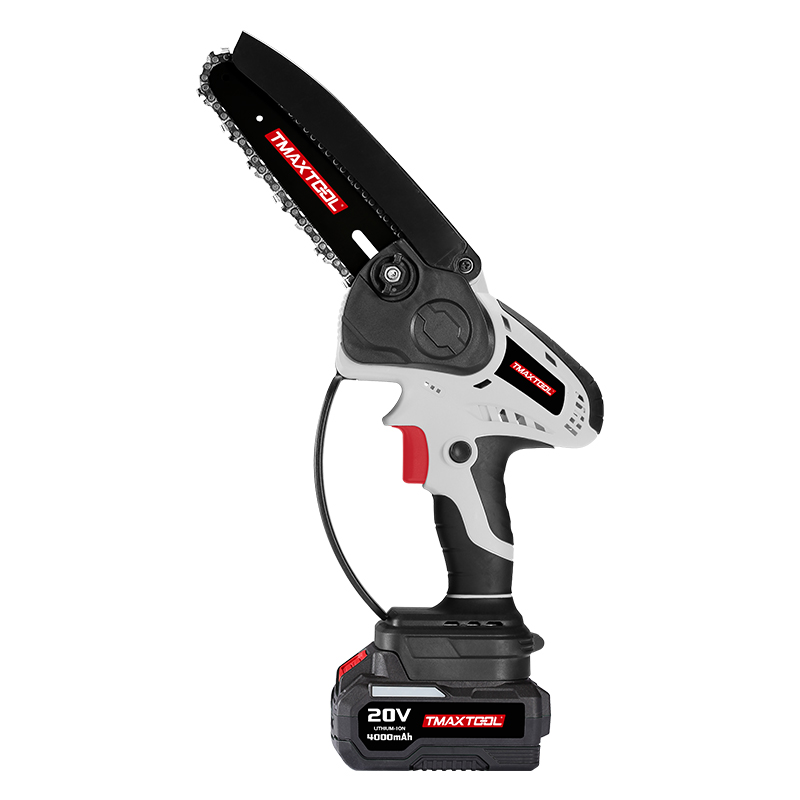 Battery Chain Saw
 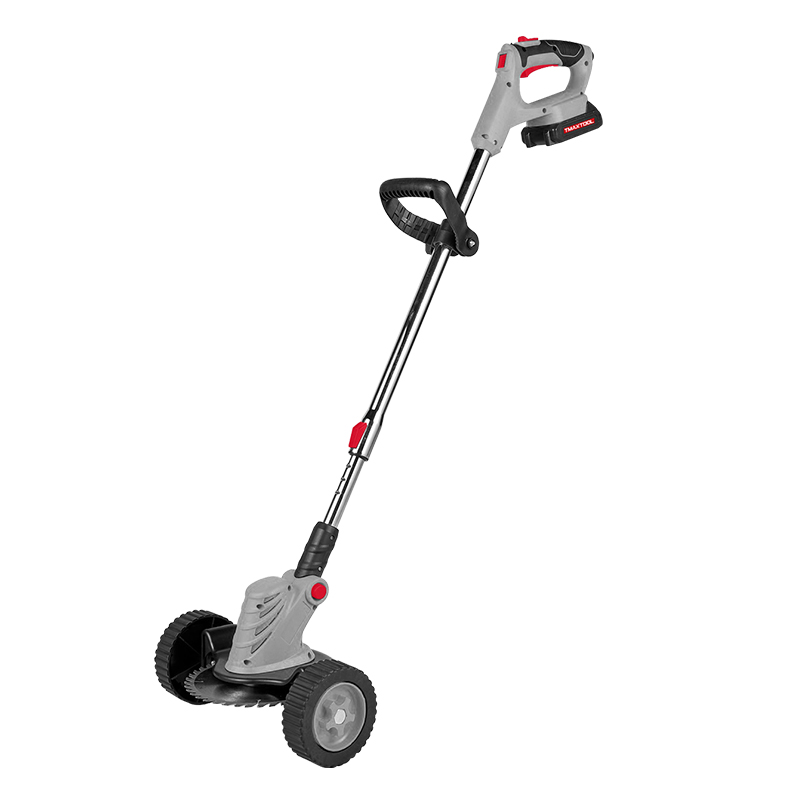 Battery Brush Cutter
 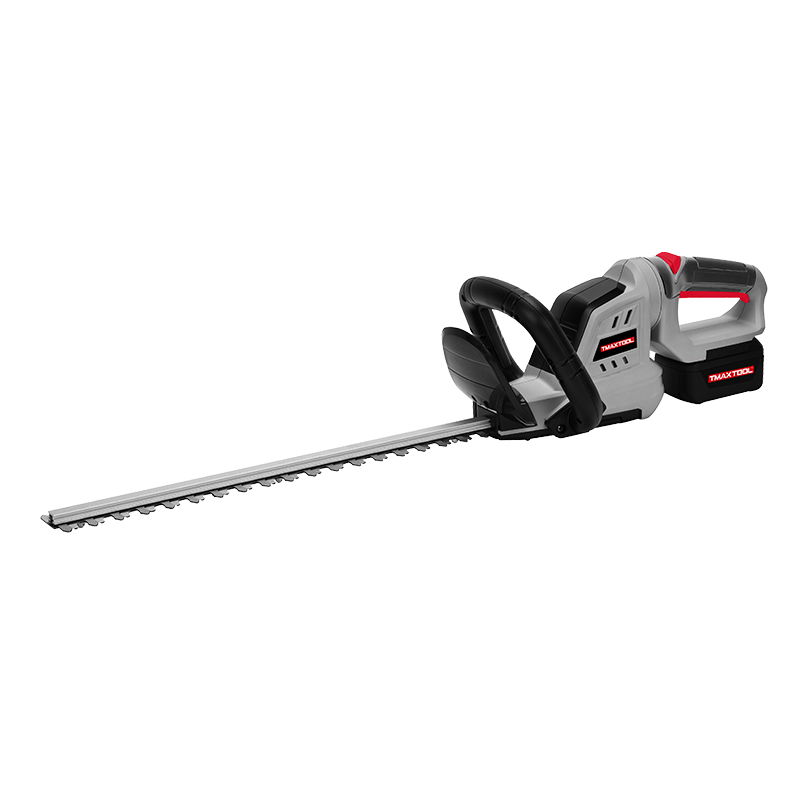 Battery Hedge Trimmer
 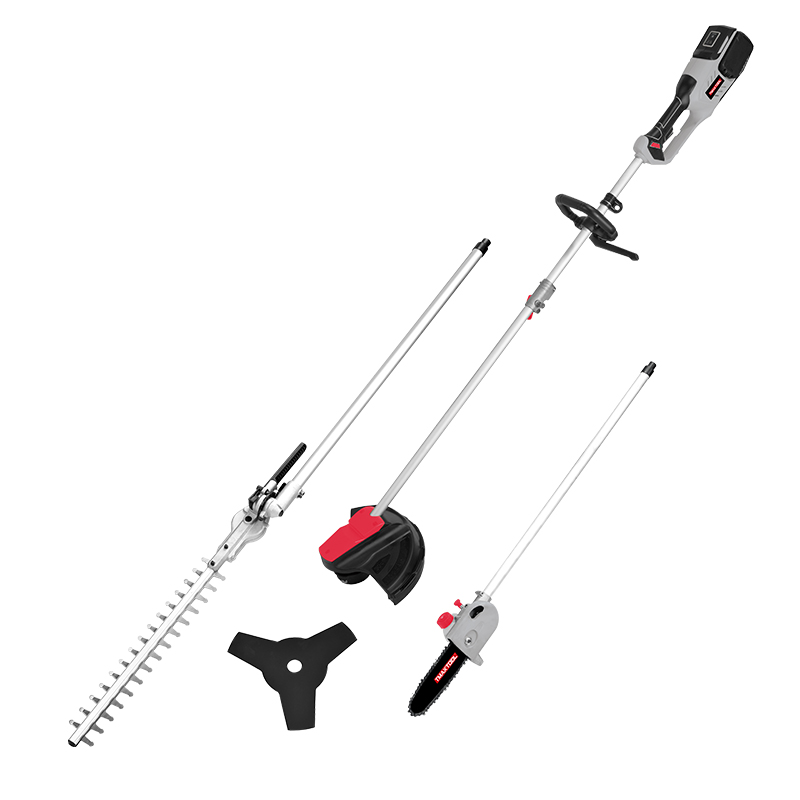 Battery Multi Tool
 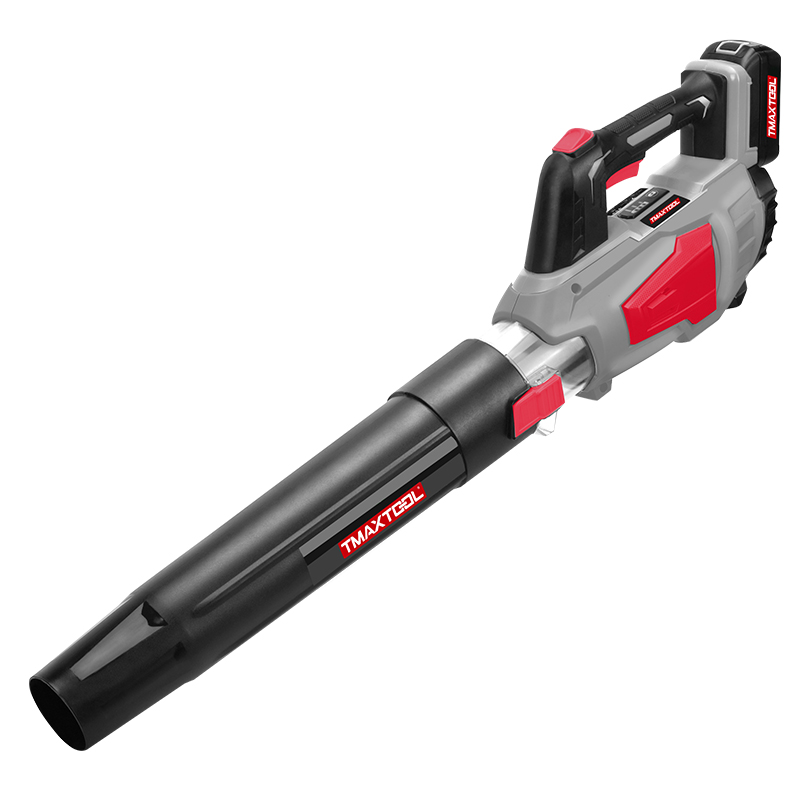 Battery Blower
 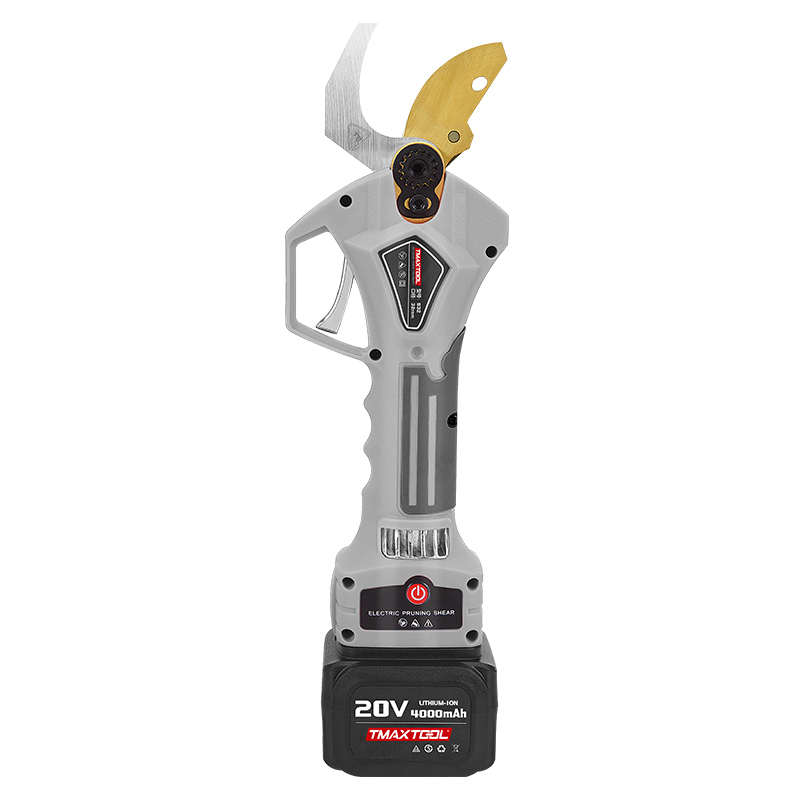 Batter Pruning Shears
 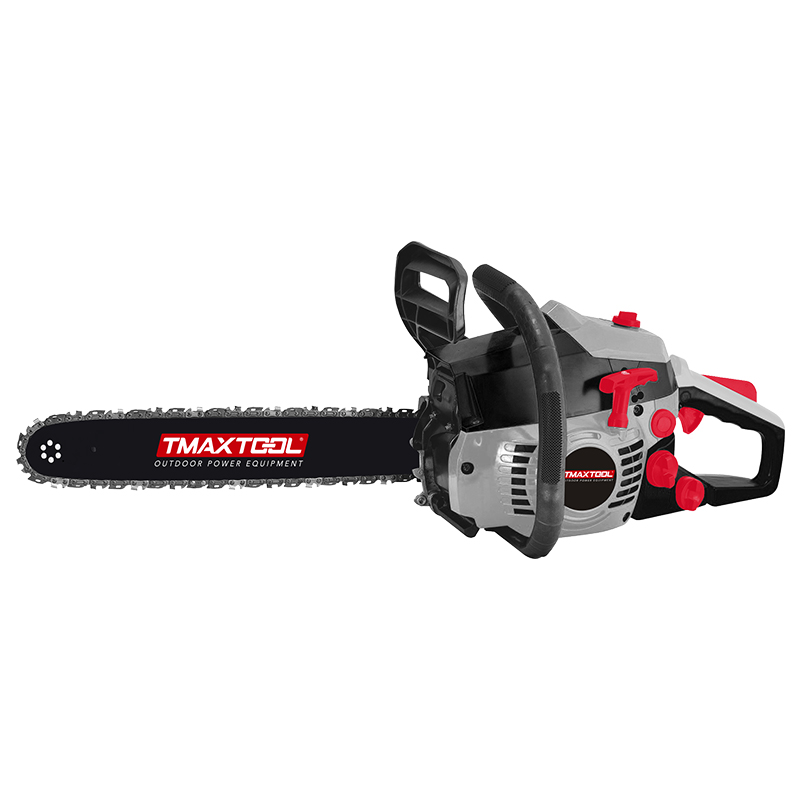 Chain Saw
 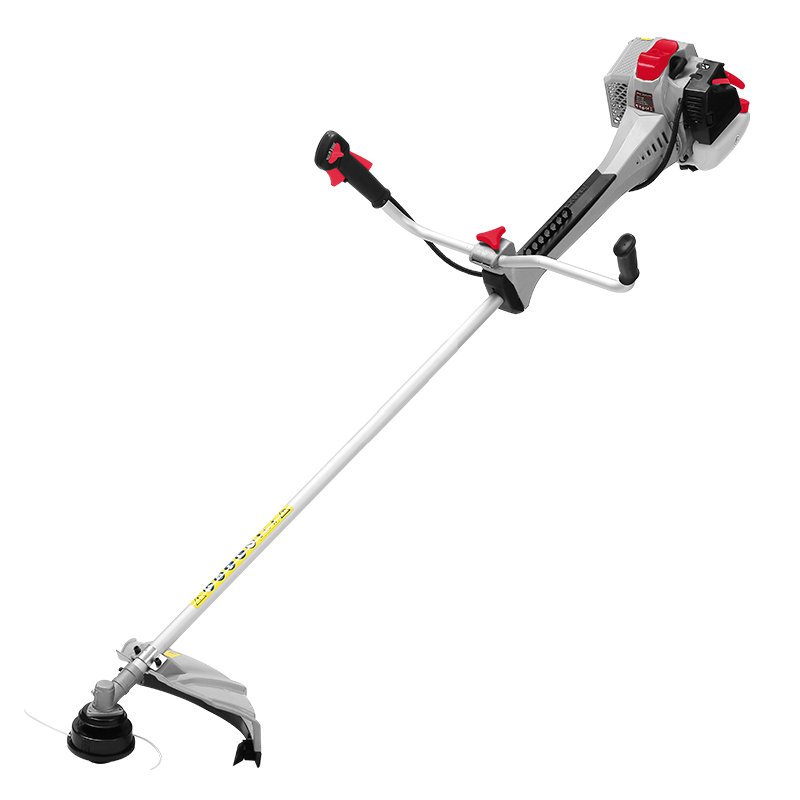 Brush Cutter
 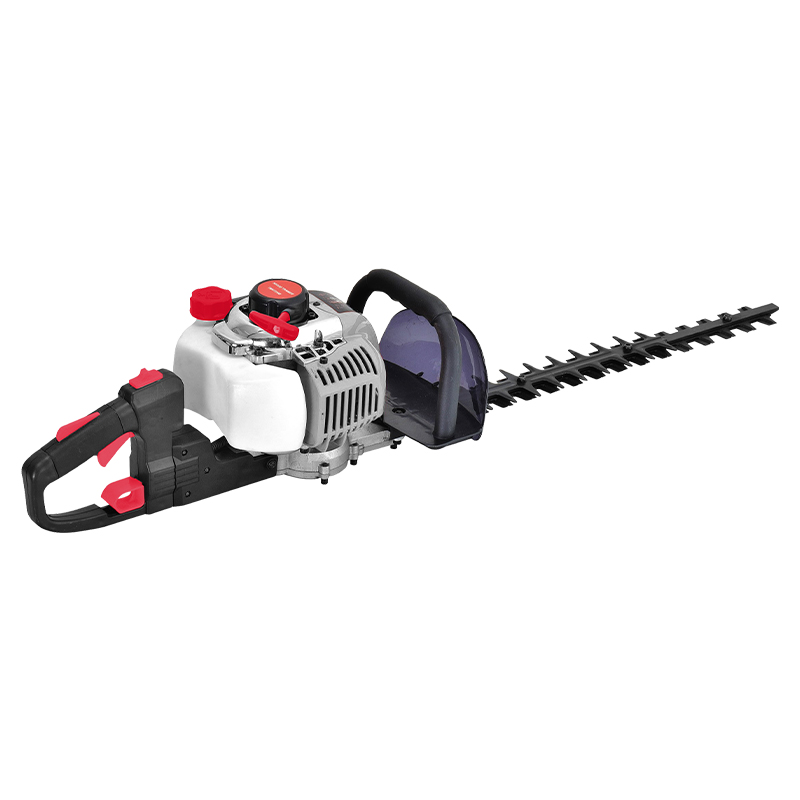 Hedge Trimmer
 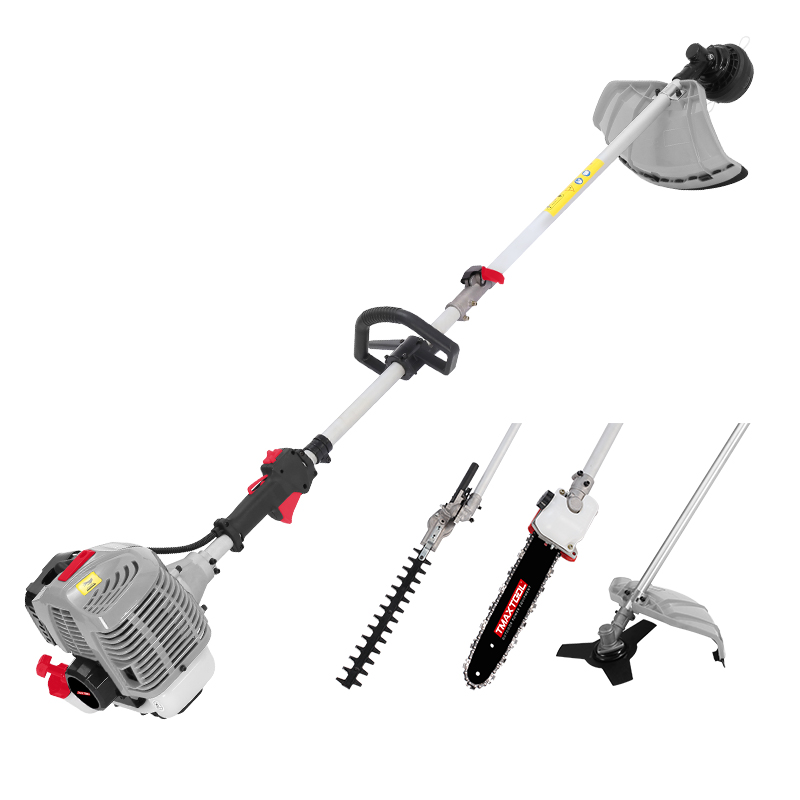 Multi Tool
 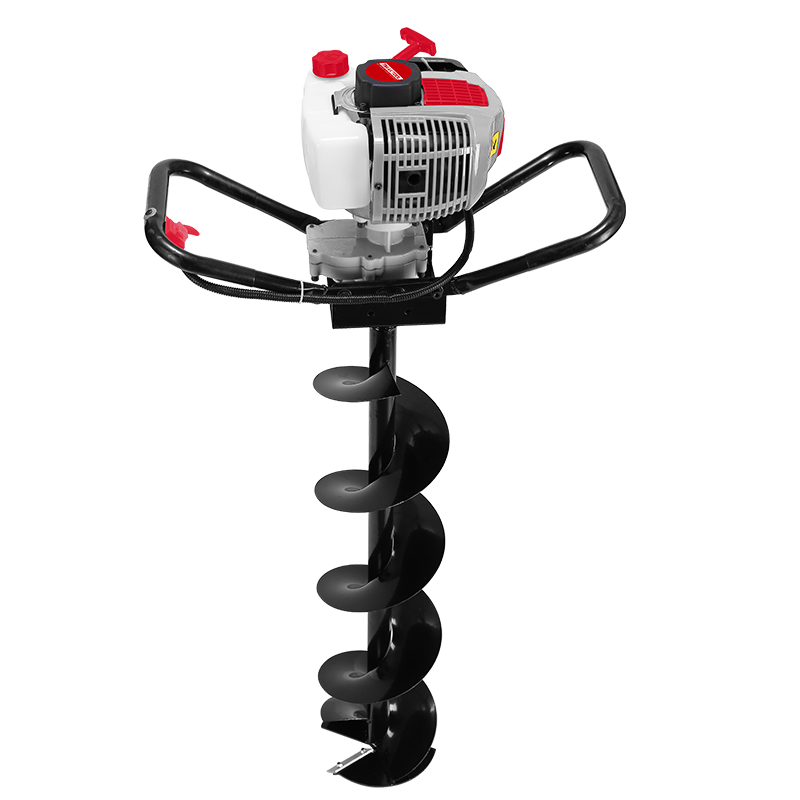 Earth Auger
 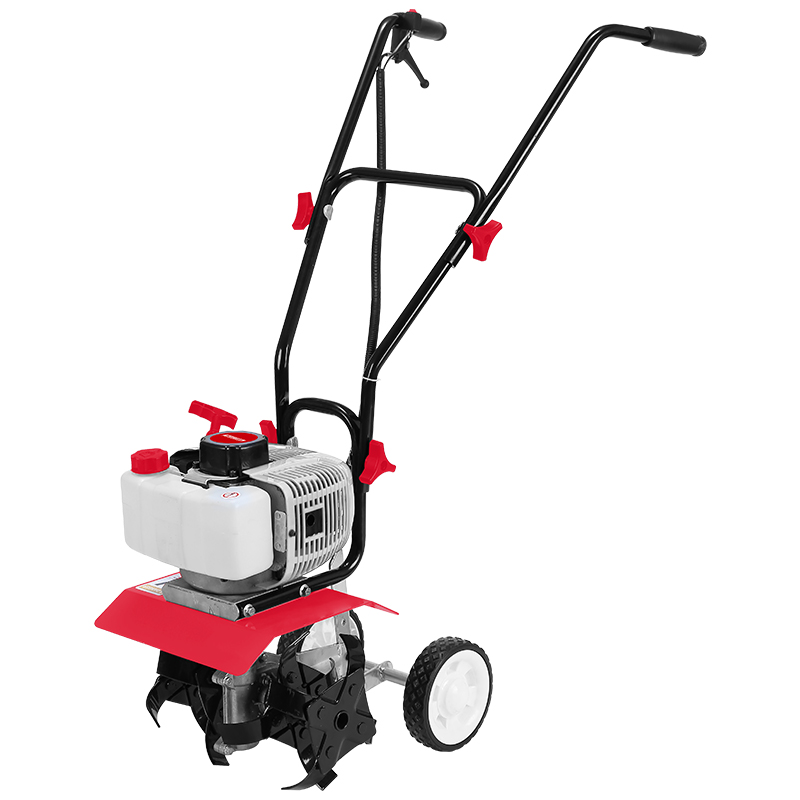 Tiller
  Blower
  4 Stroke Gasoline Engine
  Generator
  Water Pump
 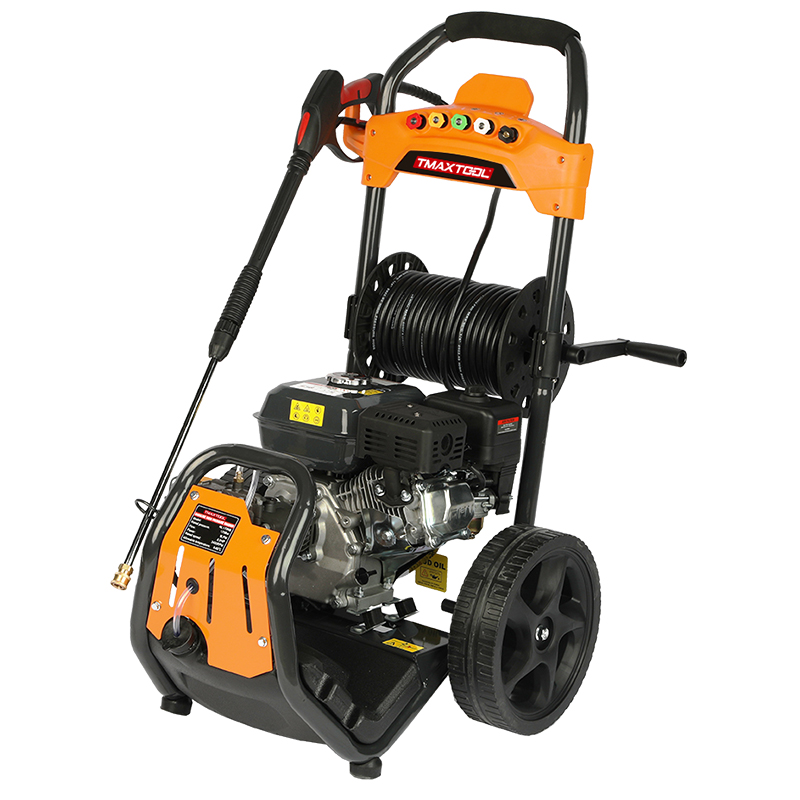 High Pressure Washer
 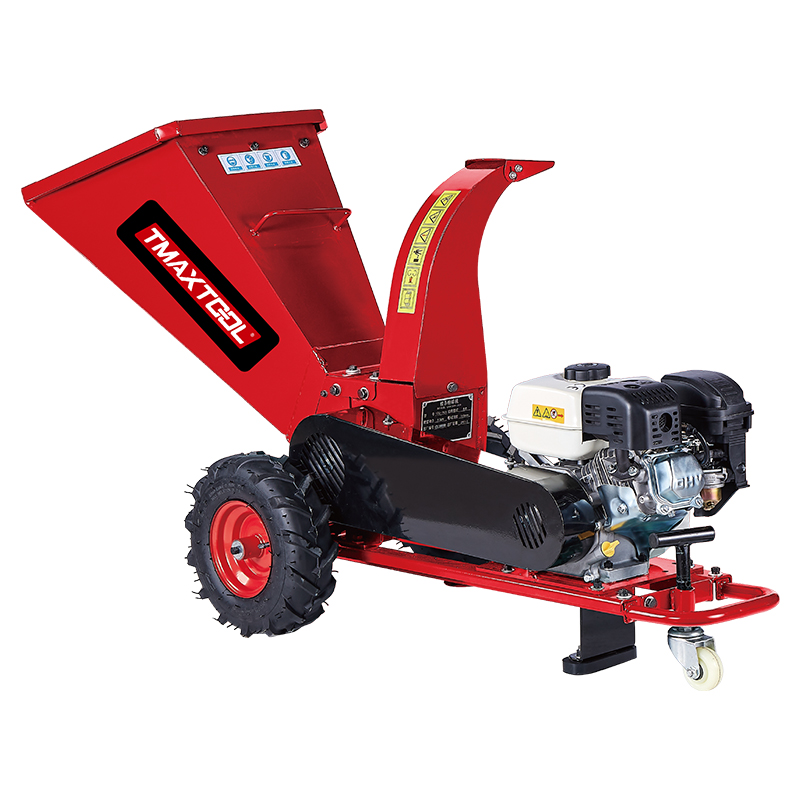 Wood Cutter
 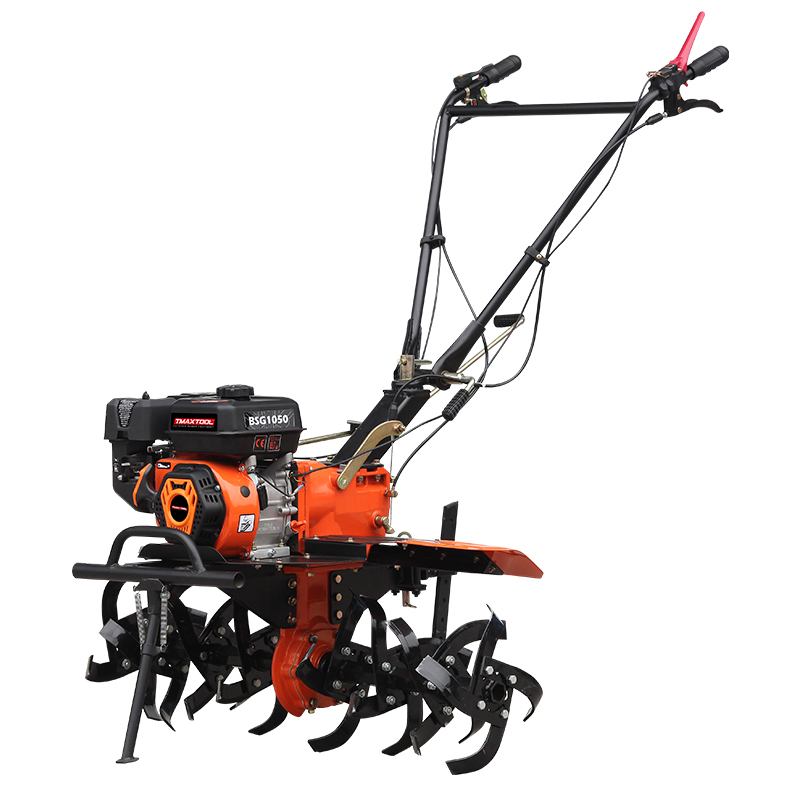 4 Stroke Tiller
 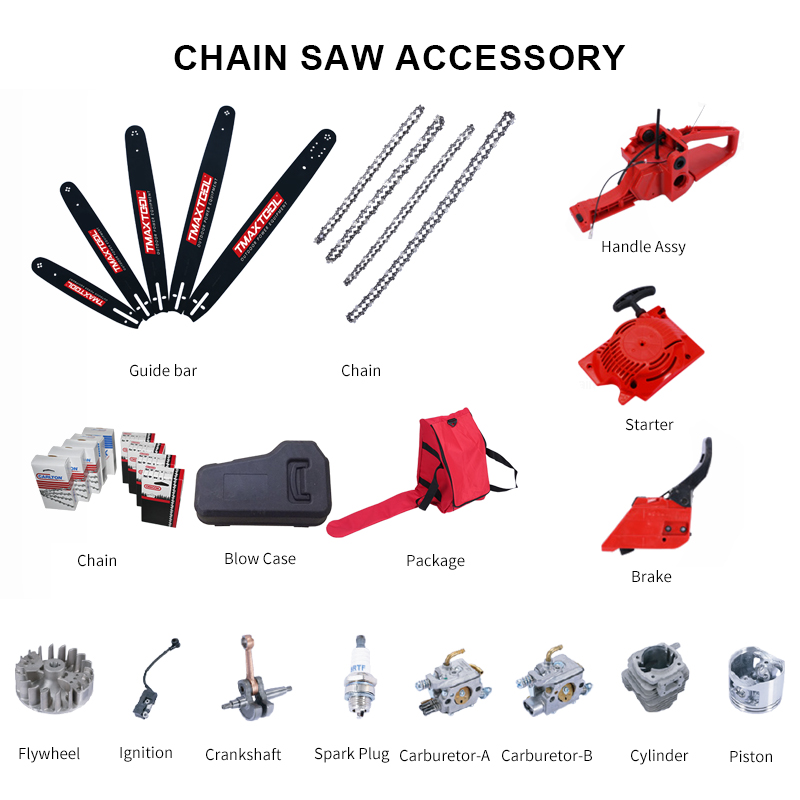 Chain Saw Accessory
 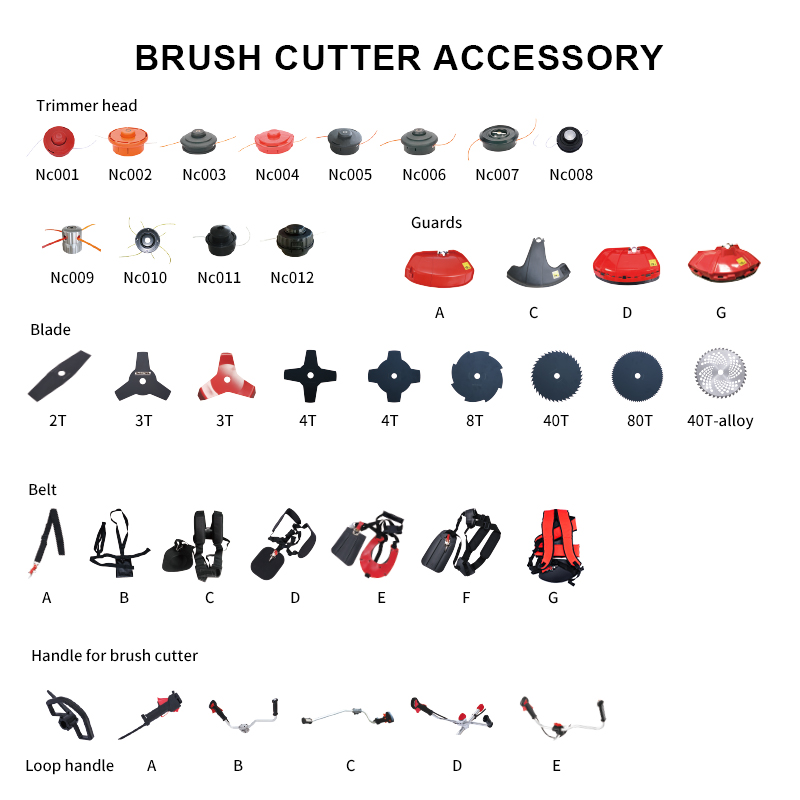 Brush Cutter Accessory
 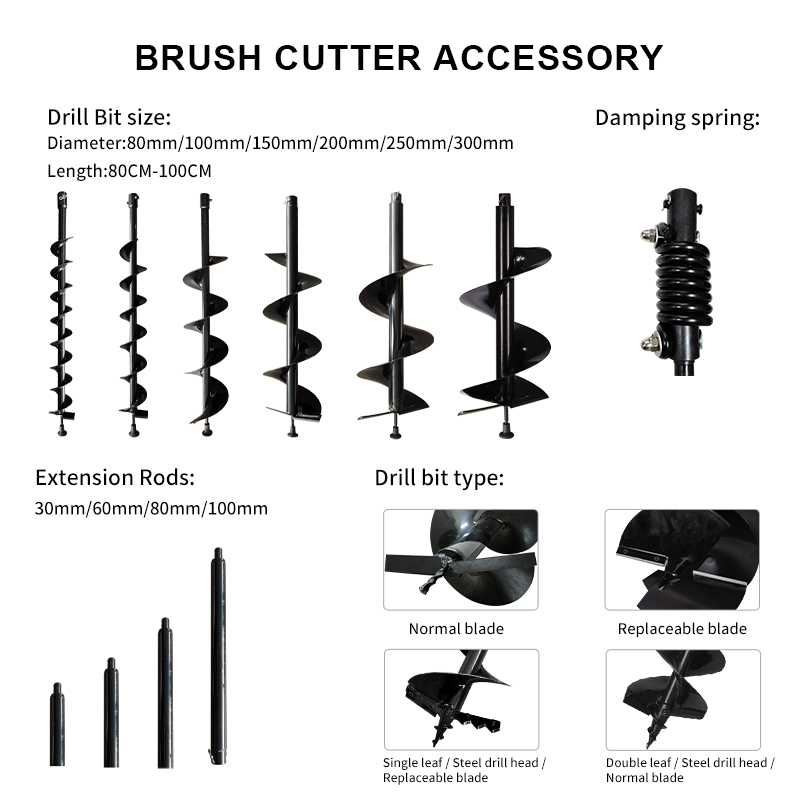 Earth Auger Accessory
  Protective Equipment Accessories


