
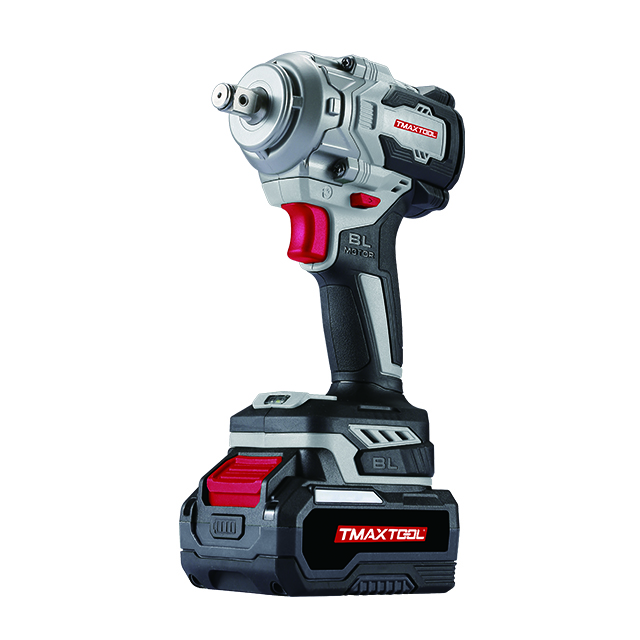
 Impact Wrench
 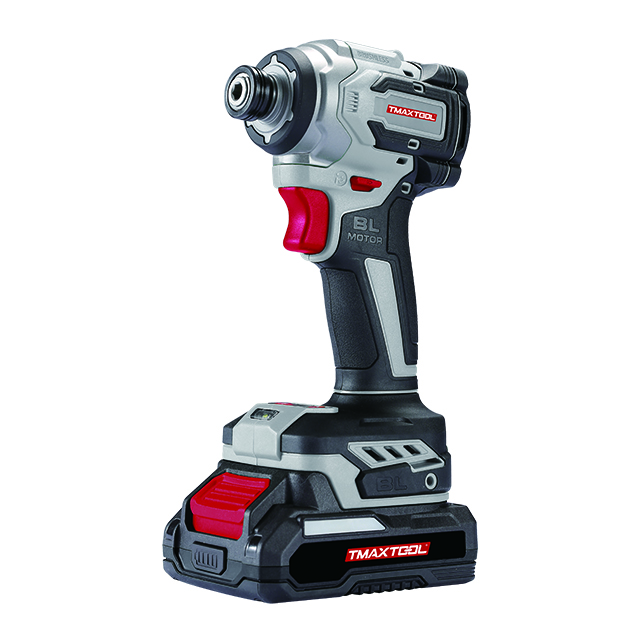 Screwdriver
 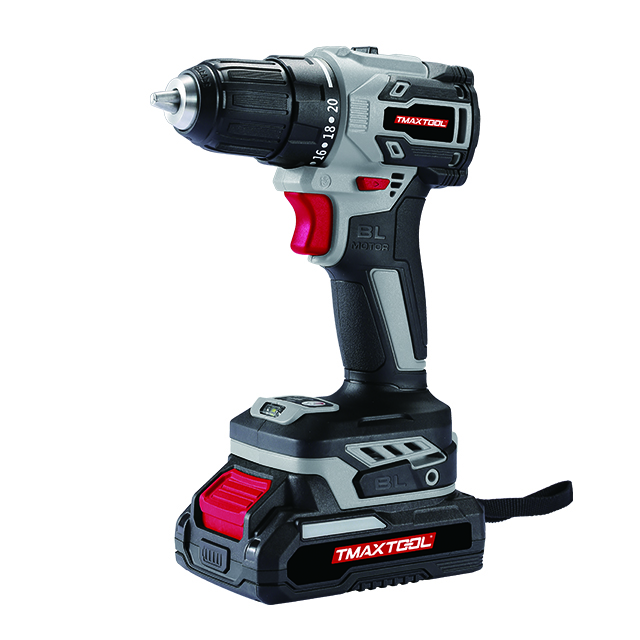 Cordless Drill
 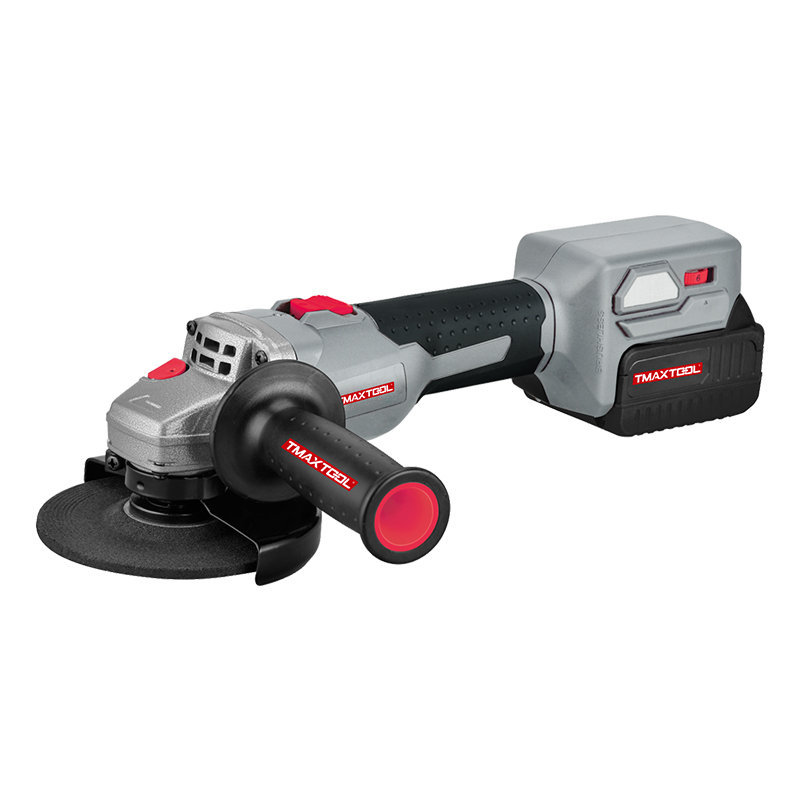 Angle Grinder
 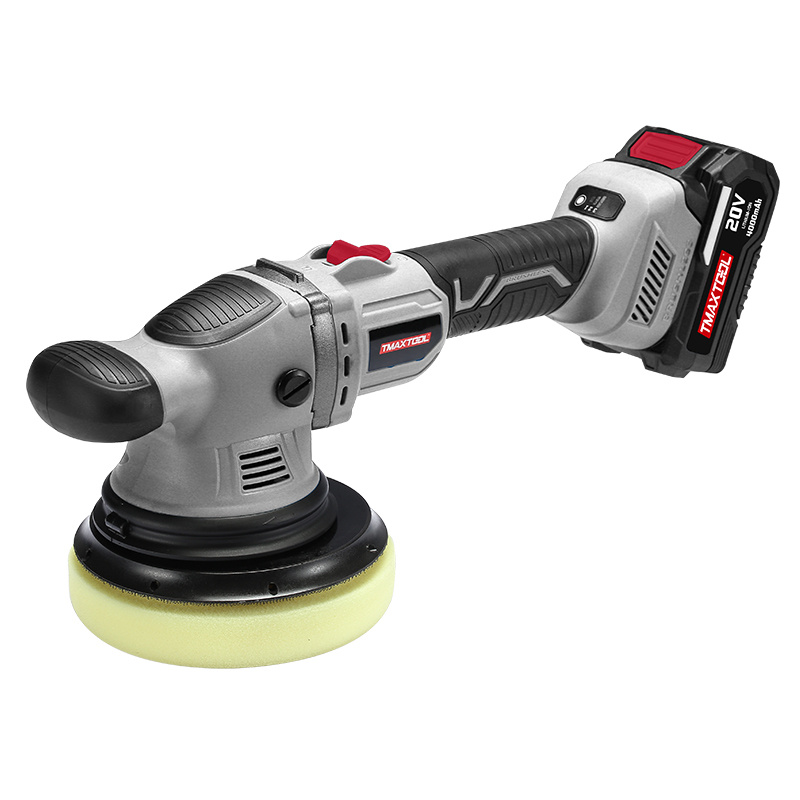 Polisher
 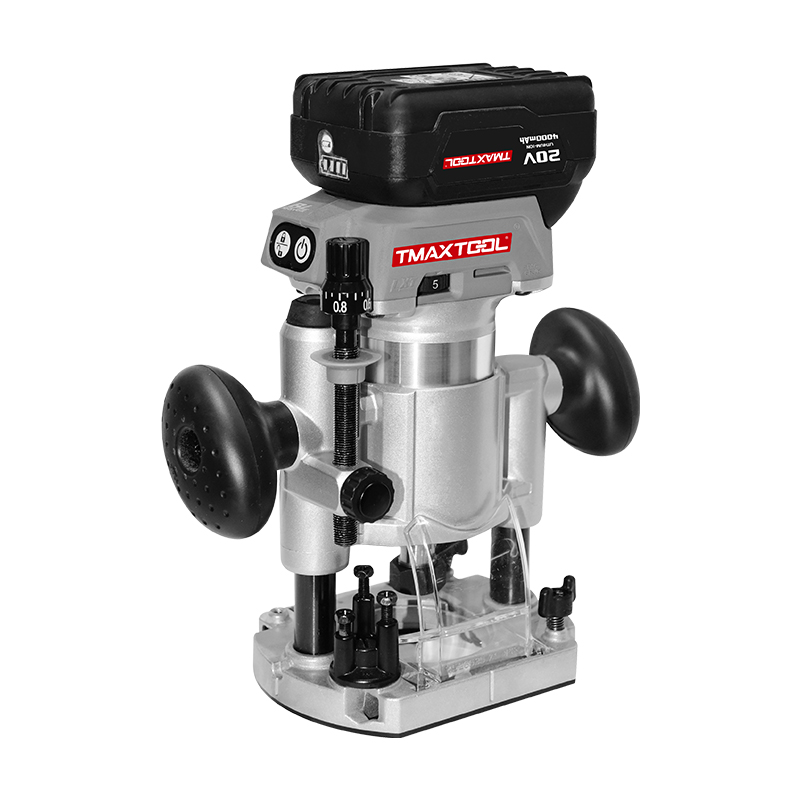 Wood Router
 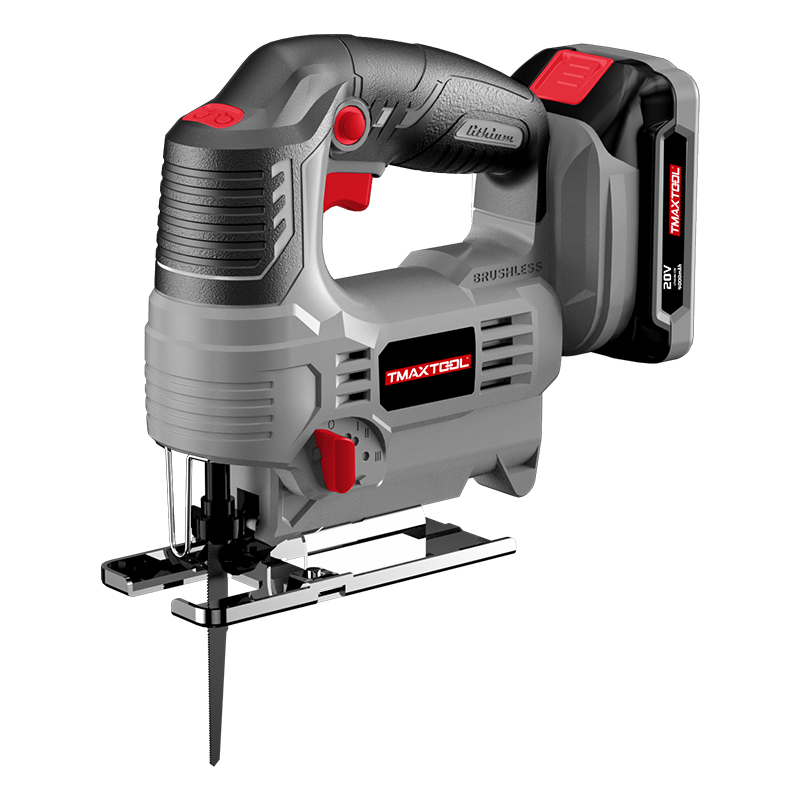 Jig Saw
 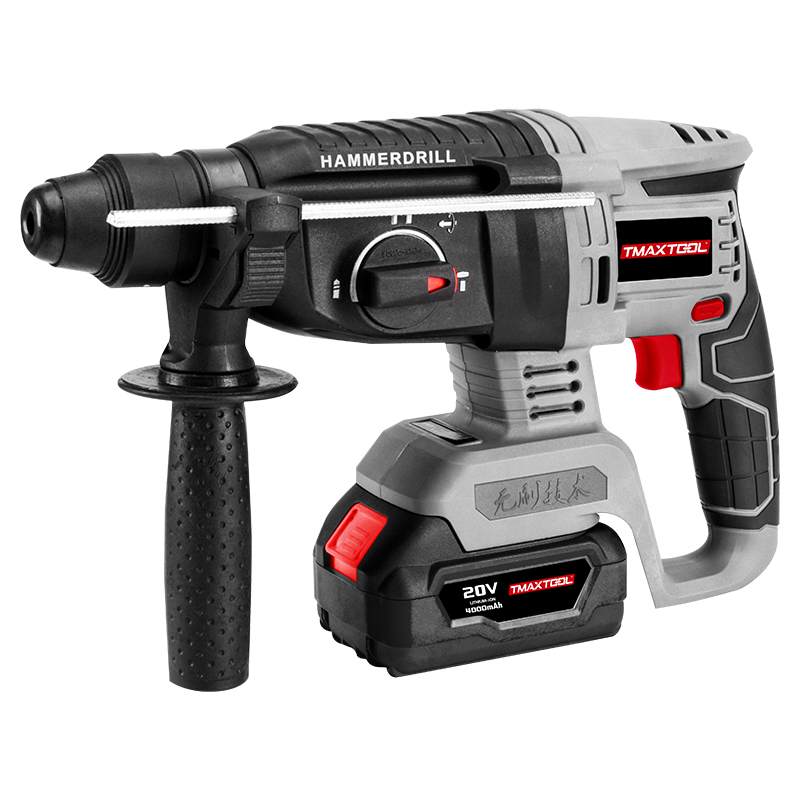 Hammer Drill
 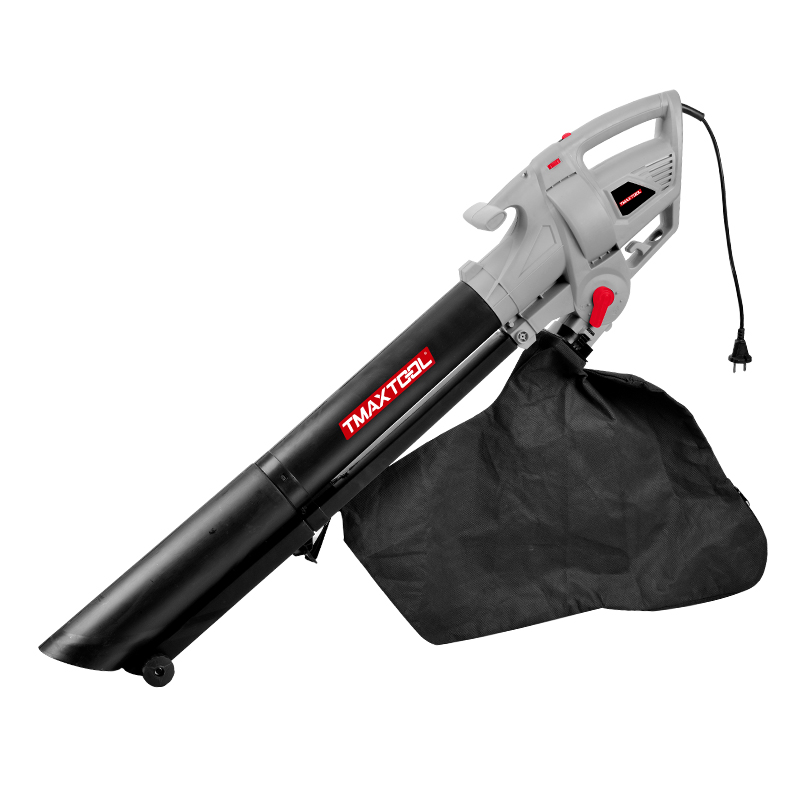 Portable Blower
 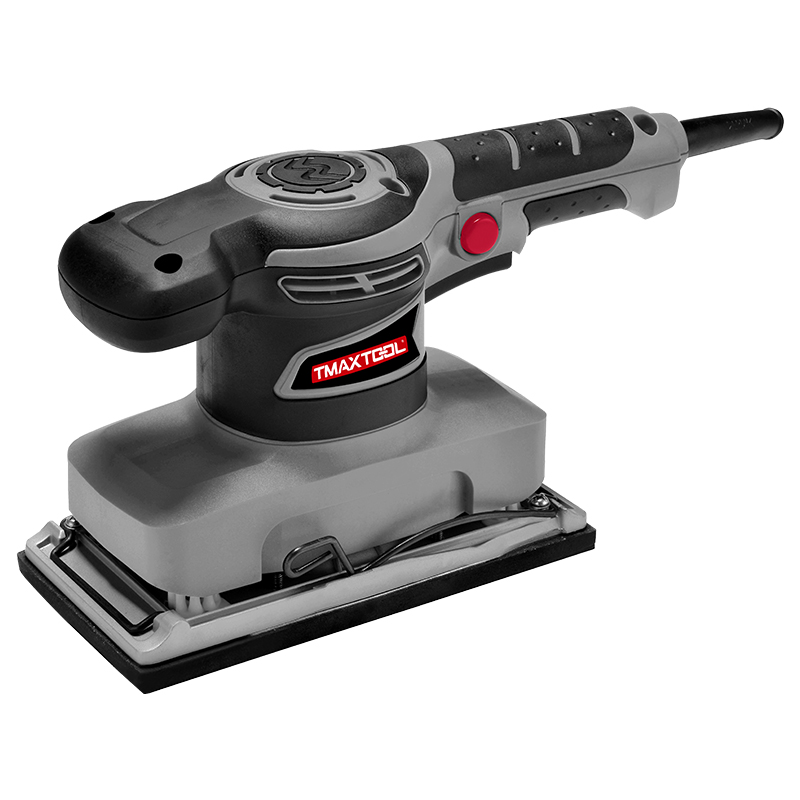 Orbital Sander
 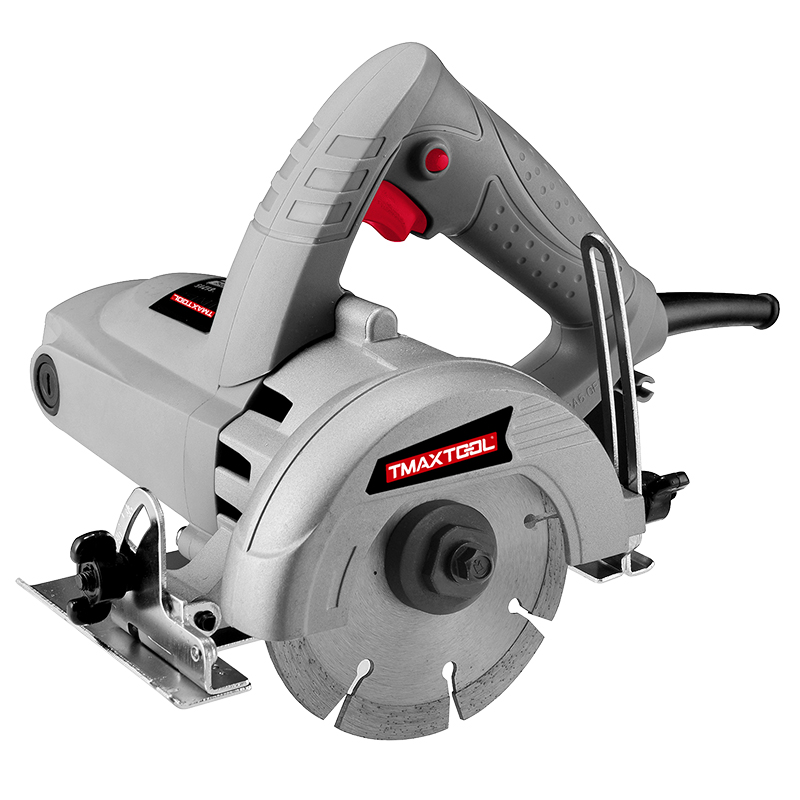 Marble Cutter
 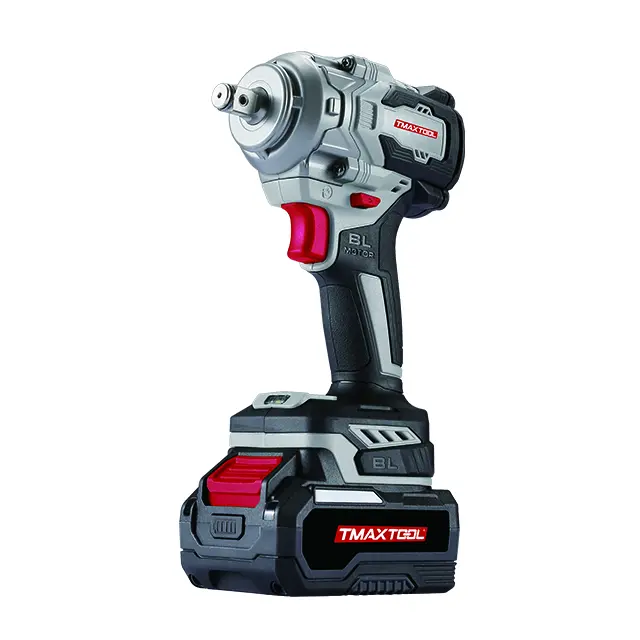 GARDEN TOOLS
 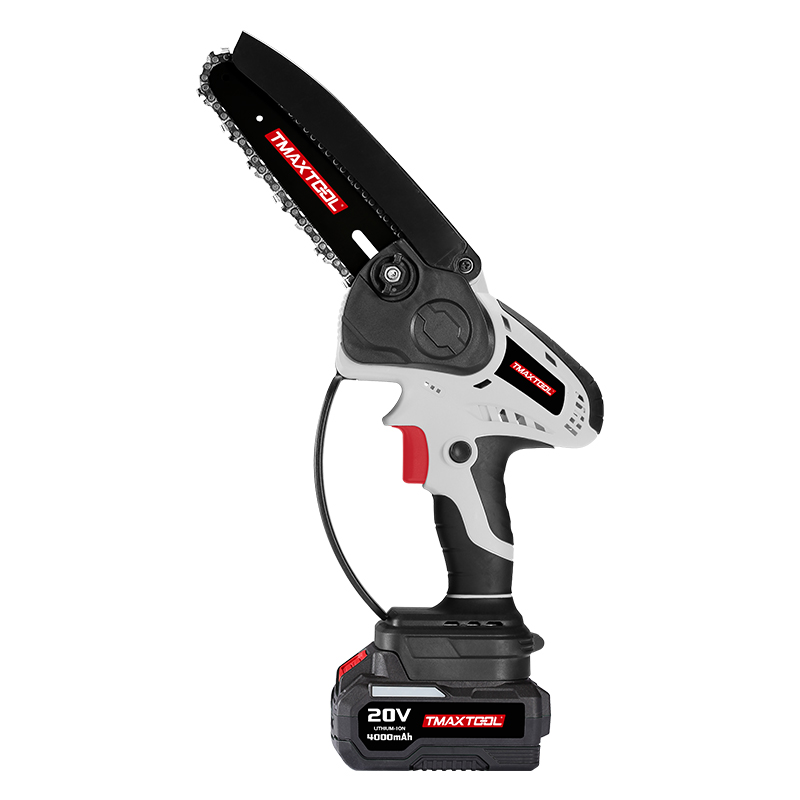 Battery Chain Saw
 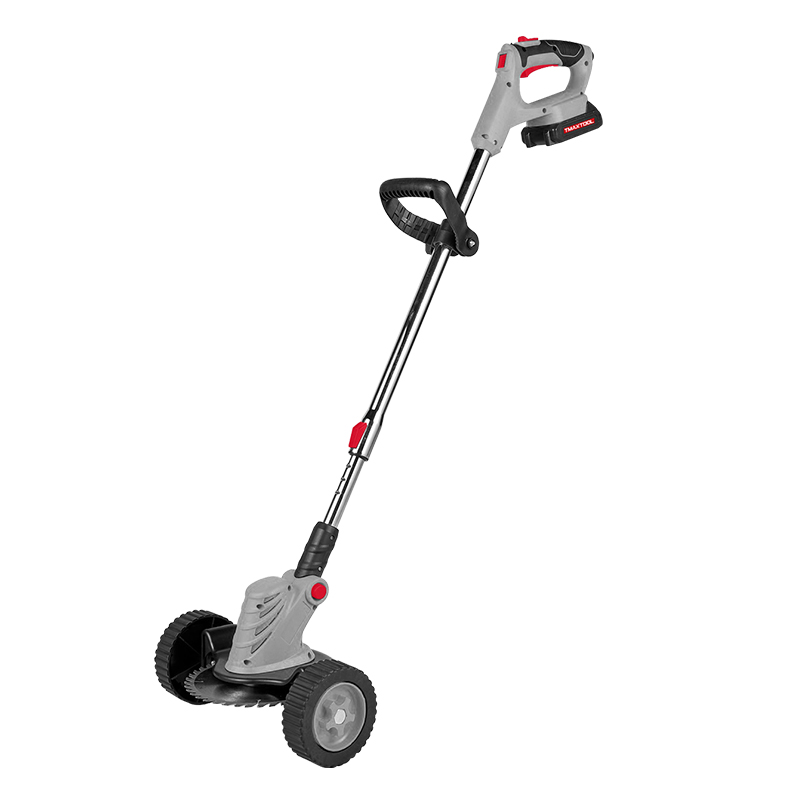 Battery Brush Cutter
 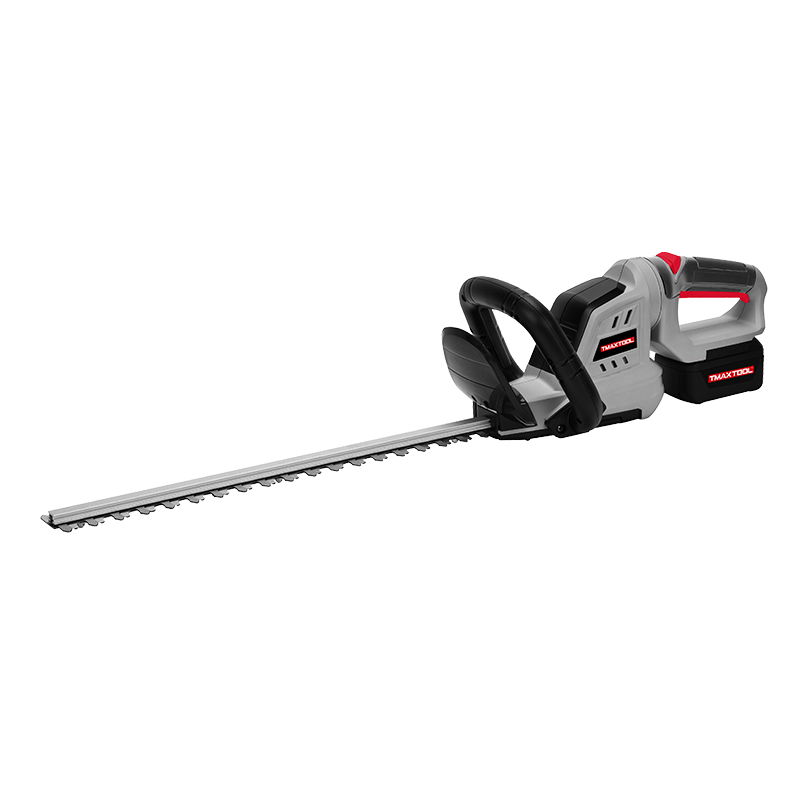 Battery Hedge Trimmer
 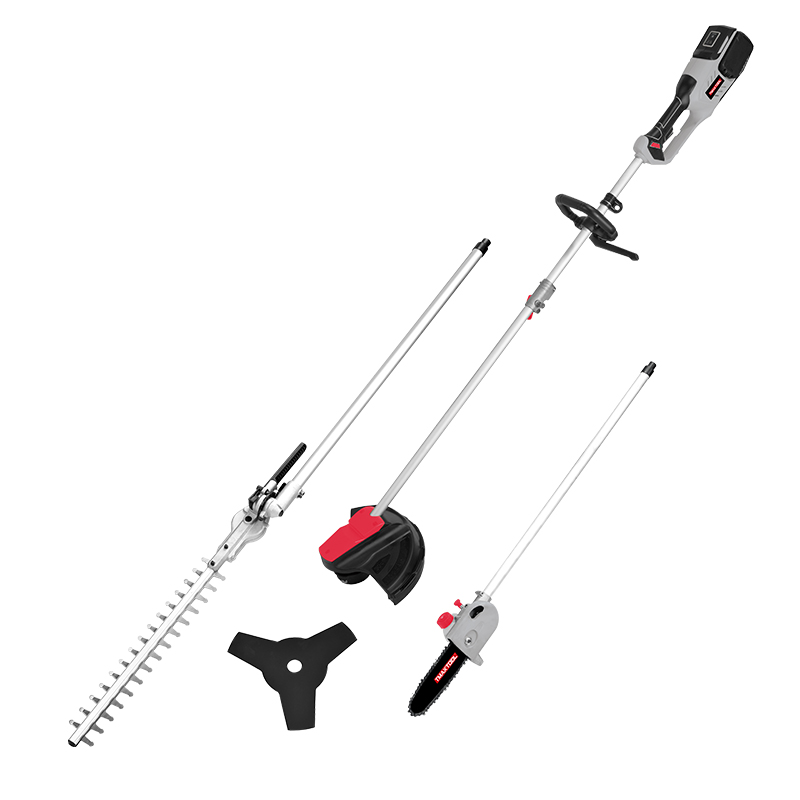 Battery Multi Tool
 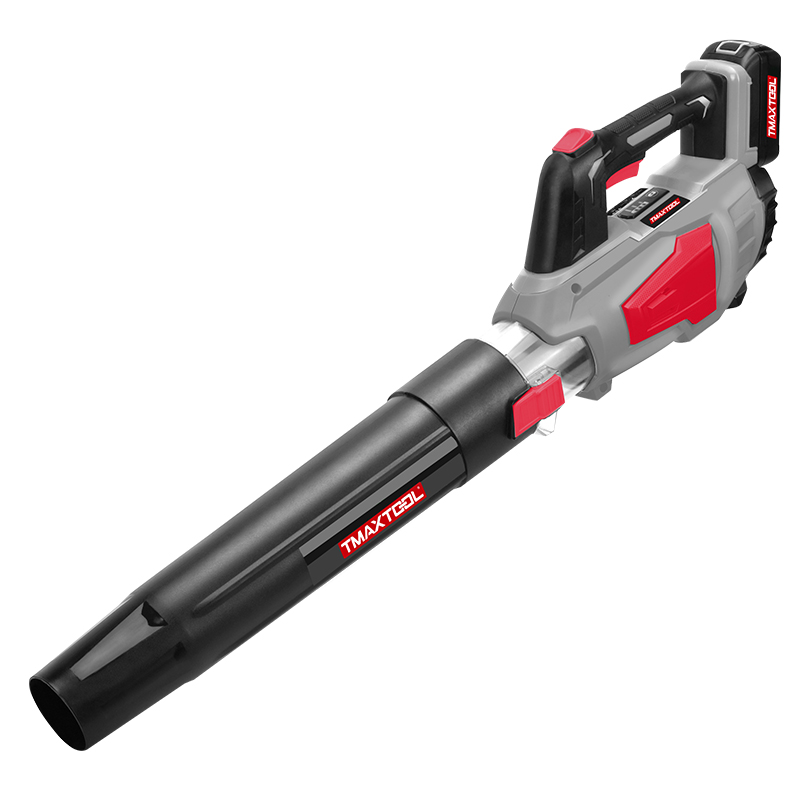 Battery Blower
 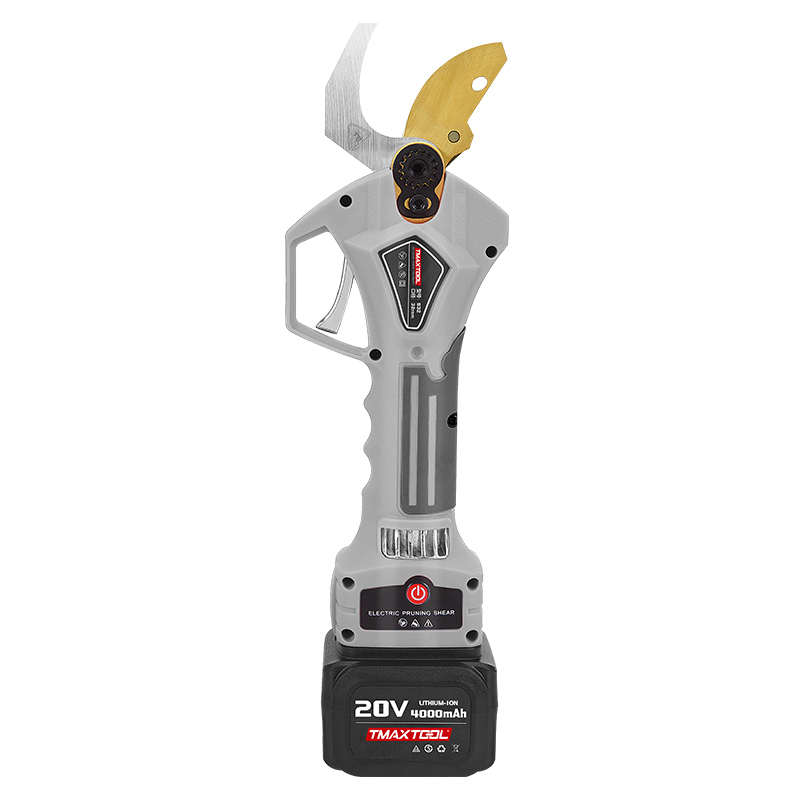 Batter Pruning Shears
 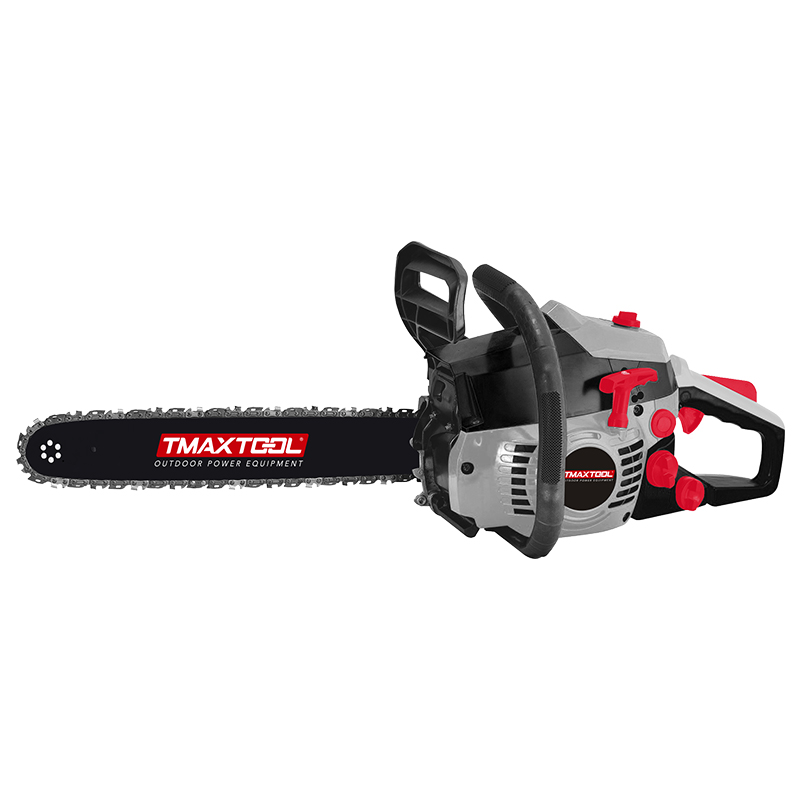 Chain Saw
 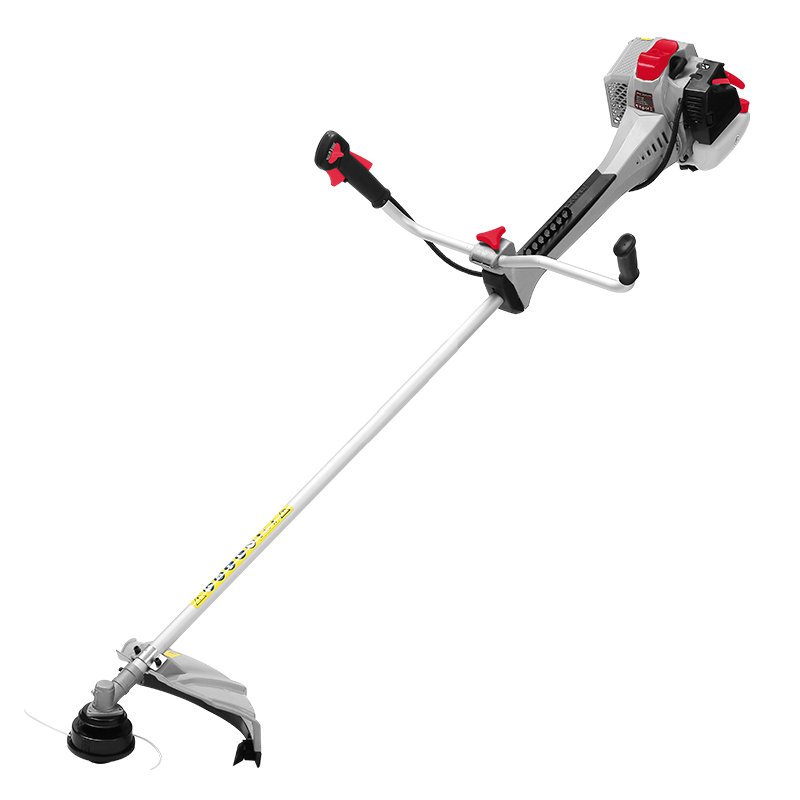 Brush Cutter
 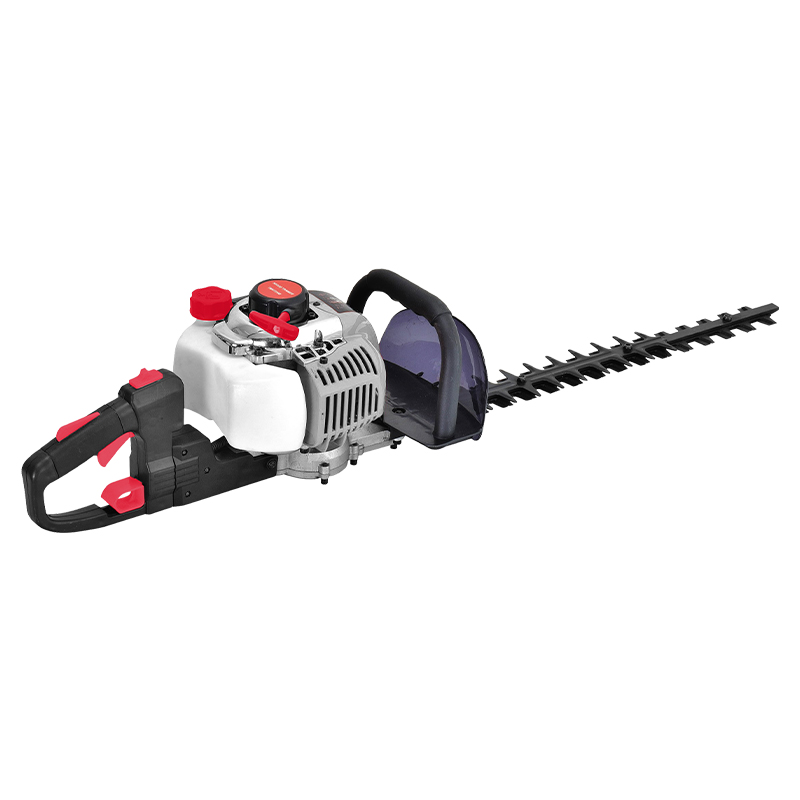 Hedge Trimmer
 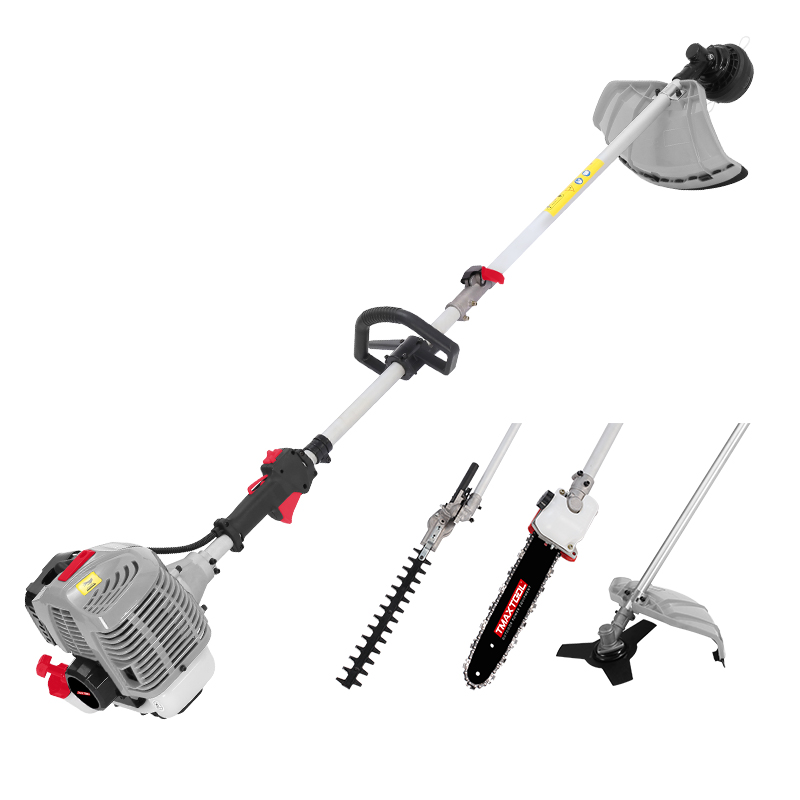 Multi Tool
 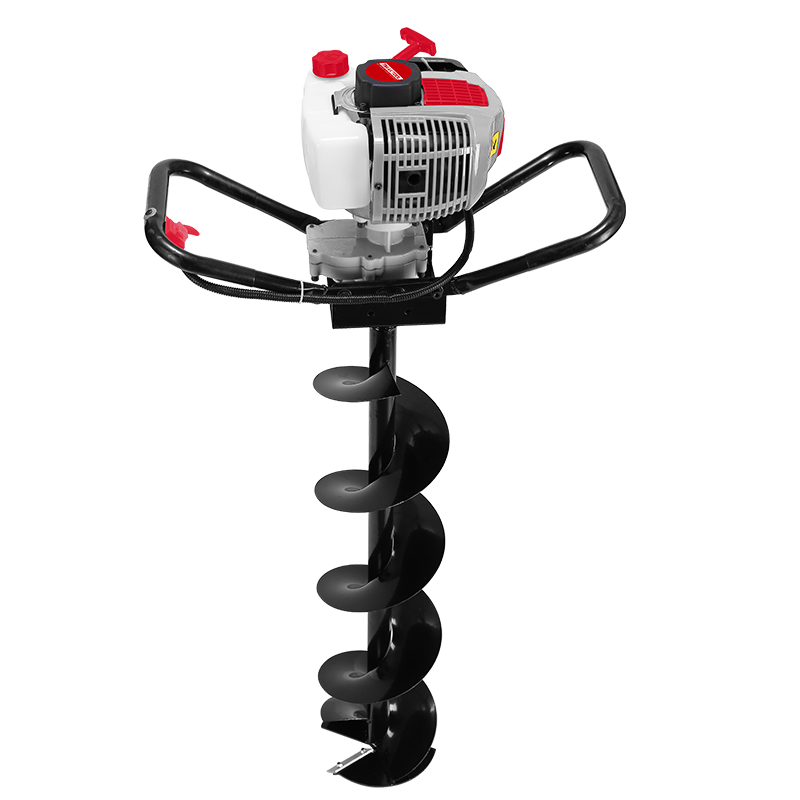 Earth Auger
 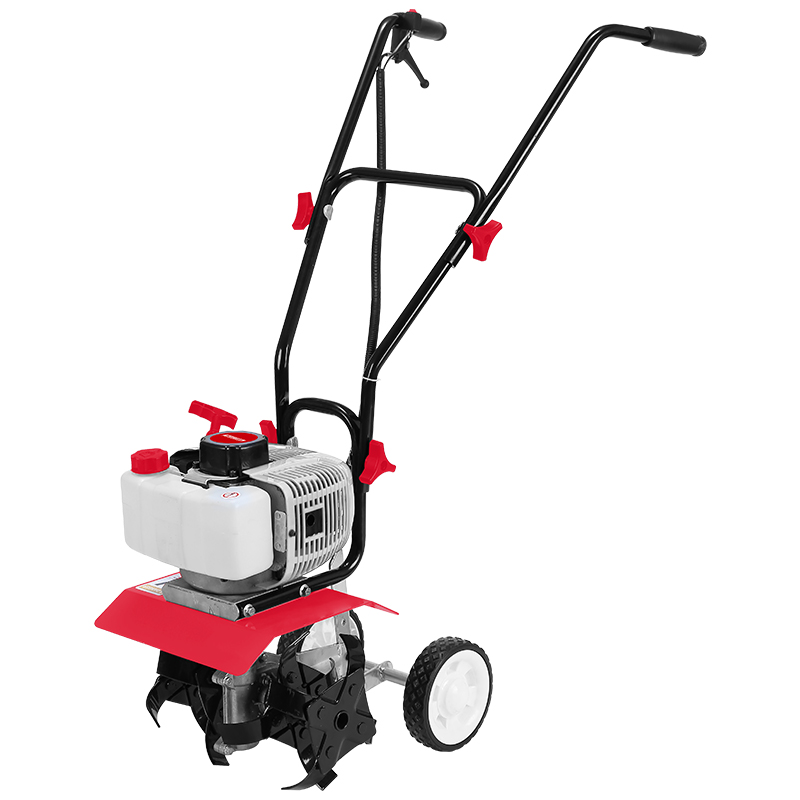 Tiller
 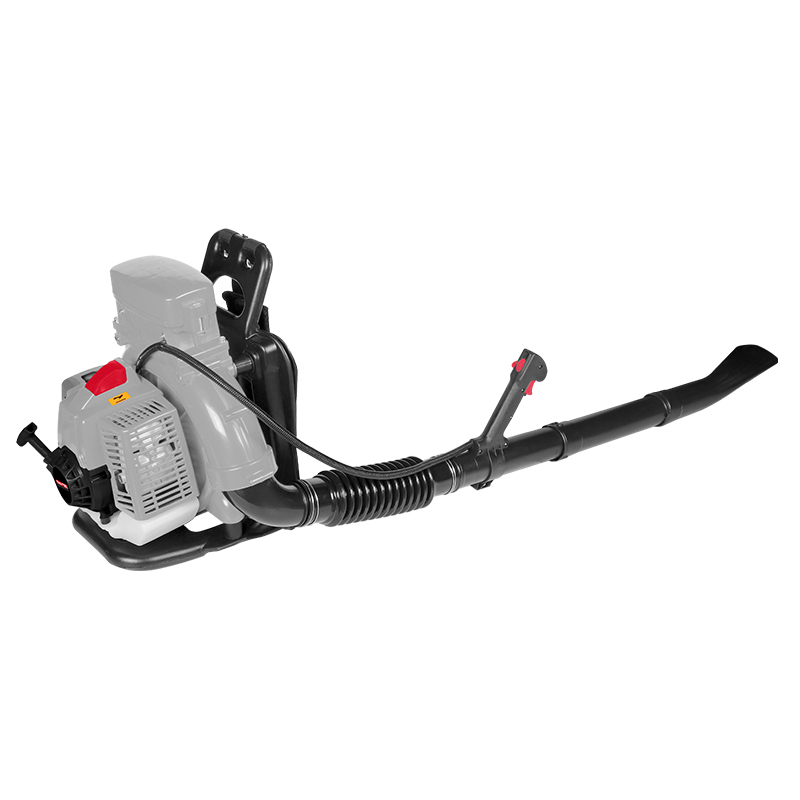 Blower
 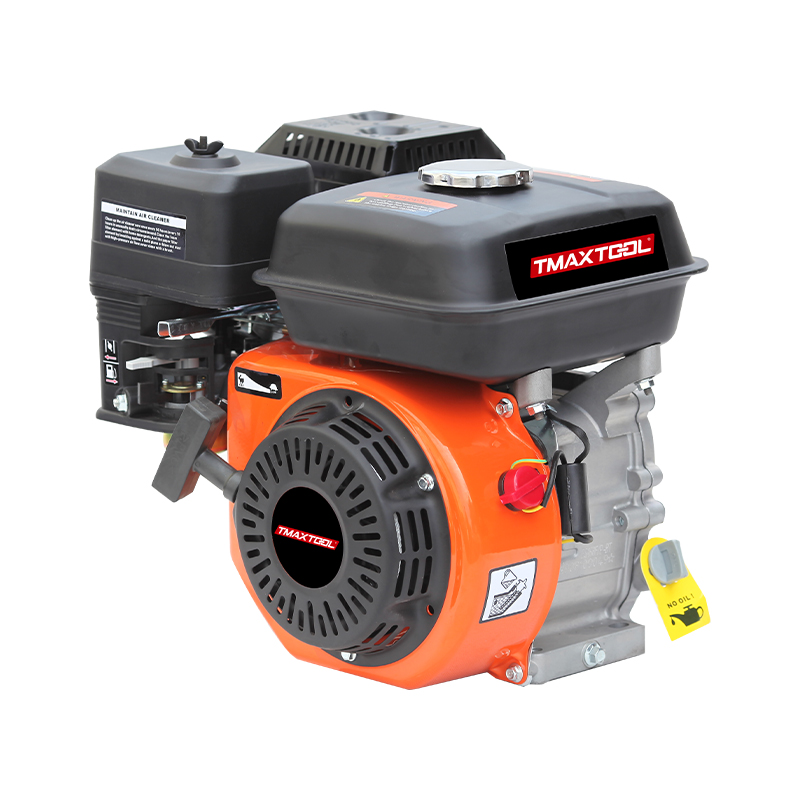 4 Stroke Gasoline Engine
 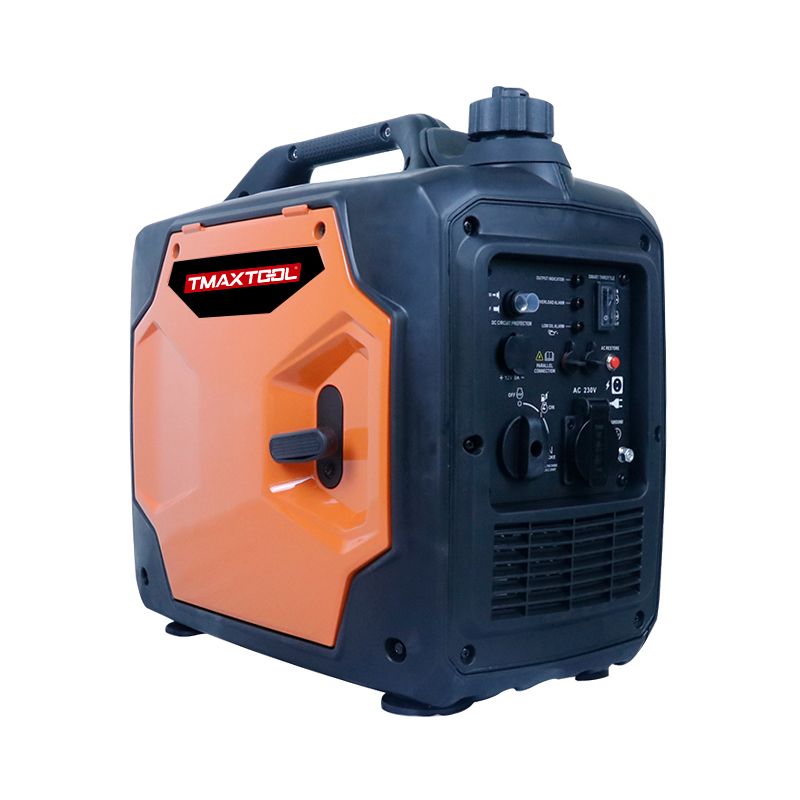 Generator
 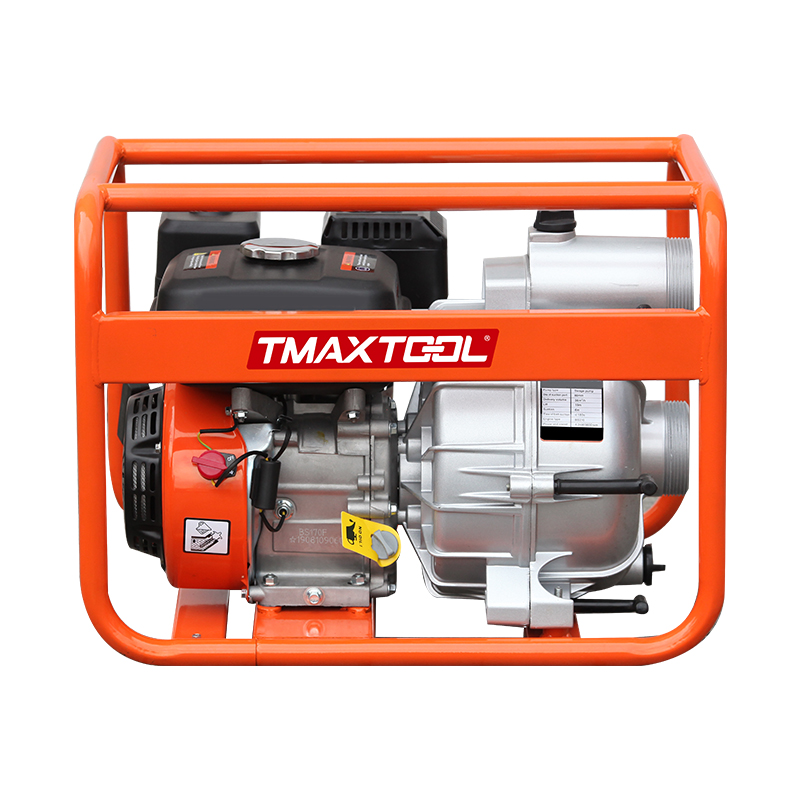 Water Pump
 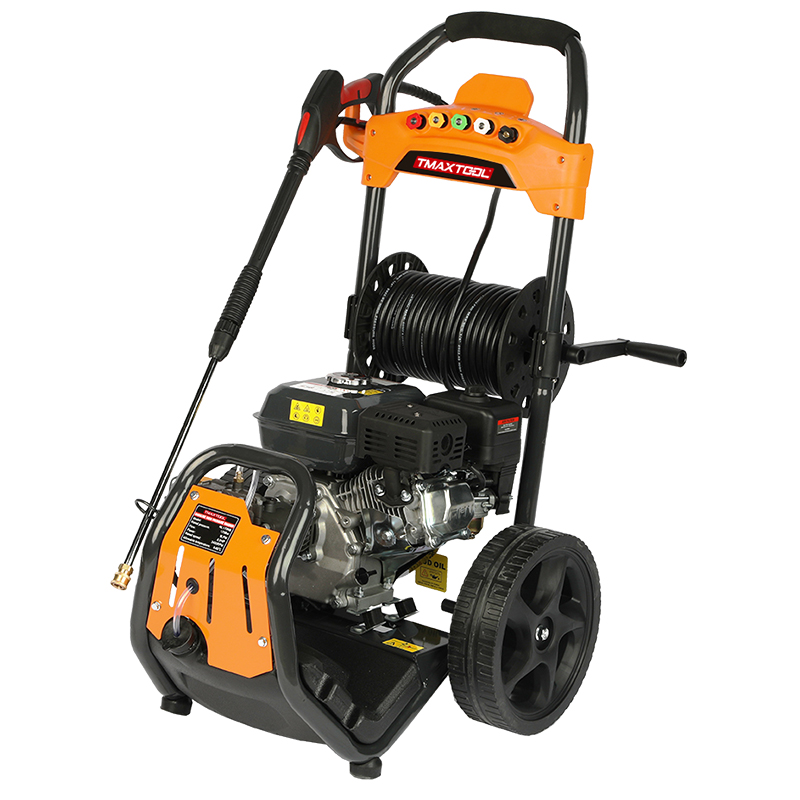 High Pressure Washer
  Wood Cutter
 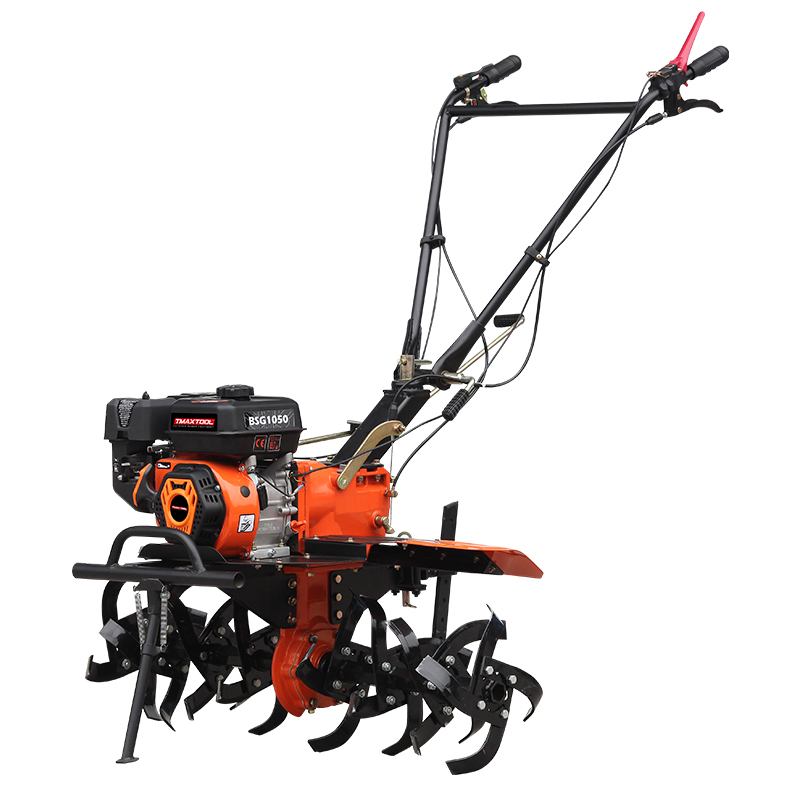 4 Stroke Tiller
  Chain Saw Accessory
 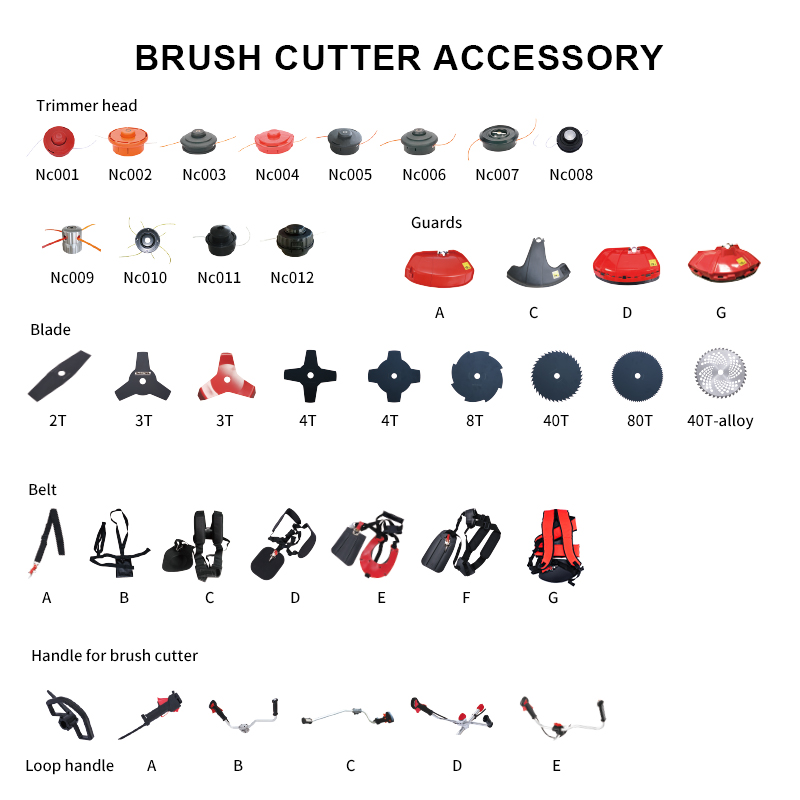 Brush Cutter Accessory
 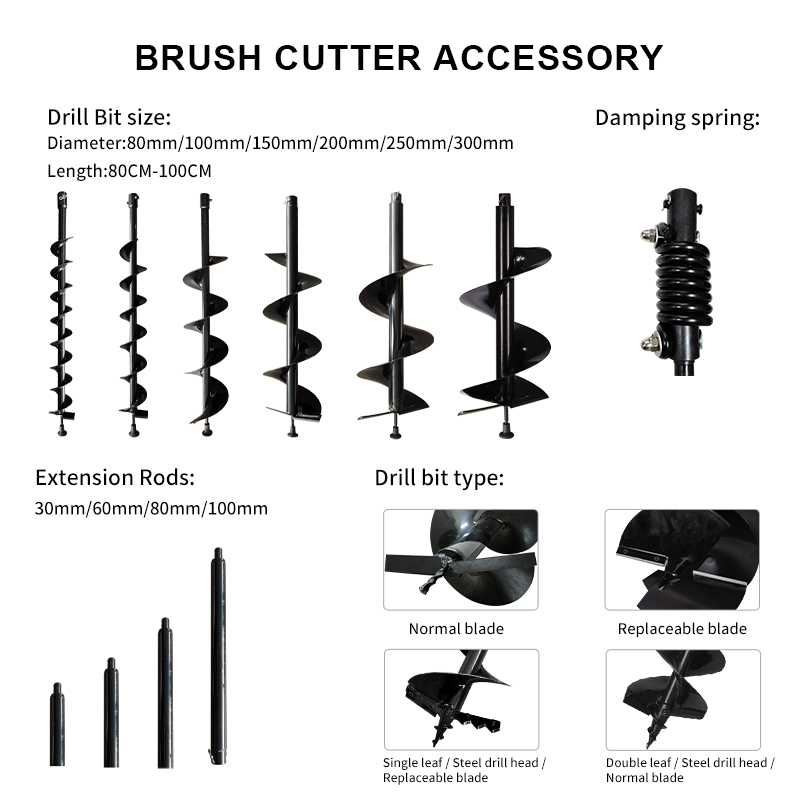 Earth Auger Accessory
  Protective Equipment Accessories
Leave Your Message


How to Adjust the planing depth of an electric planer?
The Electric Planer is one of the commonly used tools by carpenters and DIY enthusiasts. It can quickly and accurately plane and level wood. However, many beginners often encounter problems such as uneven planing depth or failure to meet expectations when using electric planers. Correct adjustment of the planing depth not only enhances work efficiency but also ensures the uniformity and accuracy of the planing effect. Here are some tips for adjusting the planing depth of an electric planer to help you master this skill better.
First, understand the importance of planing depth
The planing depth refers to the depth to which the planing knife planes the surface of the wood. The correct planing depth can ensure that the wood surface is flat and smooth, while avoiding damage to the wood caused by excessive planing. If the planing depth is too shallow, multiple planing operations may be required to achieve the desired effect. However, if the planing depth is too deep, it may cause the wood surface to be uneven and even damage the wood.
Second, check the installation of the planer knife
Before adjusting the planing depth, it is essential to ensure that the planing knife is installed correctly. Check whether the planer knife is firmly installed on the planer and whether the blade is sharp. If the planer is not installed firmly or the blade is not sharp, it will affect the planing effect. Make sure that the blade of the planer is parallel to the bottom surface of the planer, which can ensure the uniformity of planing.

Third, the steps for adjusting the planing depth
1. Adjust the position of the planer knife
Most electric planers are equipped with depth adjustment devices, which are usually a knob or a lever. By rotating or moving this device, the up and down position of the planer can be adjusted, thereby changing the planing depth.
Locate the depth adjustment device: On the side or top of the planer, find the depth adjustment knob or lever.
Adjust the position of the planer knife: Rotate the knob clockwise or move the lever upward, and the planer knife will move upward, reducing the planing depth. Turn the knob counterclockwise or move the lever downward, and the planer will move downward, increasing the planing depth.
2. Test the planing effect
After adjusting the planing depth, first conduct a test on a piece of waste wood to observe whether the planing effect meets expectations.
Select the test wood: Choose a piece of waste wood that is similar to the actual work wood and ensure its surface is flat.
Conduct test planing: Place the planer on the test wood, start the planer, and perform one planing. Observe whether the surface of the planed wood is smooth and whether the planing depth meets expectations.
3. Fine-tune the planing depth
Based on the test results, fine-tune the planing depth until the desired effect is achieved.
Adjust the depth: If the planing depth is too shallow, you can appropriately increase the planing depth. If the planing depth is too deep, it can be appropriately reduced.
Multiple tests: After each adjustment, conduct test planing again until the planing effect is uniform and smooth.
Fourth, ensure the smooth operation of the planer
The smooth operation of the planer is crucial to the planing effect. When adjusting the planing depth, ensure that the bottom surface of the planer is closely attached to the surface of the wood to prevent the planer from shaking or tilting during the planing process.
Check the bottom surface of the planer: Ensure that the bottom surface of the planer is clean, flat, free of debris or damage.
Adjust the position of the planer: During the planing process, keep the planer running smoothly and avoid excessive or uneven force.

Fifth, use an appropriate planing speed
The planing speed also affects the planing effect. Too fast a planing speed may lead to uneven planing, while too slow a speed may increase the planing depth, resulting in an uneven wood surface.
Select the appropriate planing speed: Choose the appropriate planing speed based on the hardness of the wood and the planing depth. Generally speaking, harder wood requires a slower planing speed, while softer wood can be planed at a faster speed.
Maintain a uniform speed: During the planing process, keep a uniform speed and avoid sudden changes in speed.
Adjusting the planing depth of the electric planer is a key step to ensure the planing effect. By correctly installing the planer, adjusting its position, testing the planing effect, fine-tuning the planing depth, ensuring the smooth operation of the planer and using an appropriate planing speed, you can easily master the adjustment skills of the planing depth. These techniques not only enhance work efficiency but also ensure the uniformity and accuracy of the planing effect. In actual operation, with more practice and testing, you will be able to use the electric planer more proficiently and complete various woodworking projects.